13.2 Upgrade : https://docs.cyberark.com/PAS/13.2/en/Content/PAS%20INST/Upgrading-the-Privileged-Account-Security-Solution.htm?tocpath=Installation%7CUpgrade%7C_____0
Introduction

Check CyberArk component compatibility to make sure all components can work together during the progress for installing the components.
For 13.2.x version, it is complatible with most of components in 12.1+ version. In this case, we can test functionality after upgraded any component. You don't have to upgrade all components at one time.
Component | Versions compatible with Vault version 13.2 |
|---|---|
| PVWA | 12.1, 12.2, 12.6, 13.0, 13.2 |
| CPM | 12.1, 12.2, 12.6, 13.0, 13.2 |
| PSM | 11.5 and higher |
Topology
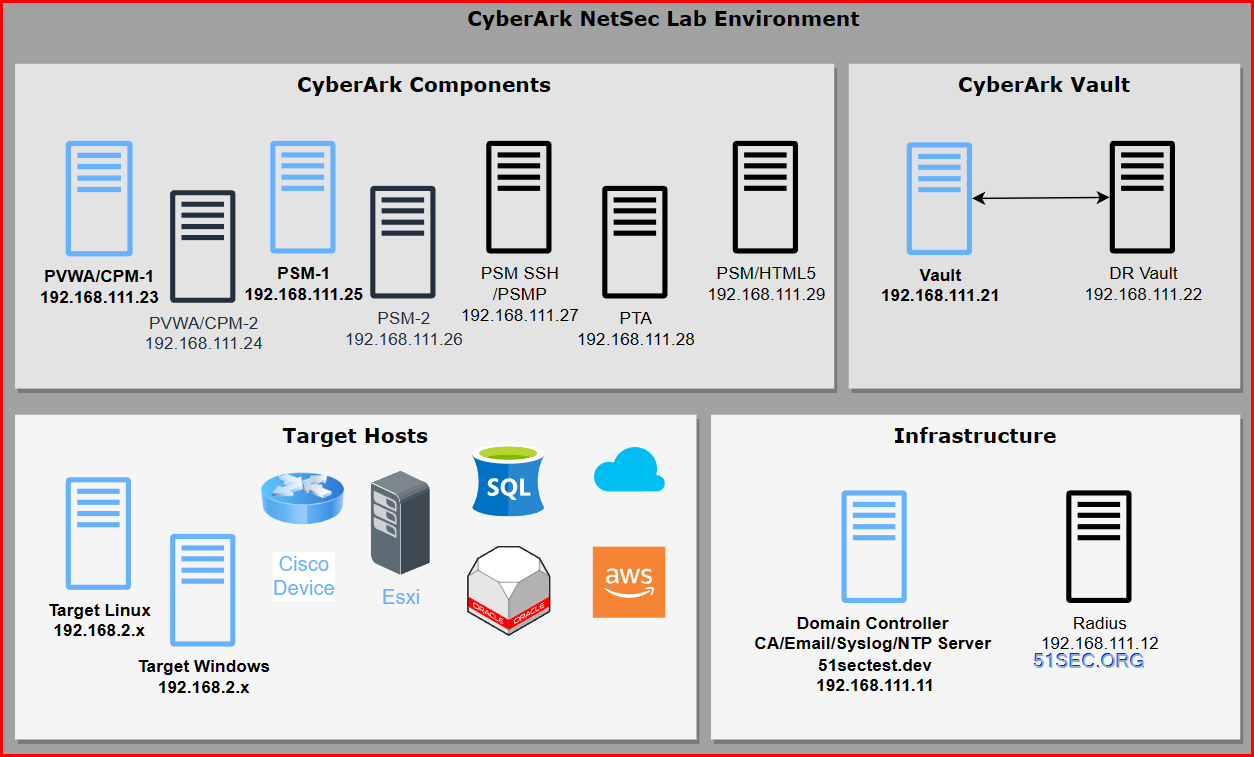
Vault
Upgrade Path:
12.1 - > 12.2 (or 12.6) -> 13.2
PVWA
12.1 - > 12.2 (or 12.6)-> 13.2

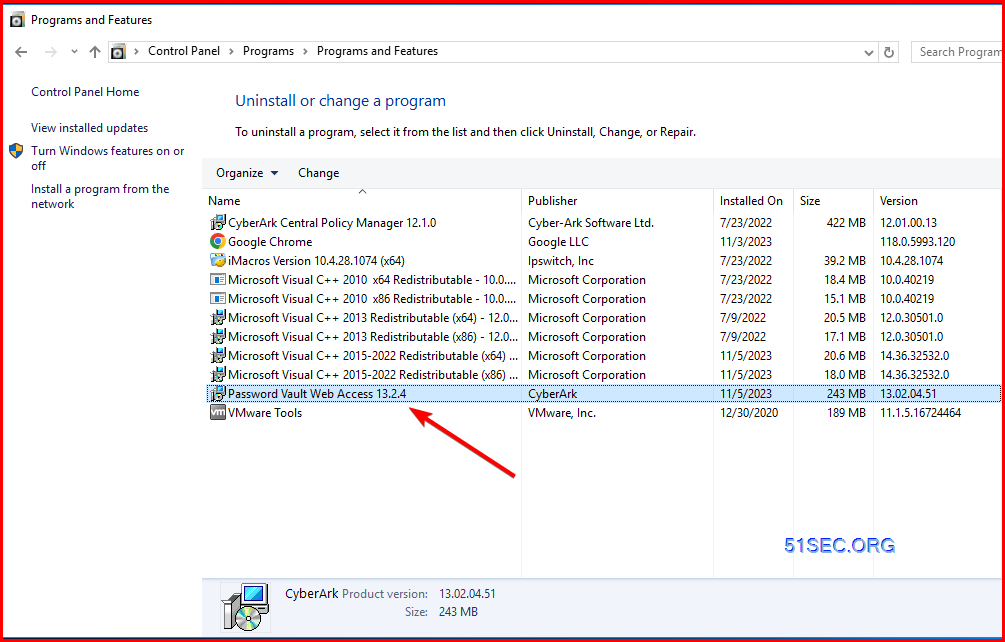
Backup Existing PVWA Configuration
CyberArk doc "Upgrade an existing PVWA" explains well how to do an upgrade.
- Back-up the web.config file from C:\Inetpub\wwwroot\PasswordVault\:
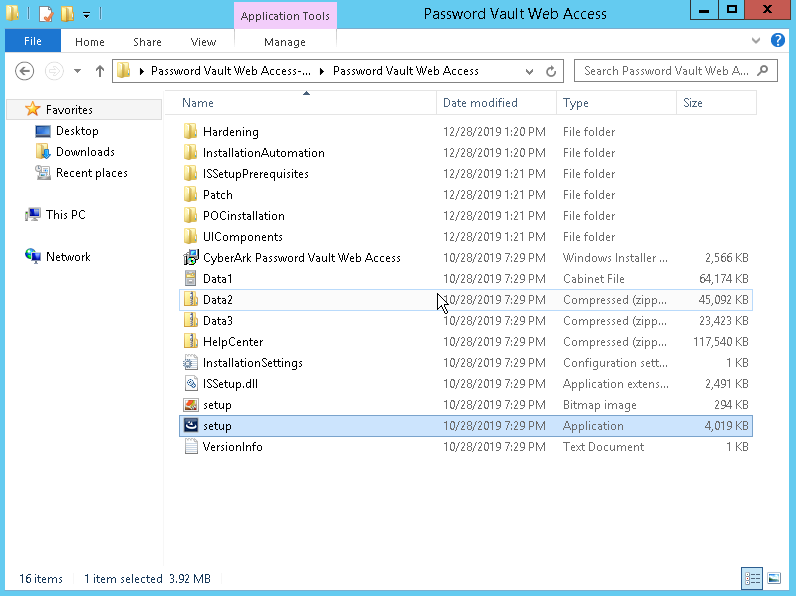
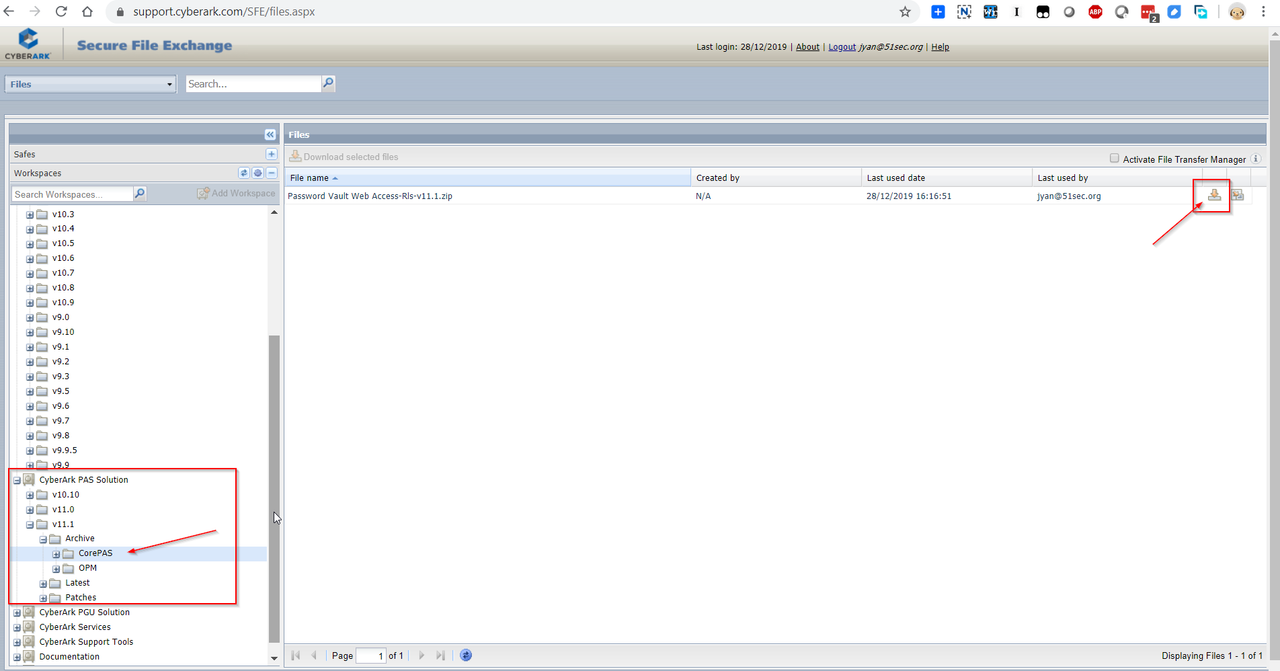
- Download the appropriate version of the PVWA installer.
- Extract the files out of the installer Zip folder. In the extracted folder, navigate to the Password Vault Web Access Folder and double click on the setup application (Run as Administrator).
- When prompted, select Yes to perform an upgrade of the PVWA
- If you come across an error in locating the install path, click Browse and locate the CyberArk Password Vault Web Access Windows Installer. This can be found in the same folder as the setup application.
- If the following prompt appears, click No.
- Click Finish after the patch has finished installing. If prompted, ignore the message about running the create env utility by clicking OK.
CPM
12.1 -> 13.2
The upgrade process consists of the following tasks:

PSM
12.1 -> 13.2
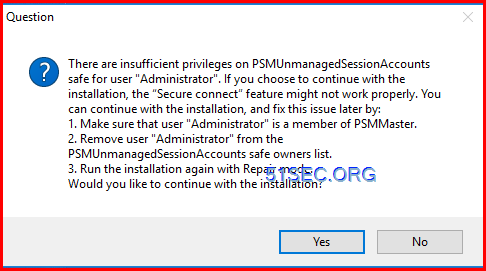
| 1. | In the Vault, make sure the user who will upgrade the PSM is not an owner in the PSMUnmanagedSessionAccounts Safe. |
| 2. | On the PSM machine, stop the PSM service. For more information, refer to |
| 3. | In the Privileged Session Manager installation package, run the Privileged Session Manager installation to begin the upgrade procedure: |
| ■ | Double-click Setup.exe |
or,
| ■ | On systems that are UAC-enabled, right-click Setup.exe, then select Run as Administrator. |
The PSM installation wizard appears and displays a list of required features that it will install on your computer before it can install the PSM.
| 4. | Click Install to begin the upgrade procedure; the installation wizard detects the existing version of the PSM on your computer, then displays the Setup |

| 5. | Click Next to begin the upgrade procedure. |
| 6. | During the procedure, accept the default values to upgrade the existing environment, |
or,
Specify different values to modify the existing environment.
| 7. | When the PSM environment is installed, the following window appears to enable you to complete the upgrade procedure. |

| 8. | Click Finish. The upgrade process is complete, and the PSM has now been upgraded. |
| 9. | Restart the PSM server. You can also restart the PSM server at a later stage. In any event, you must restart the PSM server before using the PSM. |
| 10. | On the PVWA machine, run iisreset, |
or,
Wait for the PVWA refresh configuration interval to pass.
Troubleshooting

The location of appuser file: C:\CyberArk\Password Vault Web Access\CredFiles
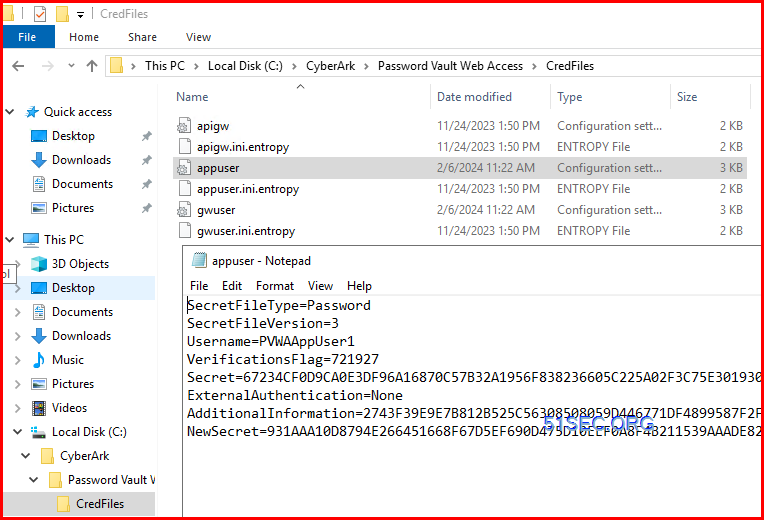
CreateCredfile.exe file is locating at “C:\CyberArk\Password Vault Web Access\Env”.
C:\CyberArk\Password Vault Web Access\Env>CreateCredFile.exe appuser.ini Password /Username PVWAAppUser1 /Password Cyberark1 /AppType PVWAApp /ExePath "c:\windows\system32\inetsrv\w3wp.exe" /EntropyFile /DPAPIMachineProtection
Command ended successfully- https://cyberark.my.site.com/s/article/PVWA-How-can-I-create-or-update-the-credential-files-credfile-for-the-PVWA-manually-VERSION-12-1-1-and-above-ONLY
Videos
References
- Upgrade version compatibility
- https://docs.cyberark.com/Product-Doc/OnlineHelp/PAS/Latest/en/Content/PAS%20INST/Considerations-before-Upgrading.htm
- https://docs.cyberark.com/Product-Doc/OnlineHelp/PAS/Latest/en/Content/PAS%20SysReq/Compatibility_component_versions.htm
- https://docs.cyberark.com/Product-Doc/OnlineHelp/PAS/Latest/en/Content/PAS%20INST/Upgrading-the-Privileged-Account-Security-Solution.htm
- Upgrade


No comments:
Post a Comment