This post is to show the steps how to use Portainer to create a custom template to launch your Wordpress stack if default stack template is not working.
Related posts:
- Install Wordpress Using aaPanel (BT)
- Install Docker, Docker-Compose, Portainer & Nginx on CentOS 8 & Ubuntu 20.04
- Using Portainer to Create Custom Wordpress Template on Arm64 Based VPS
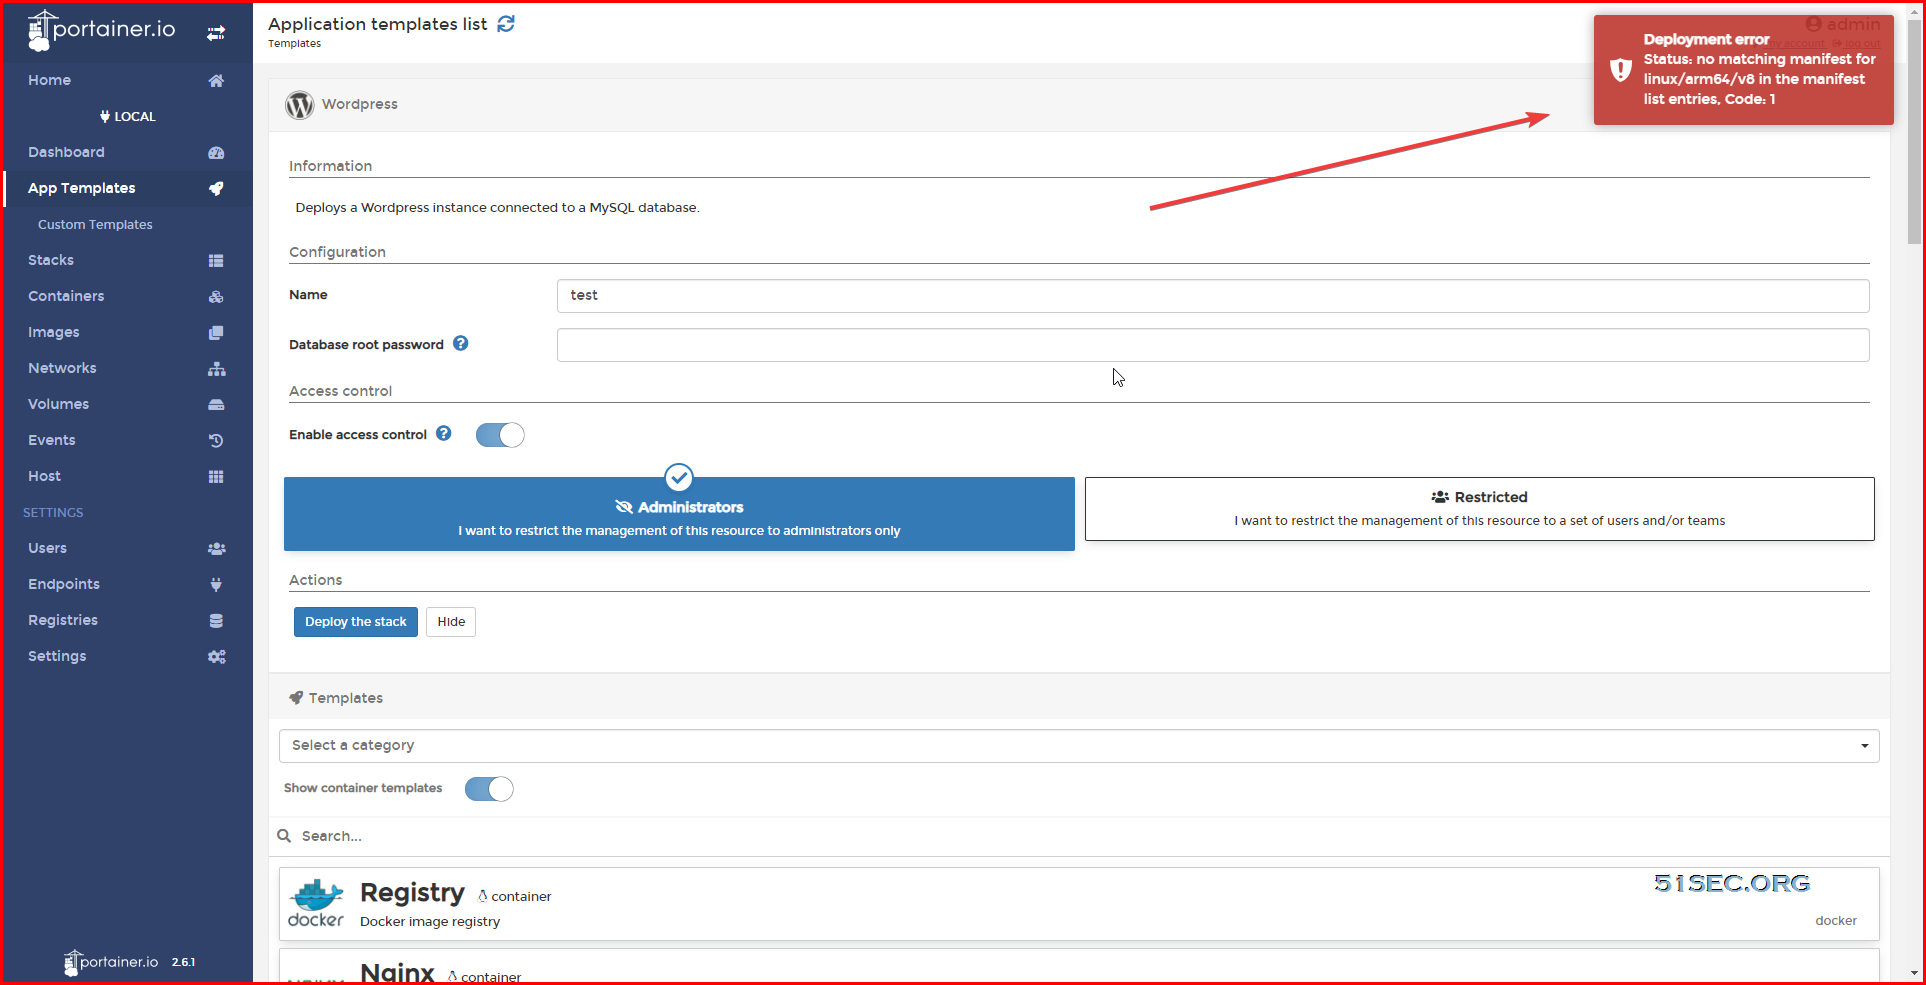
Wordpress Template Error
"Deployment error
Status: no matching manifest for linux/arm64/v8 in the manifest list entries, code:1
"
It is because they could not find the arm64 based matching image under that linux repository. What we will need to do to fix this issue is to create a custom template to change image name to right one.
It is because they could not find the arm64 based matching image under that linux repository. What we will need to do to fix this issue is to create a custom template to change image name to right one.
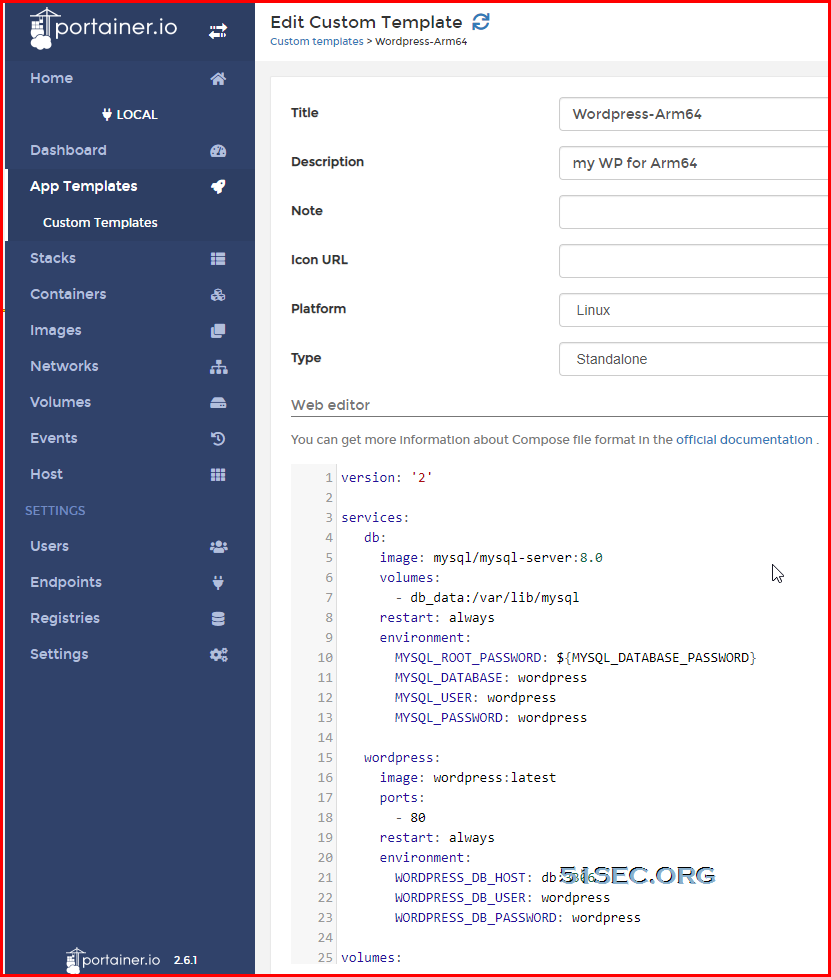
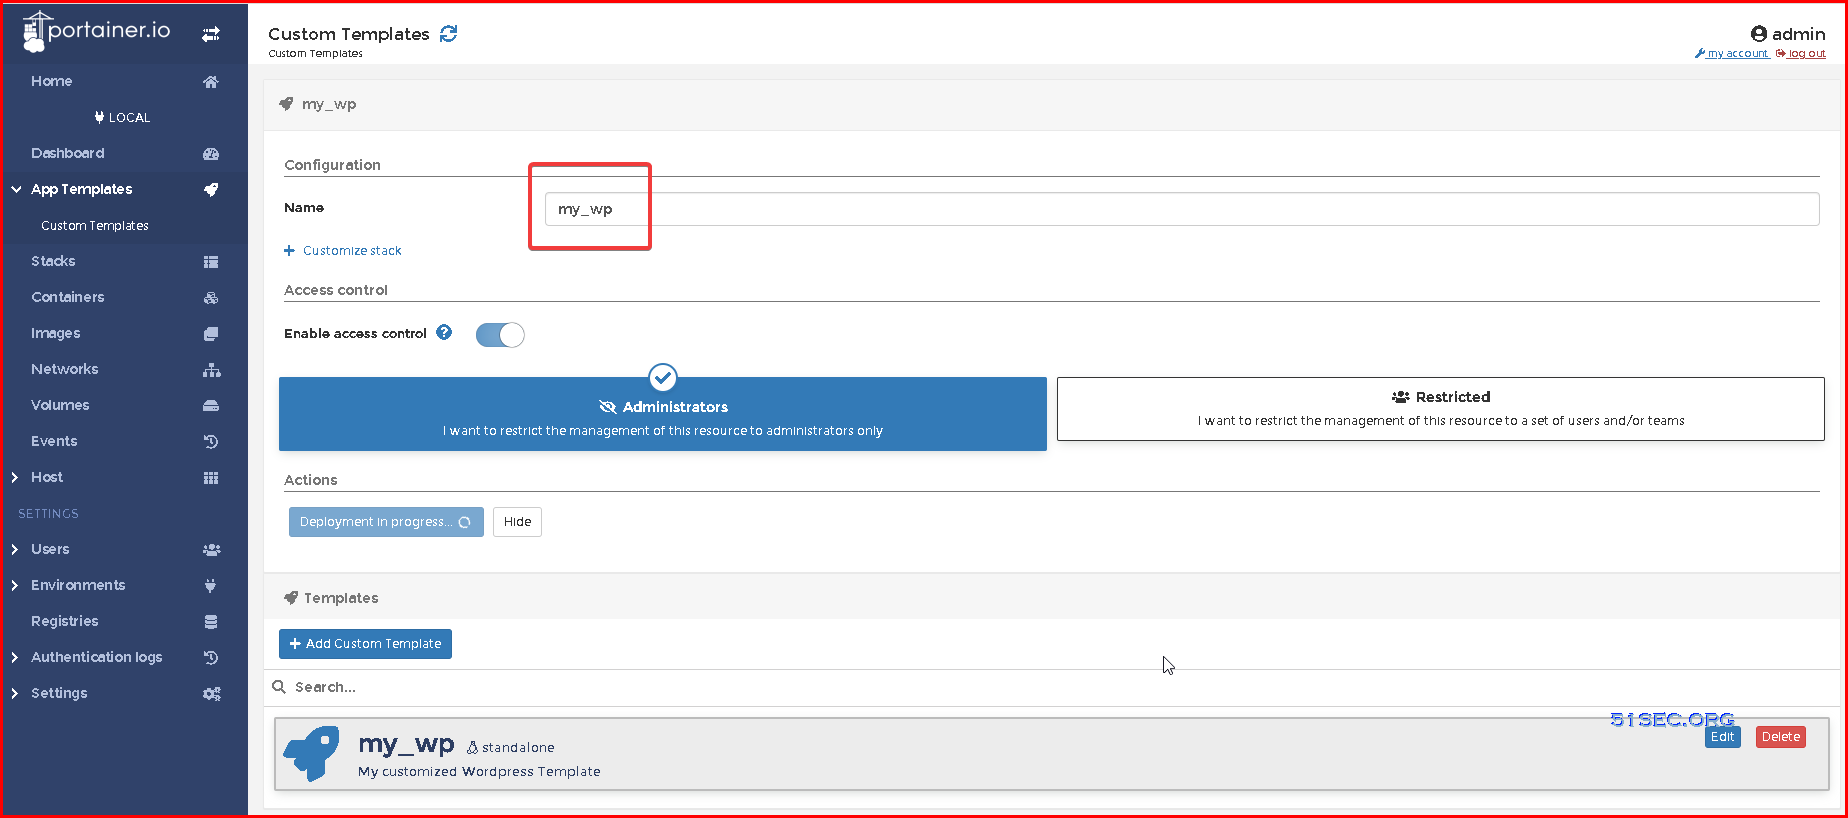
Custom Wordpress Template
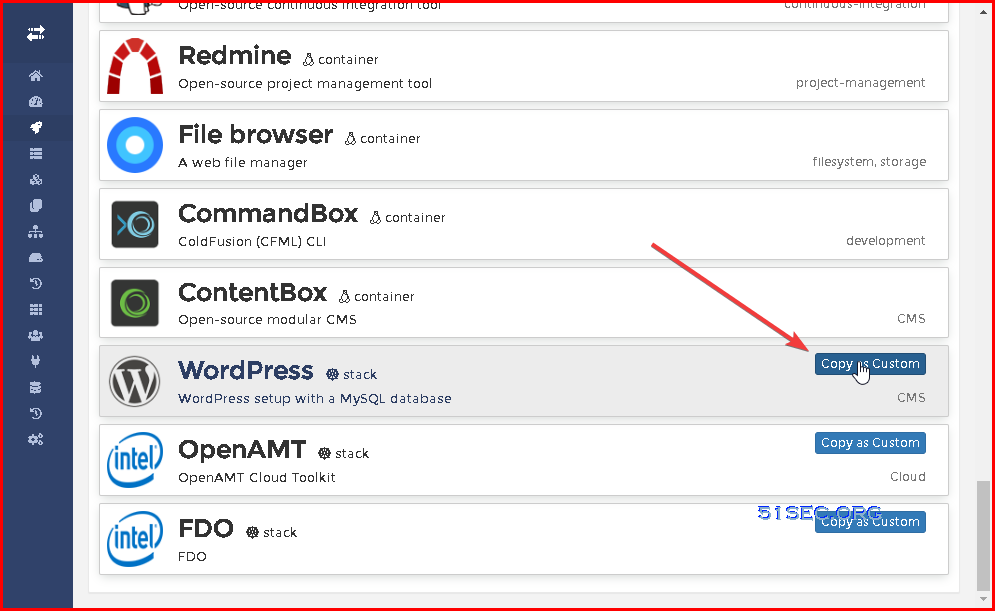
I found above mysql docker could not start properly later and decided to try wtih MariaDB. Here is new template: version: '2.1' services: db: image: arm64v8/mariadb:latest volumes: - db_data:/var/lib/mysql restart: always environment: MYSQL_ROOT_PASSWORD: wordpress MYSQL_DATABASE: wordpress MYSQL_USER: wordpress MYSQL_PASSWORD: wordpress networks: website_network: aliases: - wordpress wordpress: image: arm64v8/wordpress ports: - '10000:80' restart: always environment: WORDPRESS_DB_HOST: db:3306 WORDPRESS_DB_USER: wordpress WORDPRESS_DB_PASSWORD: wordpress WORDPRESS_DB_NAME: wordpress networks: website_network: aliases: - wordpress networks: website_network: name: website_network volumes: db_data: You will get a new bridge network website_network. Please make sure you join your NGINX docker into this network as well. |
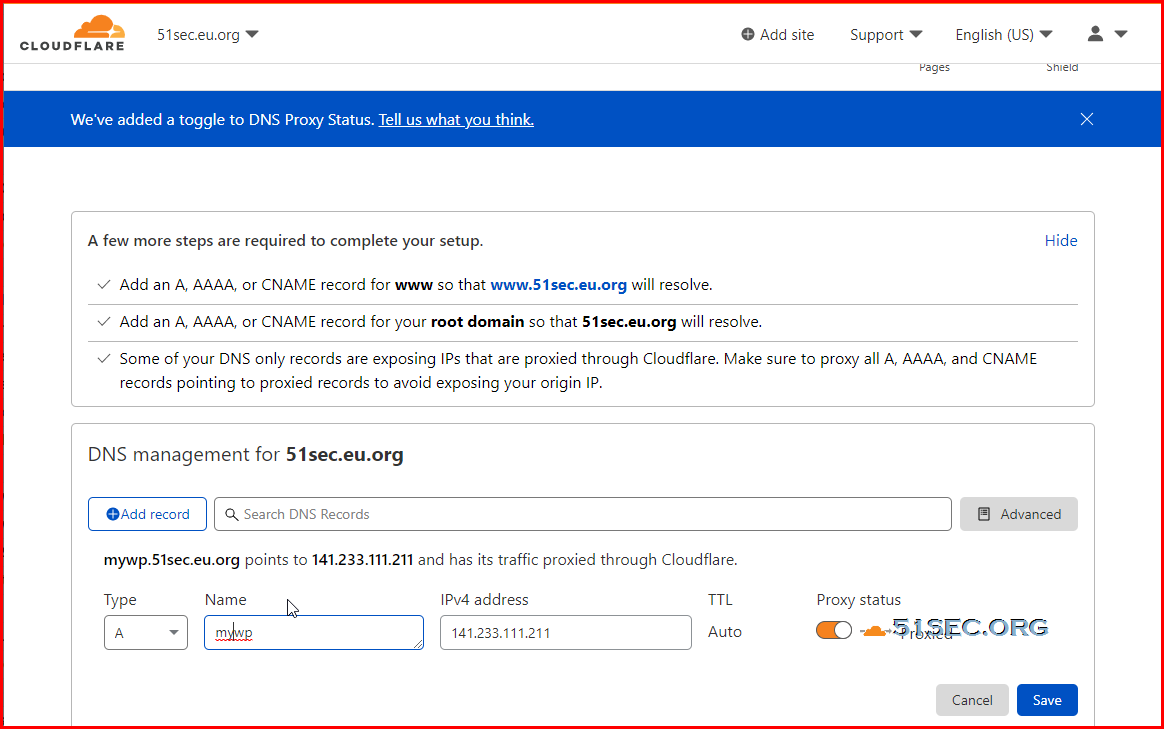
Create subdomain for your new Wordpress site
This is a simple step. Based on your domain name registrar, you can find out the management panel to add a new sub domain for your new workdpress site. Here is an example from my Cloudflare page.
Change Docker Network
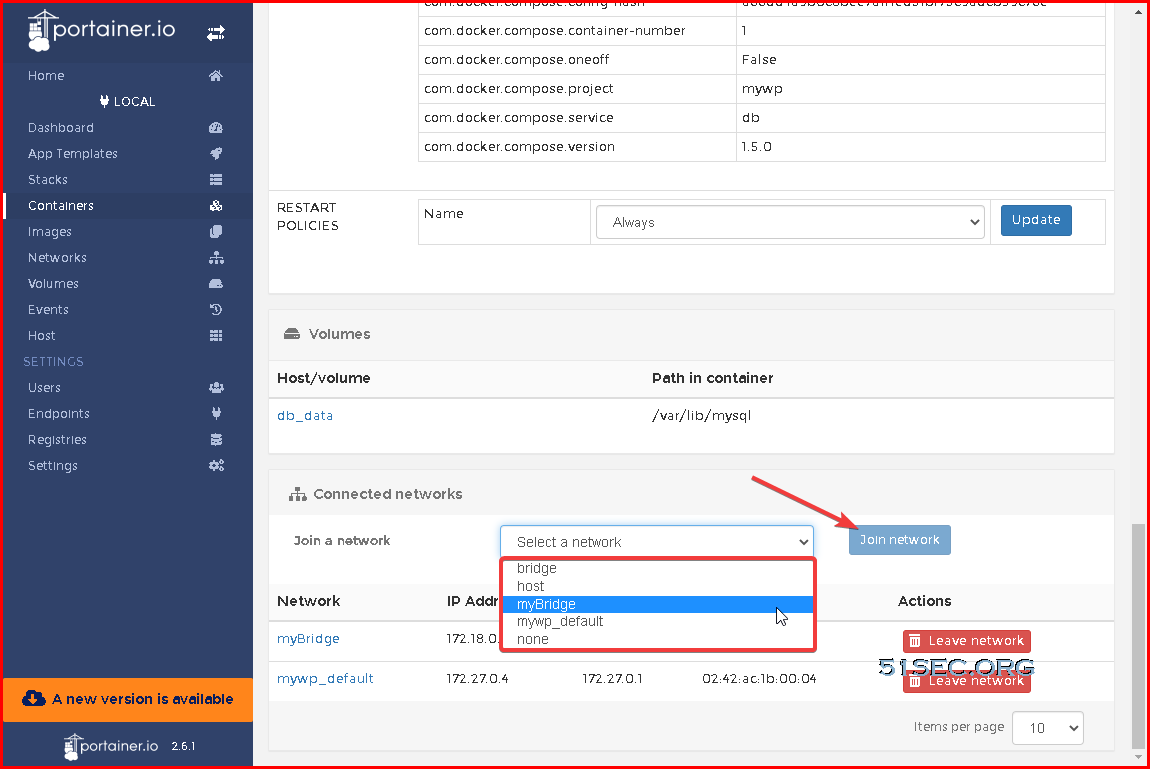
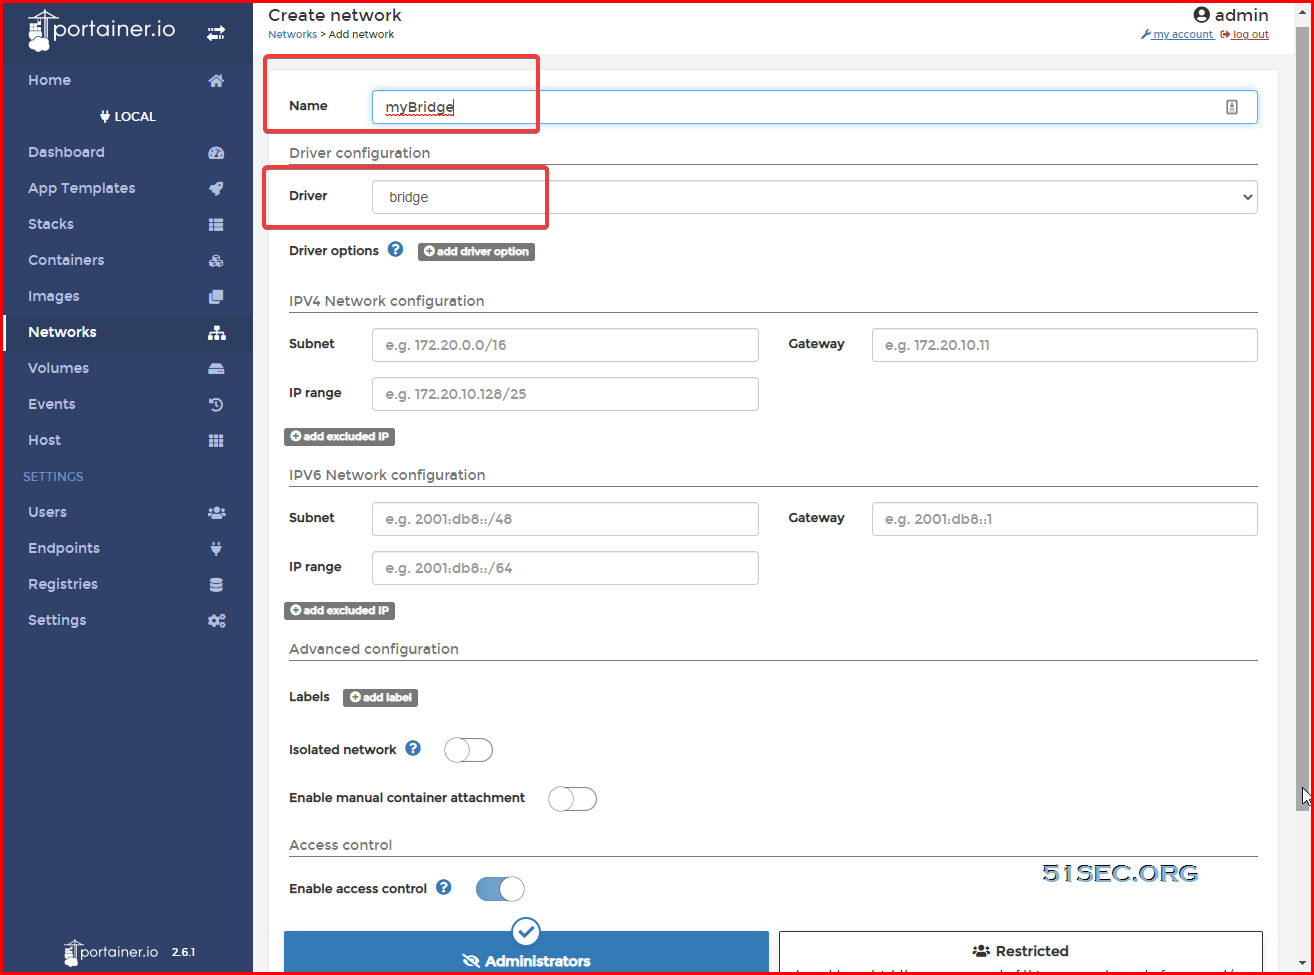
Previously, I have create a custom bridge network, which all of my Dockers joined in. |
| Join Wordpress dockers network to the same network as Nginx. You might want to keep another network so it can communicate with your MYSQL DB docker. |
Nginx Configuration
Create Nginx configuration file for Wordpress site after you connected into Nginx Docker's console:
- apt update
- apt install nano
- nano arm1wp.conf
root@560e40a1e1d2:/etc/nginx/conf.d# cat arm1wp.conf
server {
    listen       80;
    server_name  arm1wp.51sec.eu.org;

location / {
    proxy_pass       http://mywp_wordpress_1;
    proxy_http_version         1.1;
    proxy_read_timeout 300;
    proxy_set_header Upgrade $http_upgrade;
    proxy_set_header Connection "upgrade";
    proxy_set_header Host $http_host;
    proxy_set_header X-Real-IP $remote_addr;
    proxy_set_header X-Real-PORT $remote_port;
           }
}
YouTube Video:


No comments:
Post a Comment