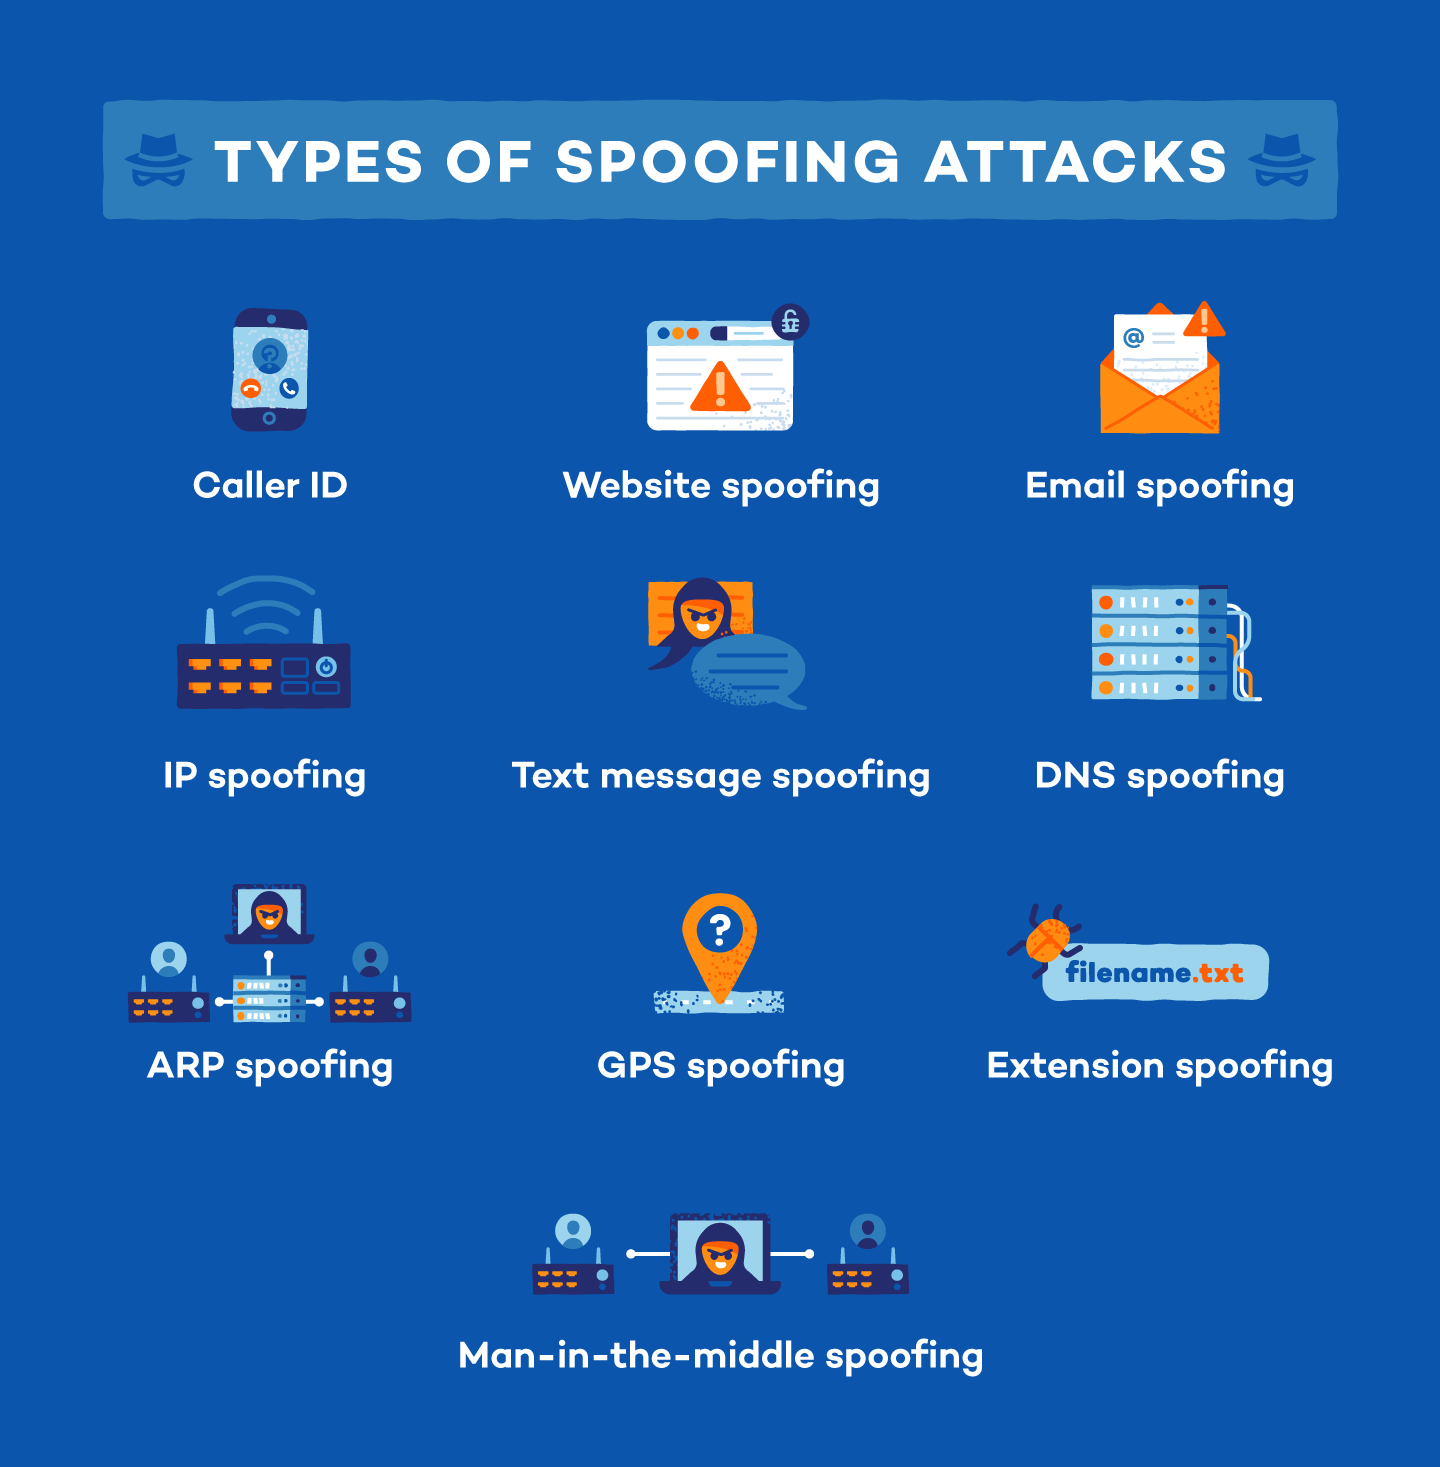
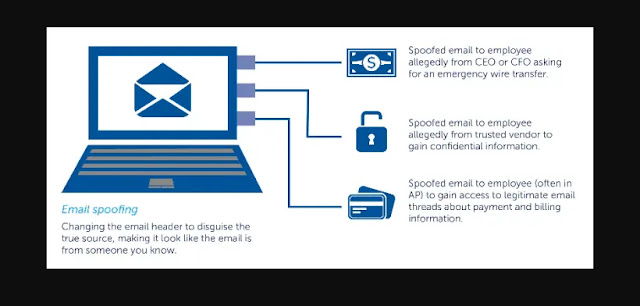
Sending a spoofed email is a very simple task to do and it is also can be easily blocked if your email service has been configured correctly.
In this blog post, I am gonna show you a quick way to send out a spoofed email message to myself (gmail address) and I will suggest how you can protect your domain to prevent this happening to your company email address.
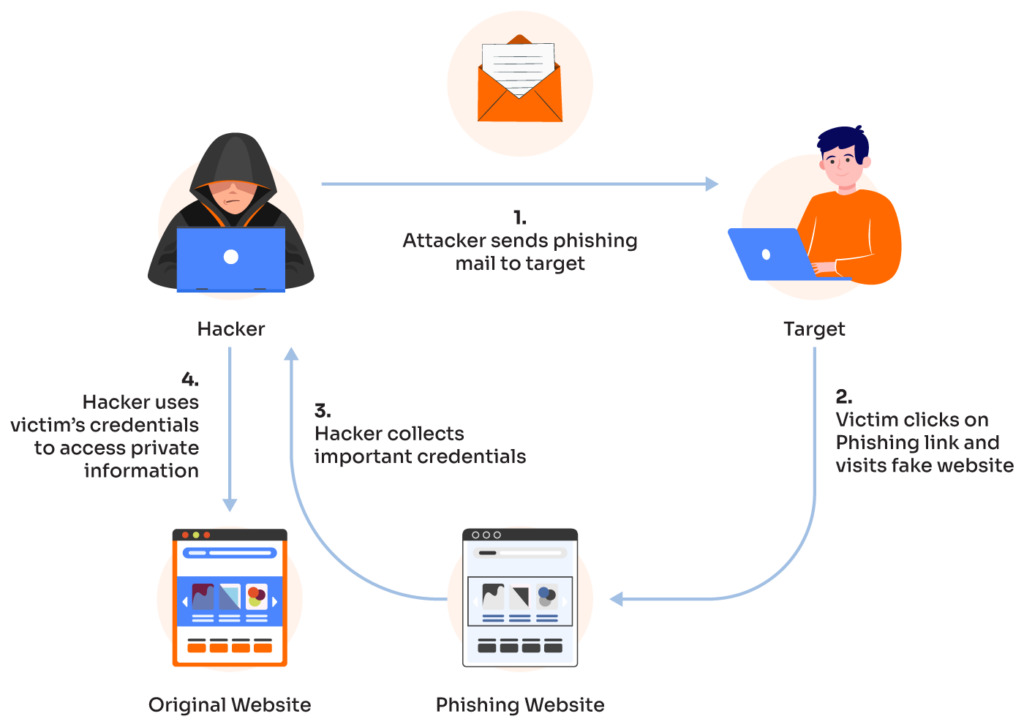
Diagram
Using Brevo (Sendinblue) To Send Emails
1 Create a FREE account and log into https://app-smtp.brevo.com
Everything in Free:
- 300 emails/day
- Customizable email templates
- Drag & drop editor
- Transactional emails
- SMS & WhatsApp campaigns
2 Go to Transactional - Email - Settings - Configuration - Get your SMTP Key
3 Create Your Own Key or Using Your Master Key
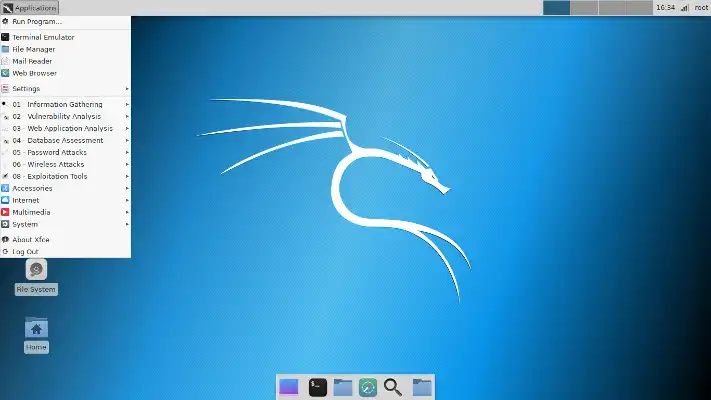
Go to OnWorks.net to Start Free KALI VM
OnWorks is a free online VPS hosting provider that gives cloud services like free workstations, online AntiVirus, free VPN secure proxies, and free personal and business email. Free VPS can be based on CentOS, Fedora, Ubuntu and Debian. Some of them are customized to be like Windows online or MacOS online.
It has ads for free usage. Also if no action for 5 minutes, your session will be closed and resource will be freed up.
1 Visit https://www.onworks.net/
2 Search Kali from search box
3 Click Kali Linux and RUN ONLINE
4 Open Firefox and go to https://copy-paste.online/ for passing following code into kali
sendemail -xu [email protected] -xp xsmtpsib-3b6d2aa74ec8963da03f652d76416d761fe3a3e4e81b8f59a8ebdb342807e197-h0RGTc9qYSOI3pvM -s smtp-relay.sendinblue.com:587 -f "[email protected]" -t "[email protected]" -u "This is testing phishing / spoofing email" -m "This is just for testing. Please delete it."
5 After received the code from Kali's firefox, paste it into Terminal to run which will send out a spoofed email to the recipient you defined in the command
- sendemail -xu [email protected] -xp xsmtpsib-3b6d2aa74ec8963da03f652d76416d761fe3a3e4e81b8f59a8ebdb342807e197-h0RGTc9qYSOI3pvM -s smtp-relay.sendinblue.com:587 -f "[email protected]" -t "[email protected]" -u "This is testing phishing / spoofing email" -m "This is just for testing. Please delete it."
sendemail -xu [email protected] -xp xsmtpsib-3b6d2aa74ec8963da03f652d76416d761fe3a3e4e81b8f59a8ebdb342807e197-h0RGTc9qYSOI3pvM -s smtp-relay.sendinblue.com:587 -f "[email protected]" -t "[email protected]" -u "This is testing phishing / spoofing email" -m <EmailBody.txt
If you are manually typing in message Body:
- First line must be received within 60 seconds.
- End manual input with a CTRL-D on its own line.
Aug 21 02:40:46 ub20-1-test sendemail[3711645]: Message input complete.
Aug 21 02:40:46 ub20-1-test sendemail[3711645]: Email was sent successfully!
Prevent Domain To Be Spoofed
1 SPF
An email message may contain multiple originator or sender addresses. These addresses are used for different purposes. For example, consider these addresses:
"Mail From" address: Identifies the sender and says where to send return notices if any problems occur with the delivery of the message (such as non-delivery notices). Mail From address appears in the envelope portion of an email message and isn't displayed by your email application, and is sometimes called the 5321.MailFrom address or the reverse-path address.
"From" address: The address displayed as the From address by your mail application. From address identifies the author of the email. That is, the mailbox of the person or system responsible for writing the message. The From address is sometimes called the 5322.From address.
SPF uses a DNS TXT record to list authorized sending IP addresses for a given domain. Normally, SPF checks are only performed against the 5321.MailFrom address. The 5322.From address isn't authenticated when you use SPF by itself, which allows for a scenario where a user gets a message that passed SPF checks but has a spoofed 5322.From sender address.
Limitations of SPF
SPF records don’t apply to the From address
Emails have multiple addresses to identify their sender: the From address that you normally see, and the Return Path address that’s hidden and require one or two clicks to view. With SPF enabled, the receiving email server looks at the Return Path and checks the SPF records of the domain from that address.
The problem here is that attackers can exploit this by using a fake domain in their Return Path address and a legitimate (or legitimate-looking) email address in the From section. Even if the receiver were to check the sender’s email ID, they’d see the From address first, and typically don’t bother to check the Return Path. In fact, most people aren’t even aware there is such a thing as Return Path address.
SPF can be quite easily circumvented by using this simple trick, and it leaves even domains secured with SPF largely vulnerable.
2 DMARC
Policy set to none
Console_dmarc.contoso.com 3600 IN TXT "v=DMARC1; p=none"Policy set to quarantine
Console_dmarc.contoso.com 3600 IN TXT "v=DMARC1; p=quarantine"Policy set to reject
Console_dmarc.contoso.com 3600 IN TXT "v=DMARC1; p=reject"
Once you've formed your record, you need to update the record at your domain registrar.
DMARC configuration
- TXT _dmarc v=DMARC1; p=reject; adkim=r; aspf=r; rua=mailto:[email protected]
3 DKIM
DKIM is one of the trio of Authentication methods (SPF, DKIM and DMARC) that help prevent attackers from sending messages that look like they come from your domain.
DKIM lets you add a digital signature to outbound email messages in the message header. When you configure DKIM, you authorize your domain to associate, or sign, its name to an email message using cryptographic authentication. Email systems that get email from your domain can use this digital signature to help verify whether incoming email is legitimate.
In basic, a private key encrypts the header in a domain's outgoing email. The public key is published in the domain's DNS records, and receiving servers can use that key to decode the signature. DKIM verification helps the receiving servers confirm the mail is really coming from your domain and not someone spoofing your domain.
Tip
You can choose to do nothing about DKIM for your custom domain too. If you don't set up DKIM for your custom domain, Microsoft 365 creates a private and public key pair, enables DKIM signing, and then configures the Microsoft 365 default policy for your custom domain.
Microsoft-365's built-in DKIM configuration is sufficient coverage for most customers. However, you should manually configure DKIM for your custom domain in the following circumstances:
- You have more than one custom domain in Microsoft 365
- You're going to set up DMARC too (recommended)
- You want control over your private key
- You want to customize your CNAME records
- You want to set up DKIM keys for email originating out of a third-party domain, for example, if you use a third-party bulk mailer.
References
- https://www.youtube.com/watch?v=sCjFFDCUoWw
- Use DMARC to validate email
- https://temp-mail.org/


No comments:
Post a Comment