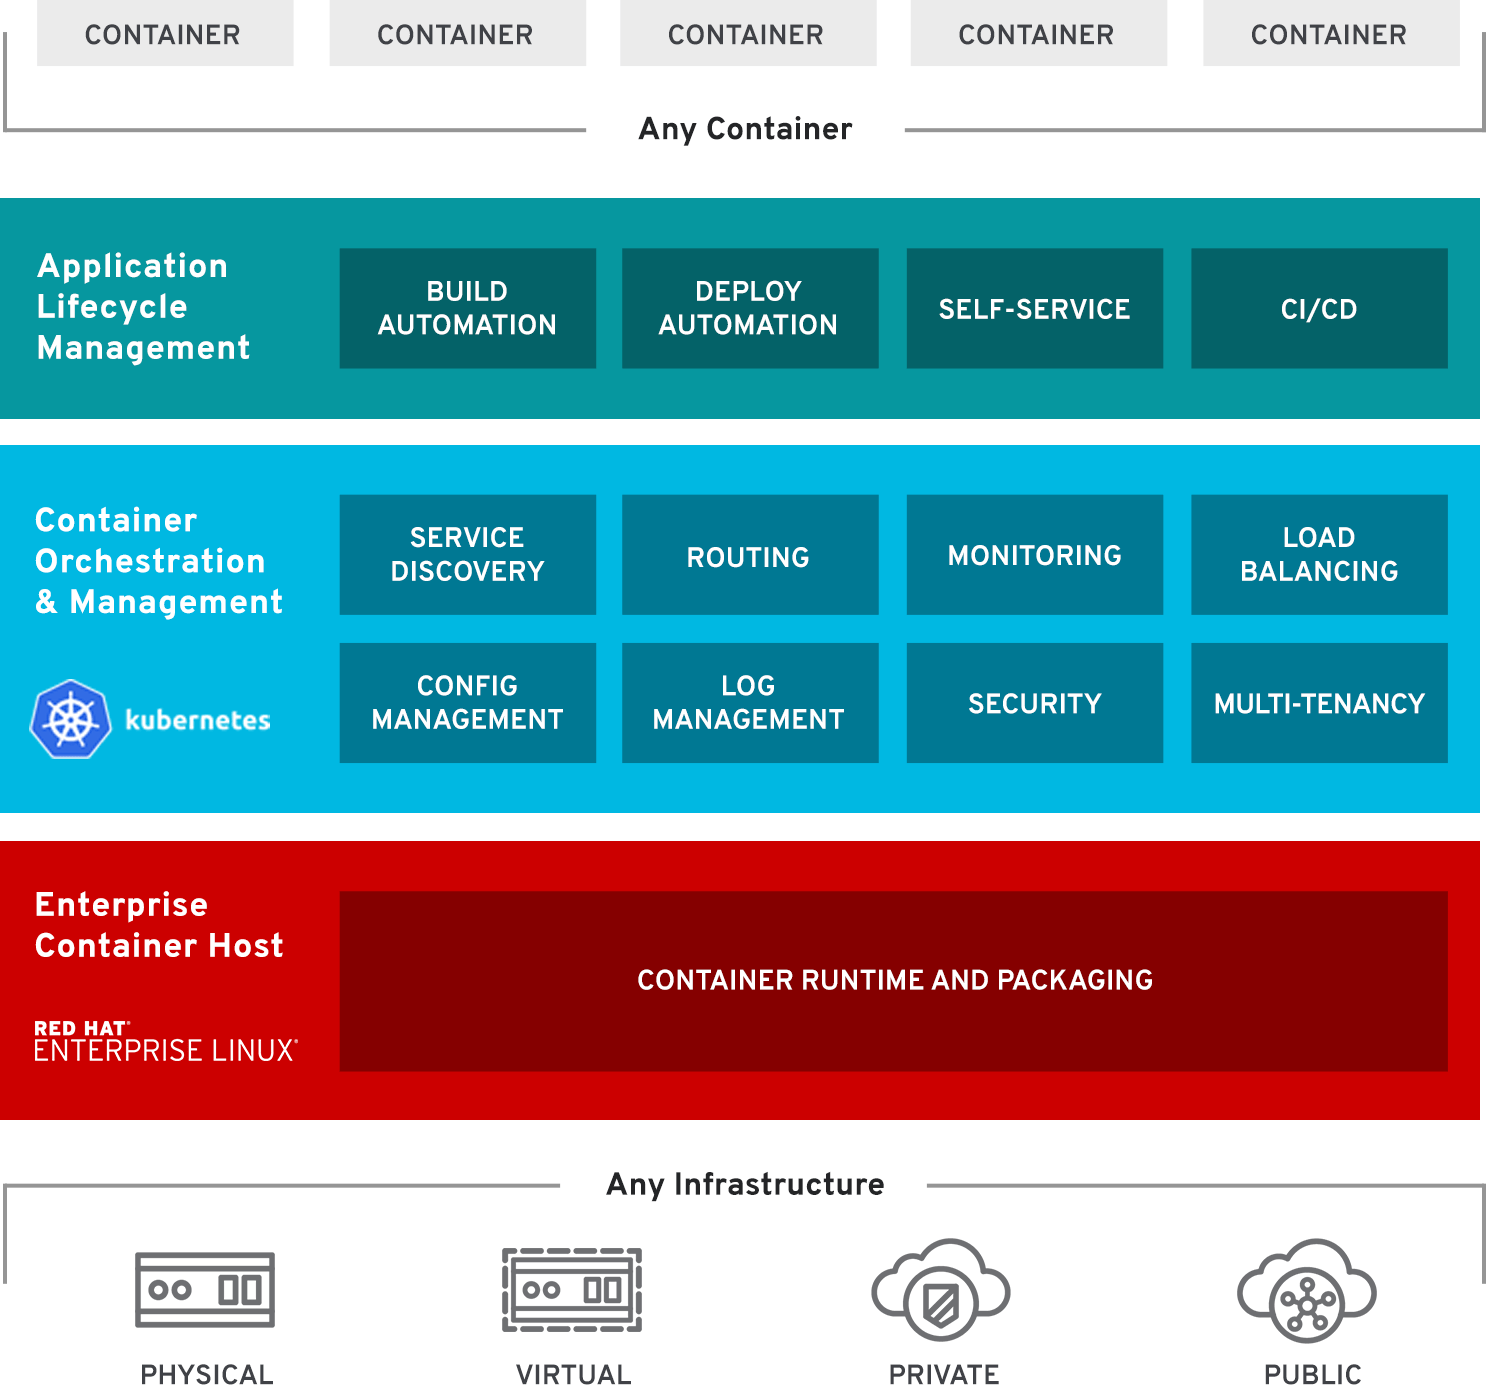
 Red Hat® OpenShift® is a comprehensive enterprise-grade application platform, built for containers with Kubernetes. It can automate the build, deployment, and management of applications so that you can focus on writing the code for your next big idea.
Basically OpenShift is Red Hat's Cloud platform as a service (PaaS). It provides a free and open source cloud-based platform allows developers to create, test and run their codes and deploy them into a free cloud platform.
This post is going to use an example to deploy a V proxy project into Red Hat OpenShift cloud to describe the basic steps.
Online Private / Public Kubernetes Cluster Providers:
- 1. Okteto Cloud: is a development-oriented Kubernetes platform that helps developers boost their productivity while building cloud-native applications.
- 2. Red Hat OpenShift Online: is Red Hat's public cloud application deployment and hosting platform that is based on a containerized infrastructure.
- 3. KubeSail
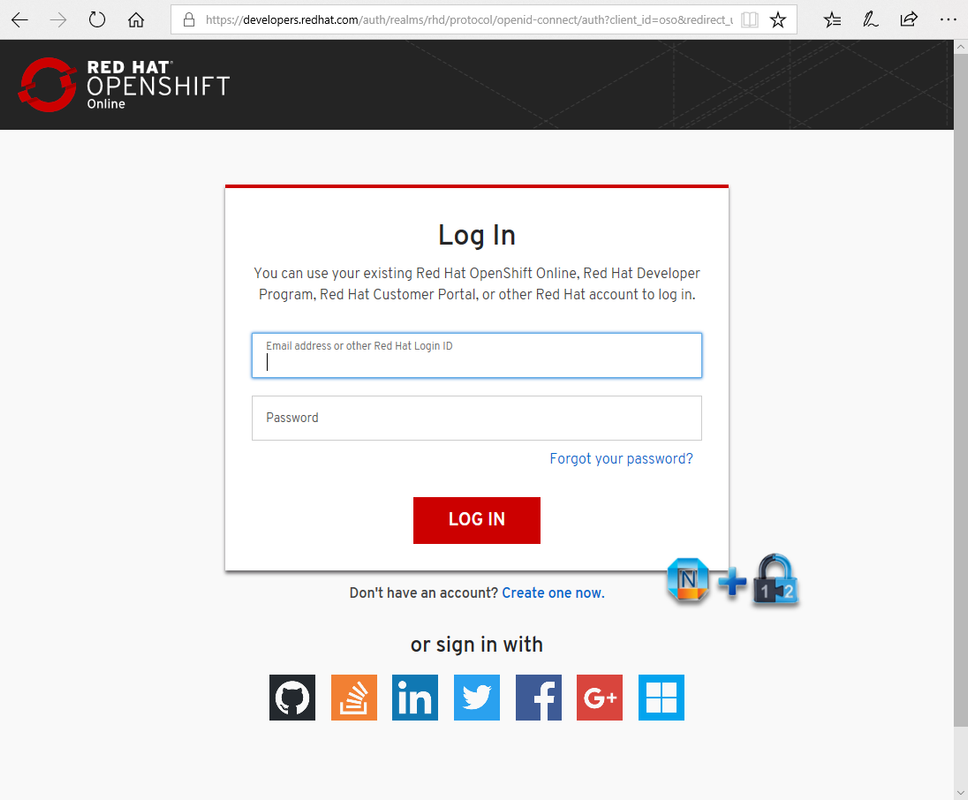
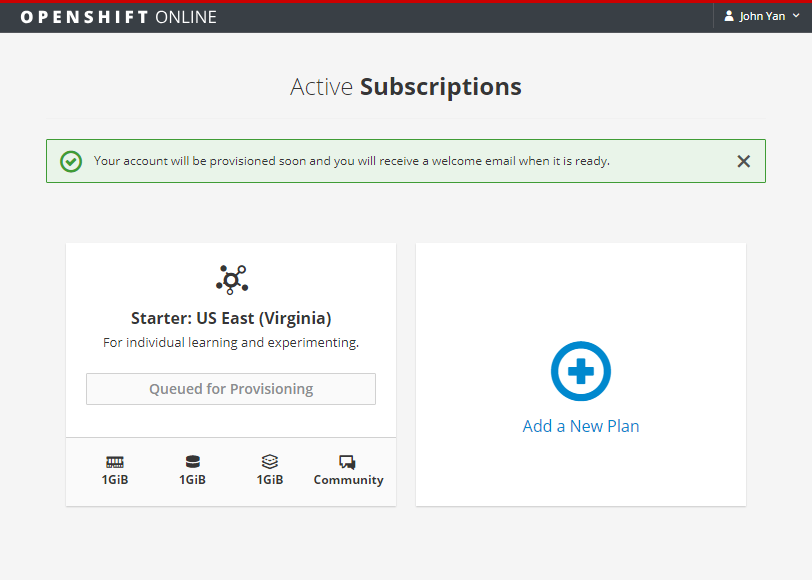
1. Signup / Log In Red Hat OpenShift Service
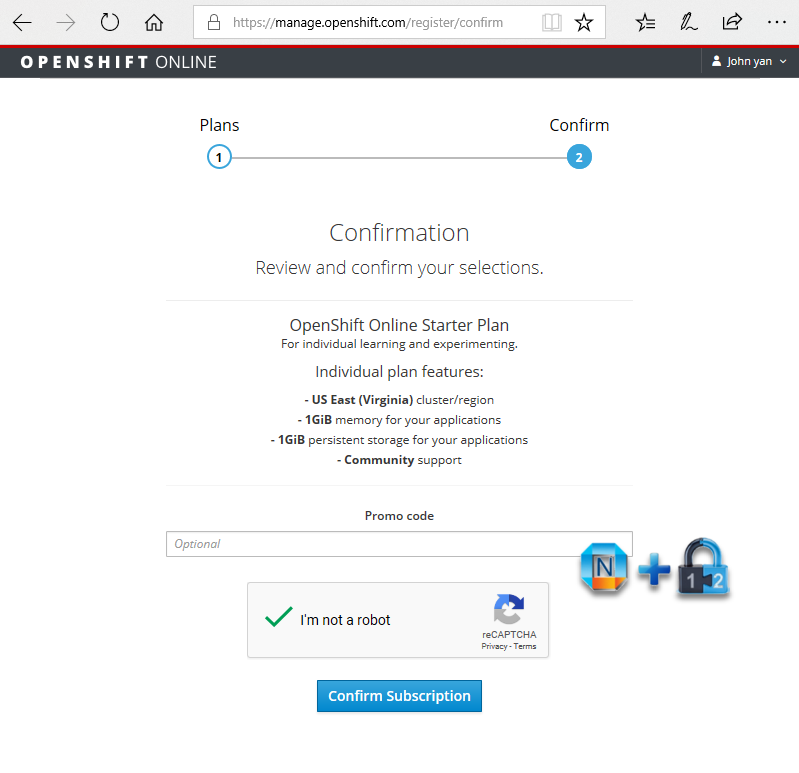
Individual plan features:
- US East (Virginia) cluster/region
- 1GiB memory for your applications
- 1GiB persistent storage for your applications
- Community support

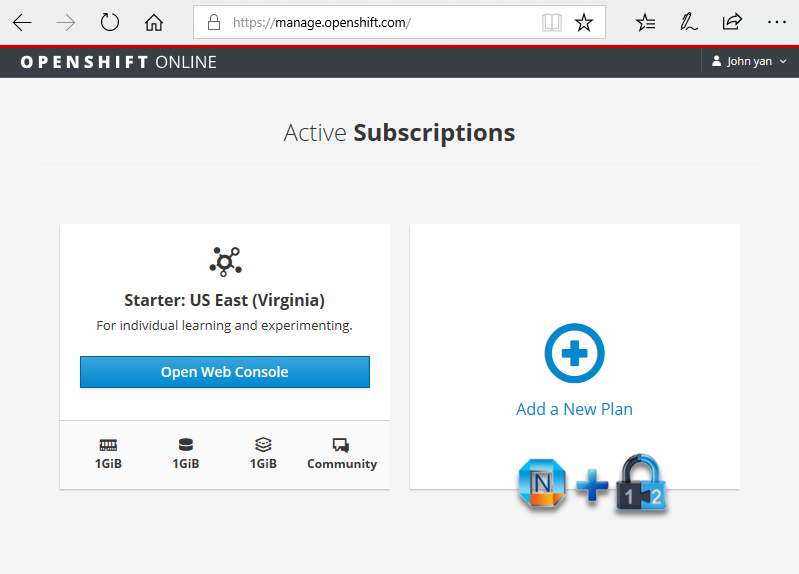
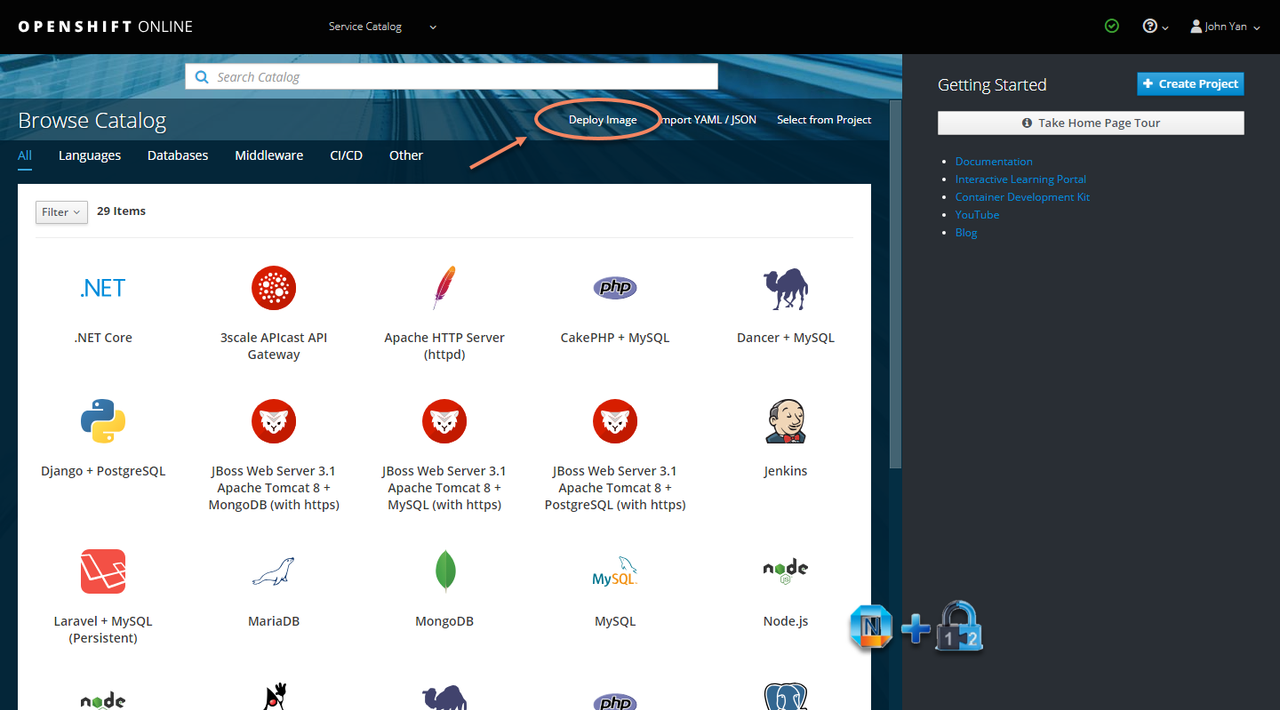
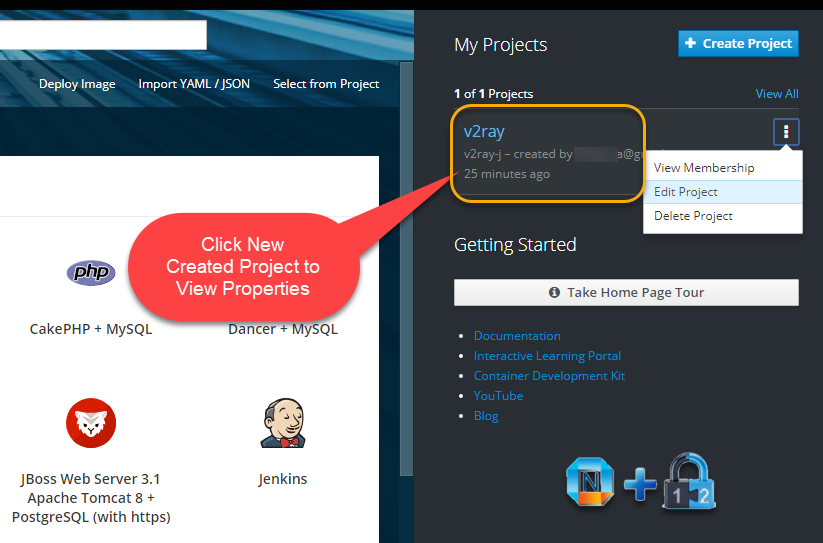
2. Create a new project
Open Web Console, and click Create Project button.


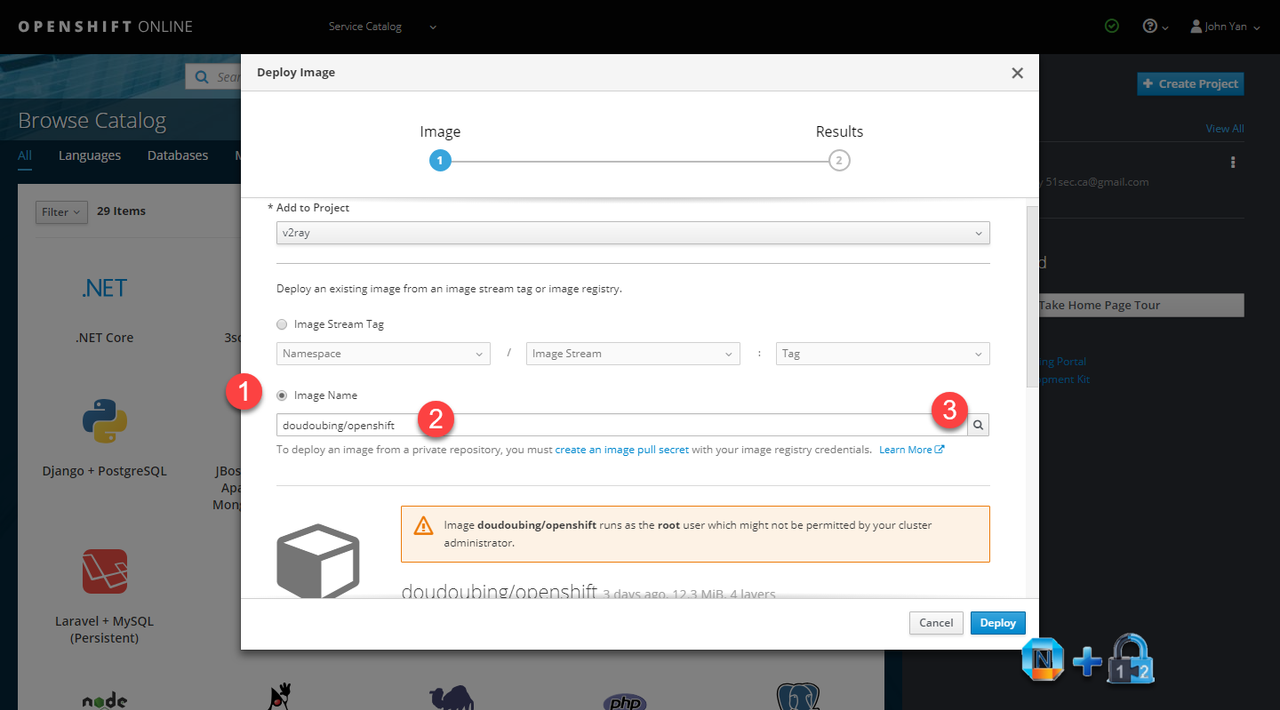
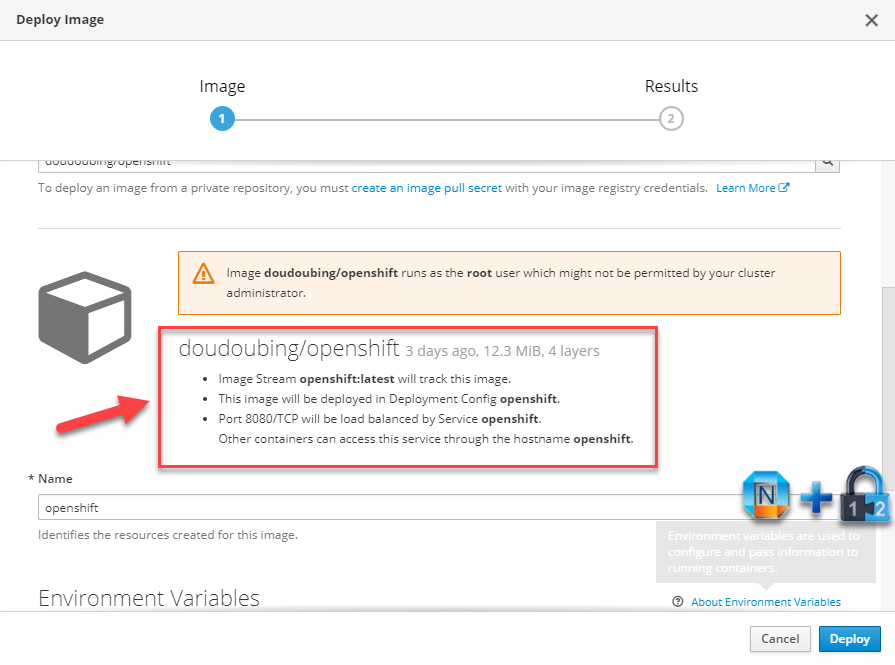
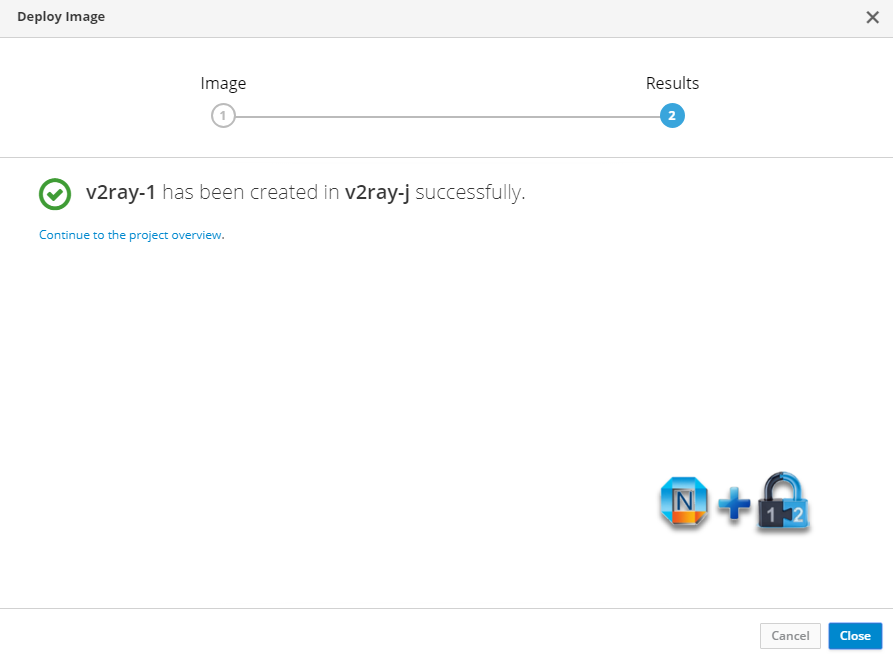
3. Deploy Image
Choose Image Name option and enter doudoubing/openshift as the image name to search.
The most important part is to configure Environment Variables.
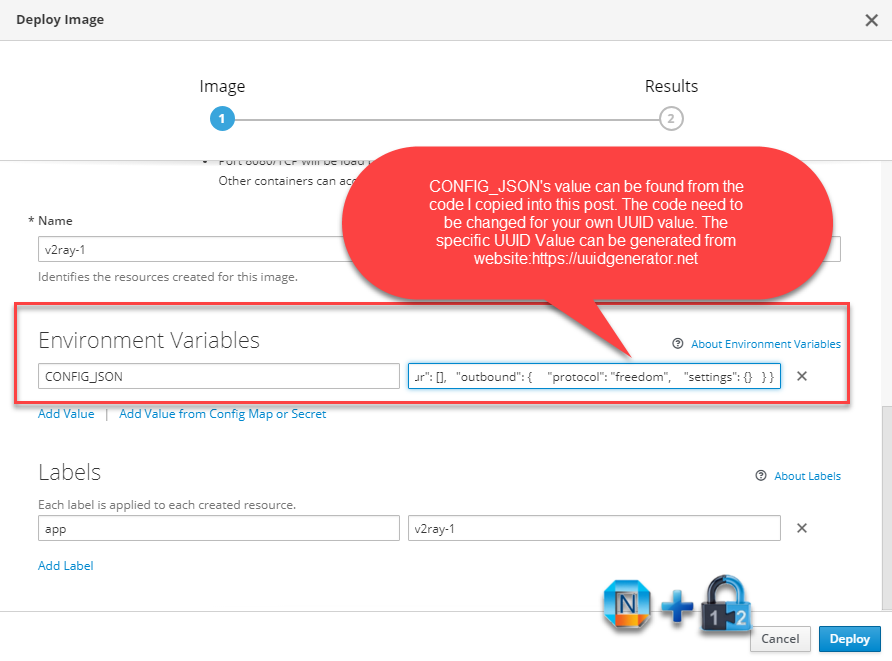
Here is the content for CONFIG_JSON value:
{
  "log": {
    "loglevel": "warning"
  },
  "inbound": {
    "protocol": "vmess",
    "port": 8080,
    "settings": {
      "clients": [
        {
          "id": "uuid change to your own from https://www.uuidgenerator.net/",
          "alterId": 64,
          "security": "aes-128-cfb"
        }
      ]
    },
    "streamSettings": {
      "network": "ws"
    }
  },
  "inboundDetour": [],
  "outbound": {
    "protocol": "freedom",
   "settings": {}
  }
}
Note: UUID needs to be changed to your own. It can be generated to your own from this site:
https://www.uuidgenerator.net/
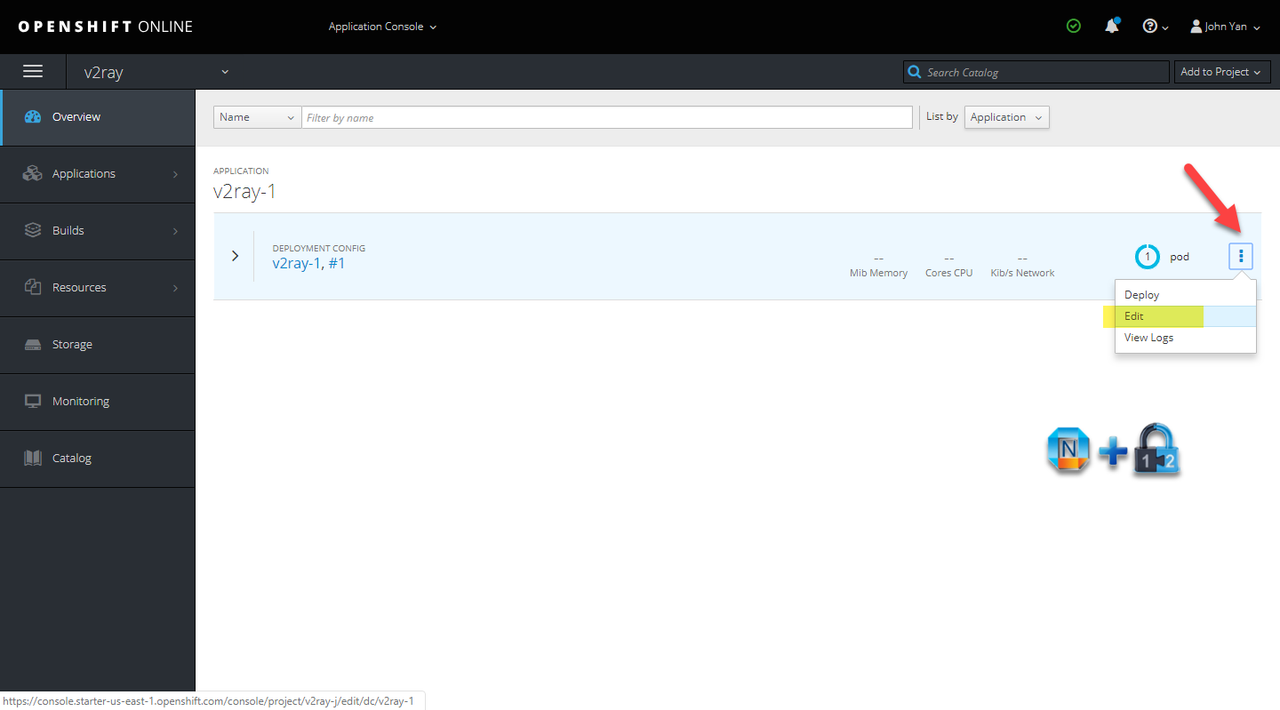
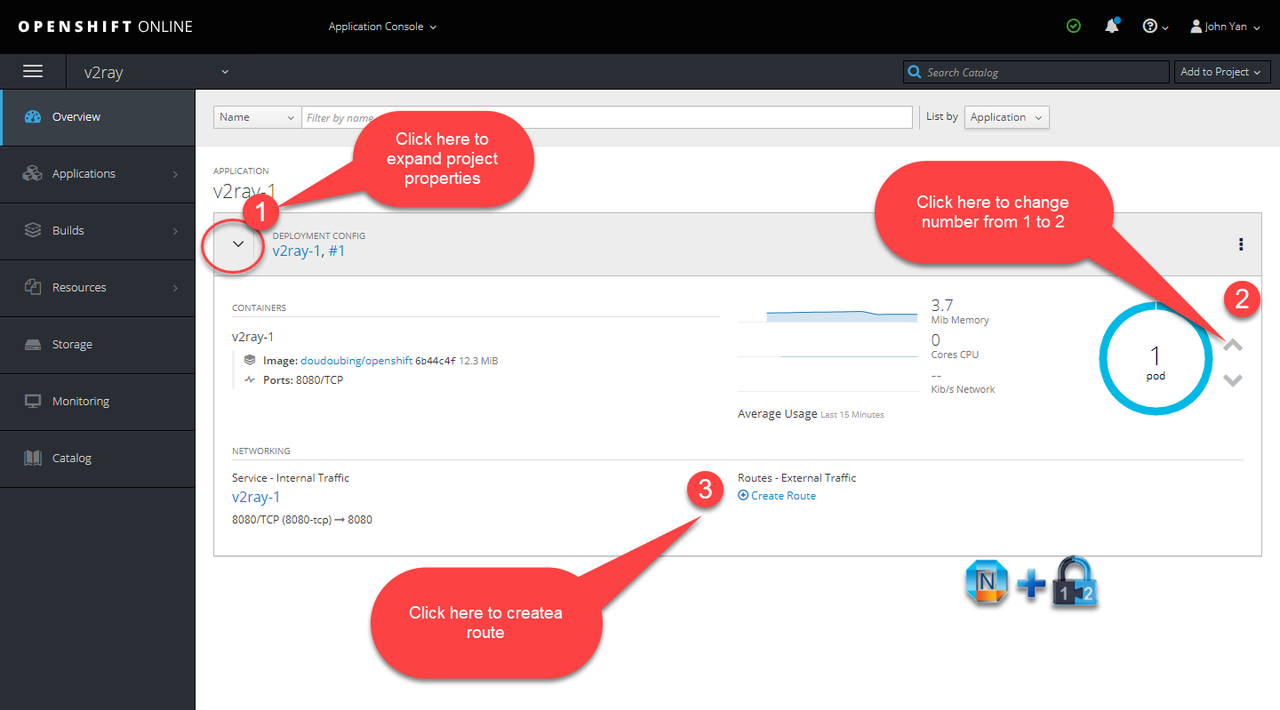
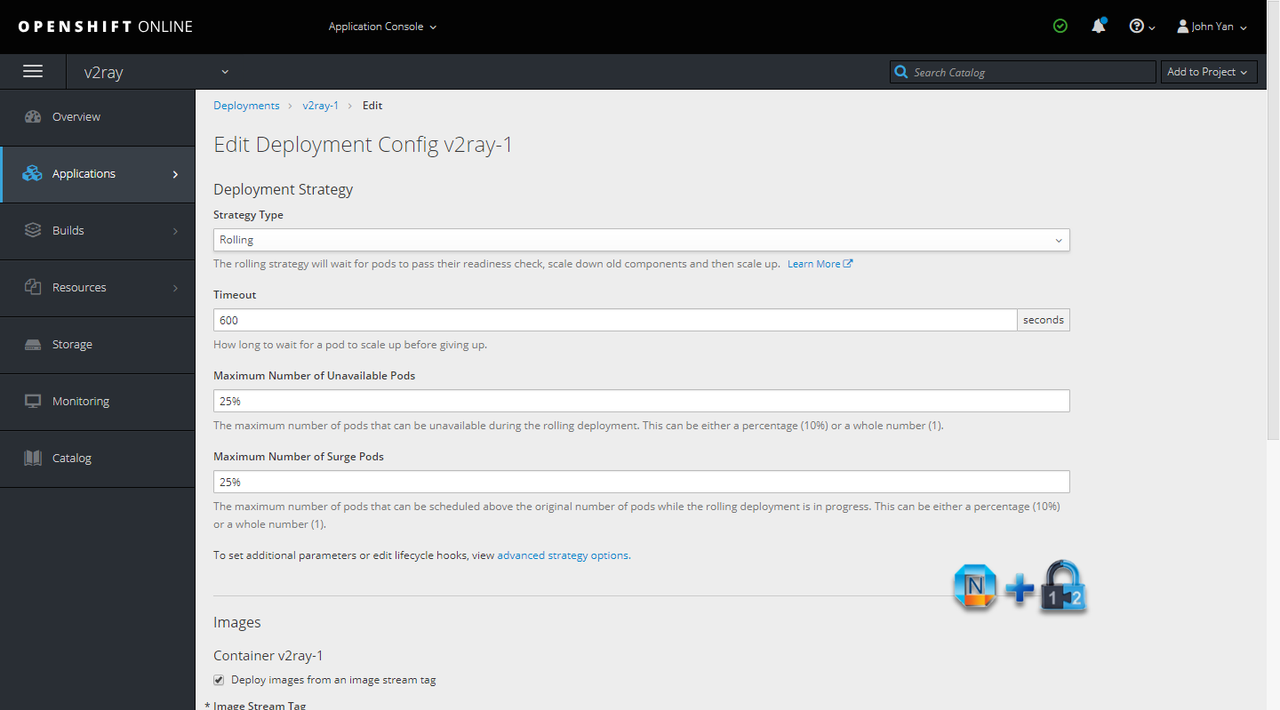
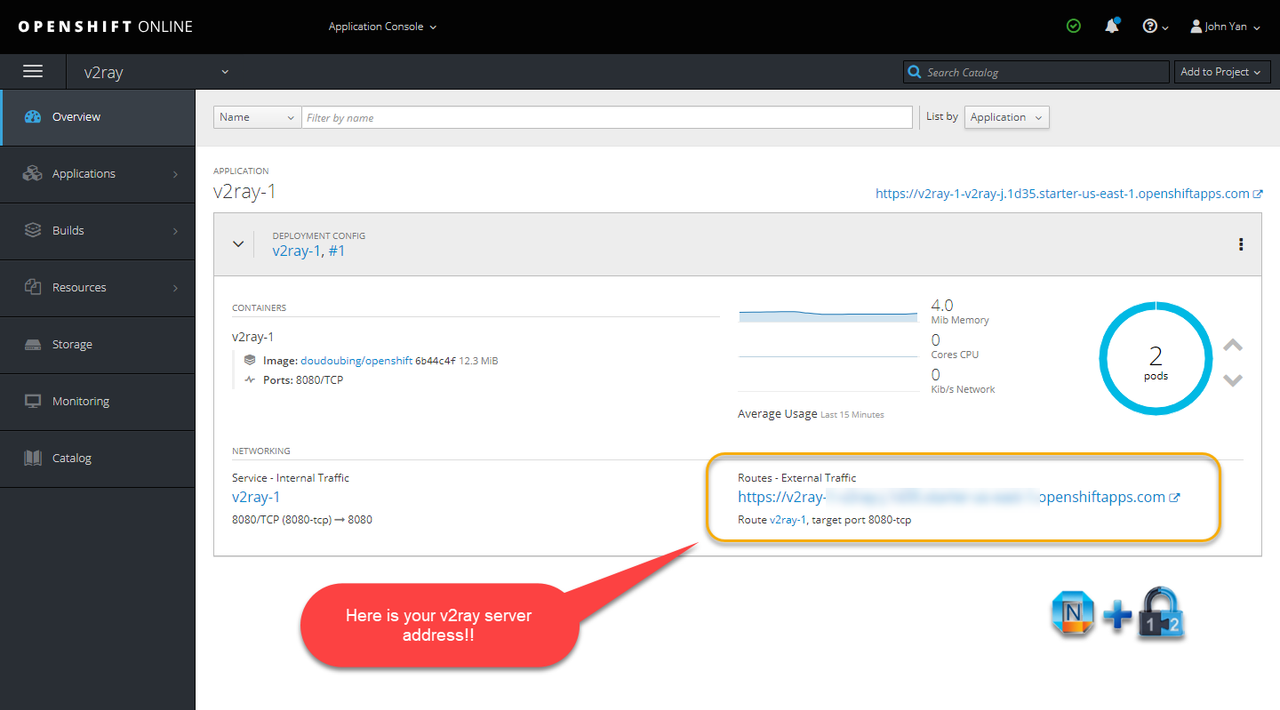
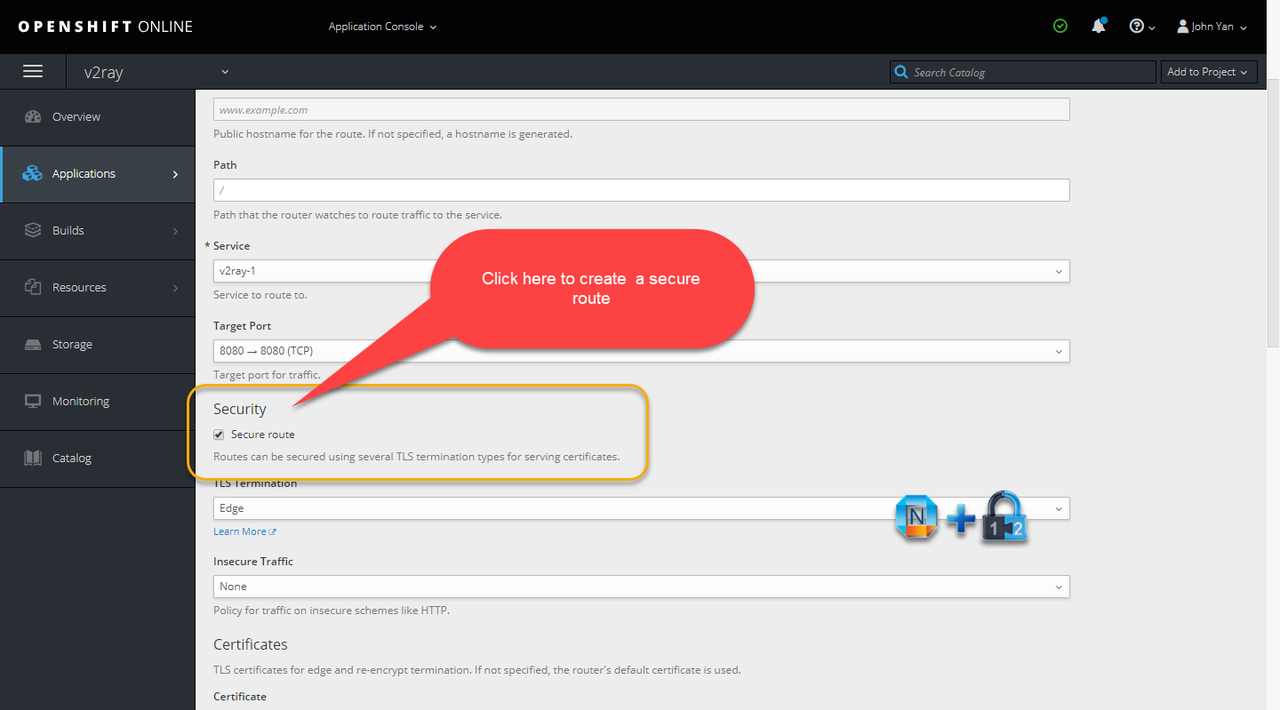
4. Change project application properties
The End


No comments:
Post a Comment