.png)
Both share-level and file/directory-level permissions are enforced when a user attempts to access a file/directory, so if there's a difference between either of them, only the most restrictive one will be applied. For example, if a user has read/write access at the file level, but only read at a share level, then they can only read that file. The same would be true if it was reversed: if a user had read/write access at the share-level, but only read at the file-level, they can still only read the file.
There are multiple ways we can apply NTFS permission during your data migration by using other tools such as azcopy or robocopy. Here are some related posts from this blog:
- Using AzCopy to Migrate Local Files to Azure blob Storage with SMB Permission
- Use RobCop (RoboCopy) to Migrate Files with NTFS Permission
Azure Share-Level Permission Mapping to NTFS Permission
The following table contains the Azure RBAC permissions related to this configuration. If you're using Azure Storage Explorer, you'll also need the Reader and Data Access role in order to read/access the file share.
Table for NTFS Permission (RBAC) + SMB Roles:
| Share-level permission (built-in role) | NTFS permission | Resulting access |
|---|---|---|
| Storage File Data SMB Share Reader | Full control, Modify, Read, Write, Execute | Read & execute |
| Read | Read | |
| Storage File Data SMB Share Contributor | Full control | Modify, Read, Write, Execute |
| Modify | Modify | |
| Read & execute | Read & execute | |
| Read | Read | |
| Write | Write | |
| Storage File Data SMB Share Elevated Contributor | Full control | Modify, Read, Write, Edit (Change permissions), Execute |
| Modify | Modify | |
| Read & execute | Read & execute | |
| Read | Read | |
| Write | Write |
Permission Mtrix for RBAC with SMB Roles (Reader, Contributor, Elevated Contributor):

Supported Windows ACLS (NTFS)
| Users | Definition |
|---|---|
BUILTIN\Administrators | Built-in security group representing administrators of the file server. This group is empty, and no one can be added to it. |
BUILTIN\Users | Built-in security group representing users of the file server. It includes NT AUTHORITY\Authenticated Users by default. For a traditional file server, you can configure the membership definition per server. For Azure Files, there isn't a hosting server, hence BUILTIN\Users includes the same set of users as NT AUTHORITY\Authenticated Users. |
NT AUTHORITY\SYSTEM | The service account of the operating system of the file server. Such service account doesn't apply in Azure Files context. It is included in the root directory to be consistent with Windows Files Server experience for hybrid scenarios. |
NT AUTHORITY\Authenticated Users | All users in AD that can get a valid Kerberos token. |
CREATOR OWNER | Each object either directory or file has an owner for that object. If there are ACLs assigned to CREATOR OWNER on that object, then the user that is the owner of this object has the permissions to the object defined by the ACL. |
The following permissions are included on the root directory of a file share:
BUILTIN\Administrators:(OI)(CI)(F)BUILTIN\Users:(RX)BUILTIN\Users:(OI)(CI)(IO)(GR,GE)NT AUTHORITY\Authenticated Users:(OI)(CI)(M)NT AUTHORITY\SYSTEM:(OI)(CI)(F)NT AUTHORITY\SYSTEM:(F)CREATOR OWNER:(OI)(CI)(IO)(F)
Mount the file share using storage account key
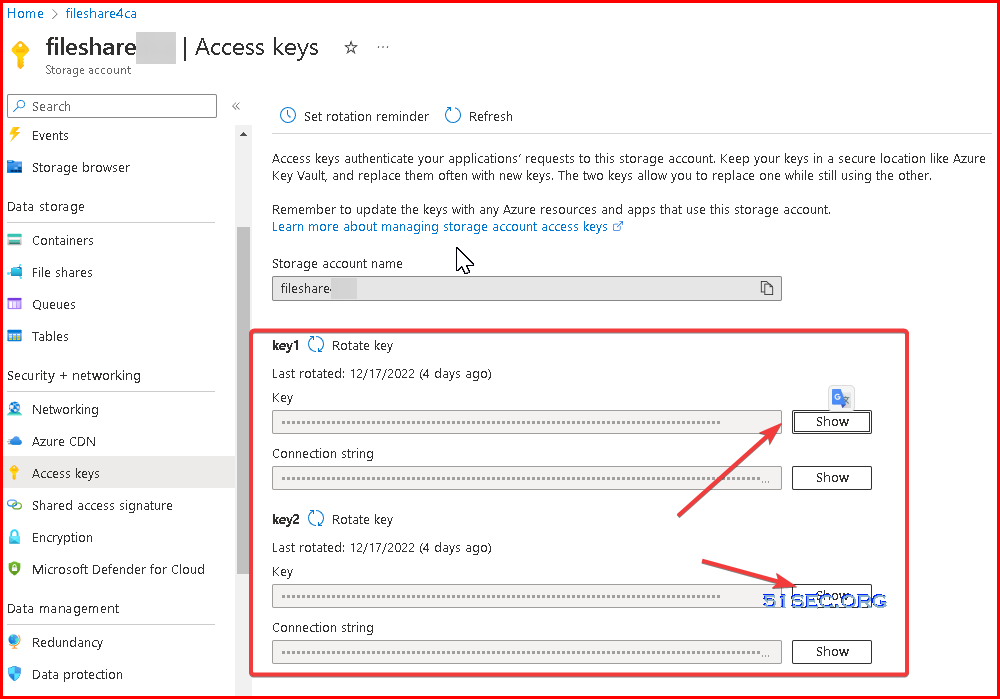
Before you configure Windows ACLs, you must first mount the file share by using your storage account key. To do this, log into a domain-joined device, open a Windows command prompt, and run the following command. Remember to replace <YourStorageAccountName>, <FileShareName>, and <YourStorageAccountKey> with your own values. If Z: is already in use, replace it with an available drive letter. You can find your storage account key in the Azure portal by navigating to the storage account and selecting Security + networking > Access keys, or you can use the Get-AzStorageAccountKey PowerShell cmdlet.
It's important that you use the net use Windows command to mount the share at this stage and not PowerShell. If you use PowerShell to mount the share, then the share won't be visible to Windows File Explorer or cmd.exe, and you'll have difficulty configuring Windows ACLs.
net use Z: \\<YourStorageAccountName>.file.core.windows.net\<FileShareName> /user:localhost\<YourStorageAccountName> <YourStorageAccountKey>
Example::
net use R: \\fileshare4test.file.core.windows.net\fstest /user:localhost\fileshare4test h1GUuy3YasaG1LLNjQLQ8wD9PpYtyeVY1MY6s4s11BJLJQTzyUaX69LzYsDVyYOKm3cXgrsvYOpX+AStkQD+zW==
- net use
Robocopy "F:\testshare" "R:\test" /COPY:DAT /SEC /MIR /R:10 /W:5 /V /ETA
./azcopy.exe copy "F:\testshare\" "https://fileshare4test.file.core.windows.net/fstest/testfolder/?sv=2021-06-08&ss=bfqt&srt=sco&sp=rwdlacupiytfx&se=2022-09-13T05:11:14Z&st=2022-09-12T21:11:14Z&spr=https&sig=85MdmVM%2FGwPmAQSay0sDC1mCboxZZP62UdFnYmW1HHR%3D" --preserve-smb-info=true --preserve-smb-permissions=true --disable-auto-decoding=false --recursive --log-level=INFOMonunt File Shares Using Storage Account and Key First to Assign NTFS ACL
The key is to give a user full control first using storage account name and key to mount file shares.
Multiple Role Assignments - Higher-Level Permissions WIN
What happens if you use both configurations
You could also assign permissions to all authenticated Azure AD users and specific Azure AD users/groups. With this configuration, a specific user or group will have whichever is the higher-level permission from the default share-level permission and RBAC assignment. In other words, say you granted a user the Storage File Data SMB Reader role on the target file share. You also granted the default share-level permission Storage File Data SMB Share Elevated Contributor to all authenticated users. With this configuration, that particular user will have Storage File Data SMB Share Elevated Contributor level of access to the file share. Higher-level permissions always take precedence.


No comments:
Post a Comment