There are many reasons you might want to put OpenWRT into Azure Cloud. For me, I was looking for a free and light weight solution which can do routing, NAT, port forwarding, firewall with Web GUI management for my Azure cloud. I tried VNS3 NATe solution which works fine. Only restriction bothers me for production usage is throughput limited at 50Mbps.
Deploy a Free NAT Gateway, Firewall and Router in Azure - VNS3 NATe
I had some posts regarding OpenWRT running in my VMWare environment. Is it possible to run it in Azure cloud? I managed to try using an OVA package found from Openwrt.org website and it works.
Just in case you have same need and here are the steps I am following to spin up an OpenWRT VM in Azure Cloud.
Topology
Download and Unzip OpenWRT OVA package
OVA file download links:19.07.5 - https://www.dropbox.com/s/4b0dy8d8iqf8a91/OpenWRT_x86_64_19.07.05.ova?dl=0
We can use winzip or 7zip this kind of software to unzip OVA file to a folder. There is vmkd file which we will need to process to next step.
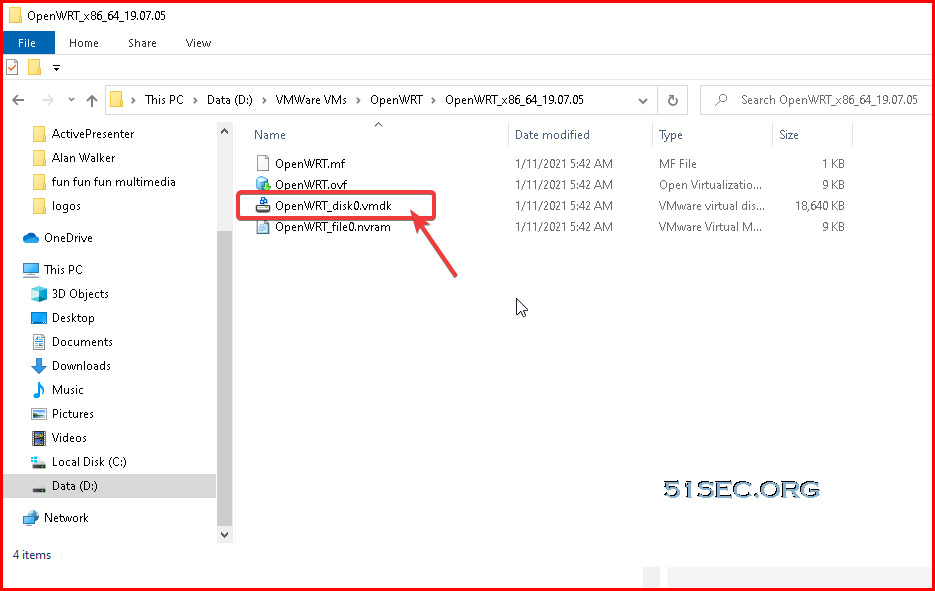
Convert VMDK file to VHD format
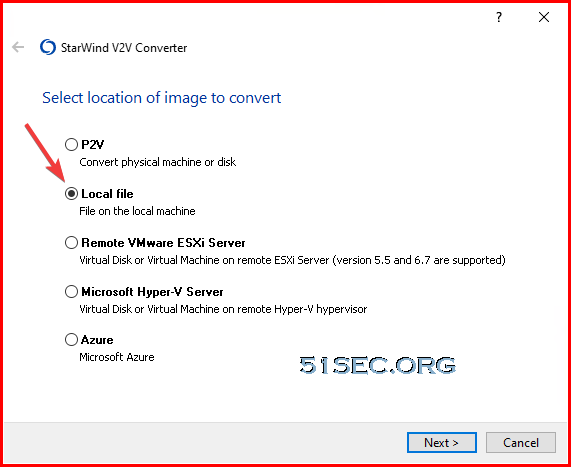
There are a couple of ways to do that. The easiest way for me is to download StarWindConverter from https://www.starwindsoftware.com/starwind-v2v-converter1 Choose local file to start
2 select the vmdk file we extracted from ova file.

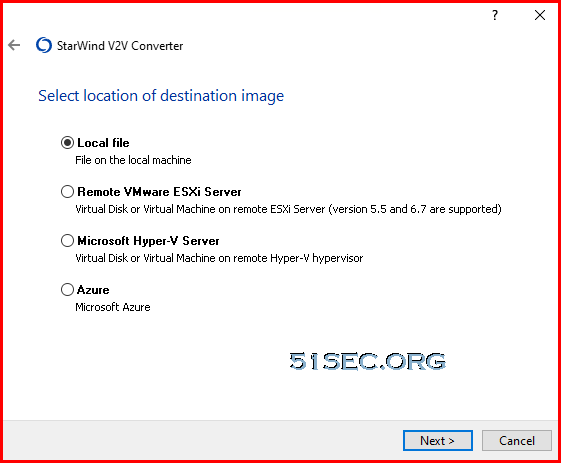
3 choose where to save your converted file.
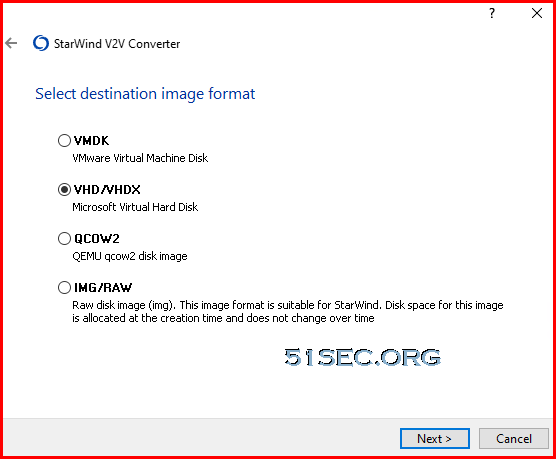
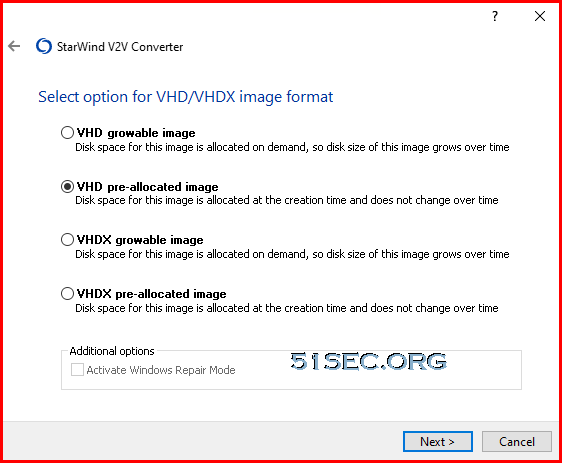
4 choose the vhd / vhdx as destination image format.
5 Choose VHD pre-allocated image
Just in case you do not want to install StarWind V2V software, I have a converted VHD file for downloading: https://od.51sec.org/T51SecEU/Sharing/VM/OpenWRT/
Upload VHD File to Azure Storage
If you have not create a storage account, you will need to create one. You will also need to create a container to store this VHD file.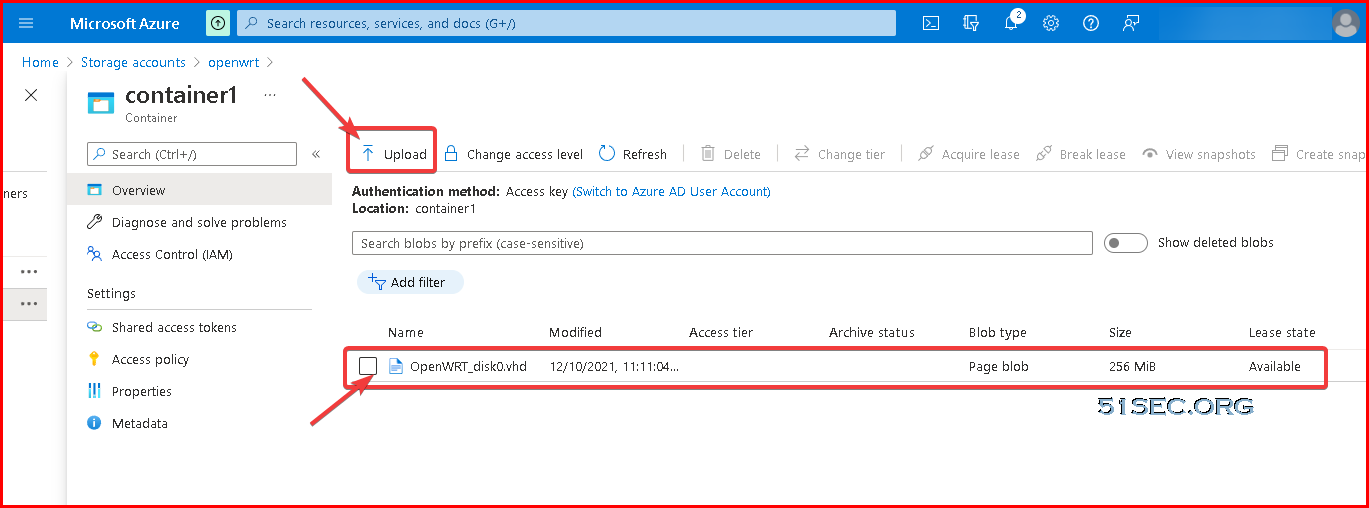
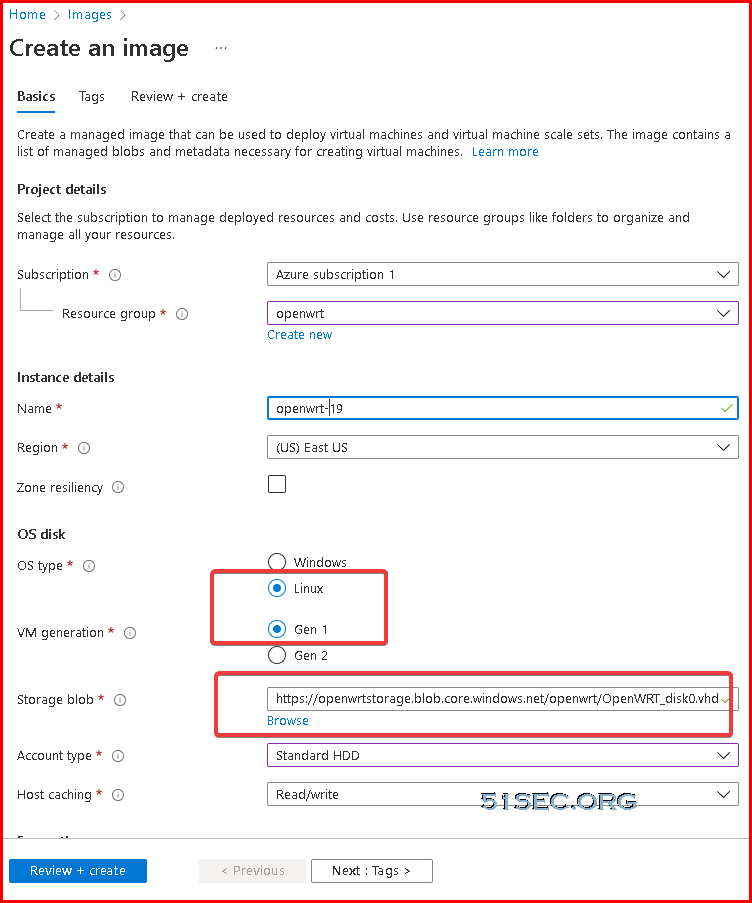
Create OpenWRT Image from VHD File in Blob Storage
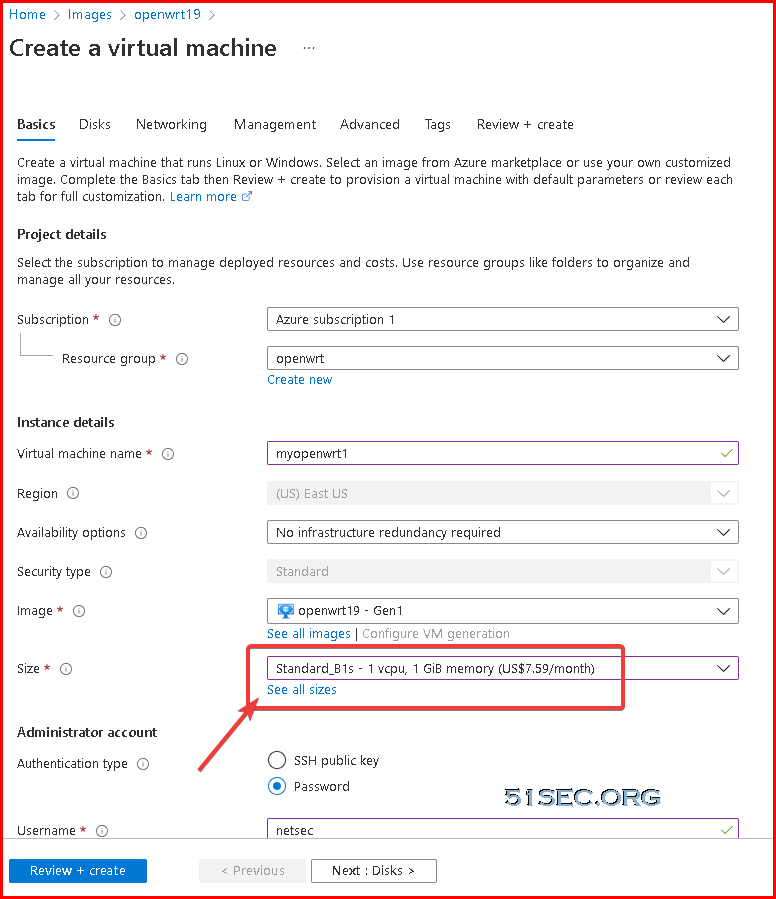
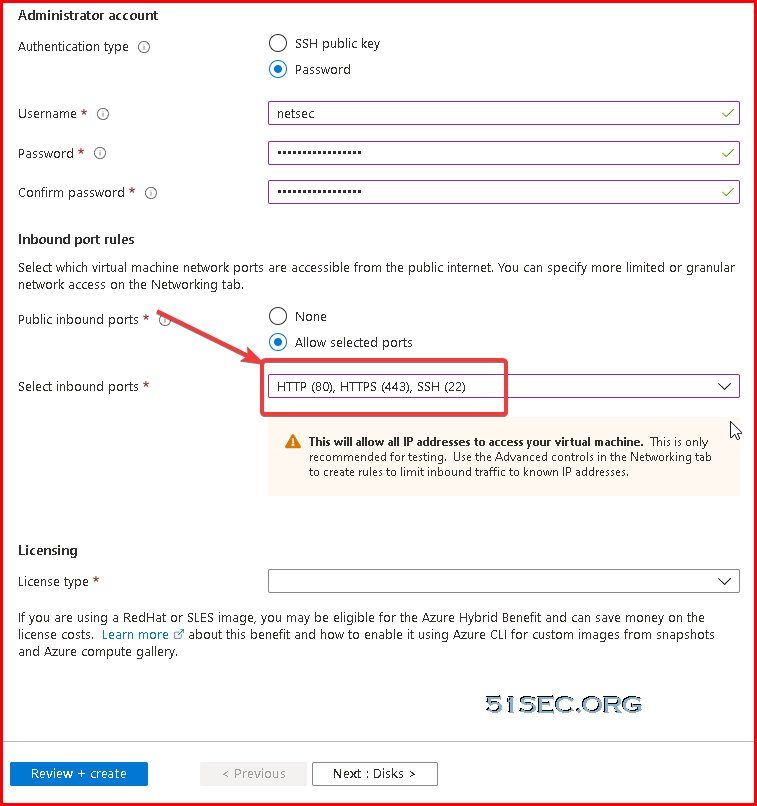
Create OpenWRT VM Based on New Created OpenWRT Image

Log in to OpenWRT to Confirm Connection
Default username is root and password is null, no password.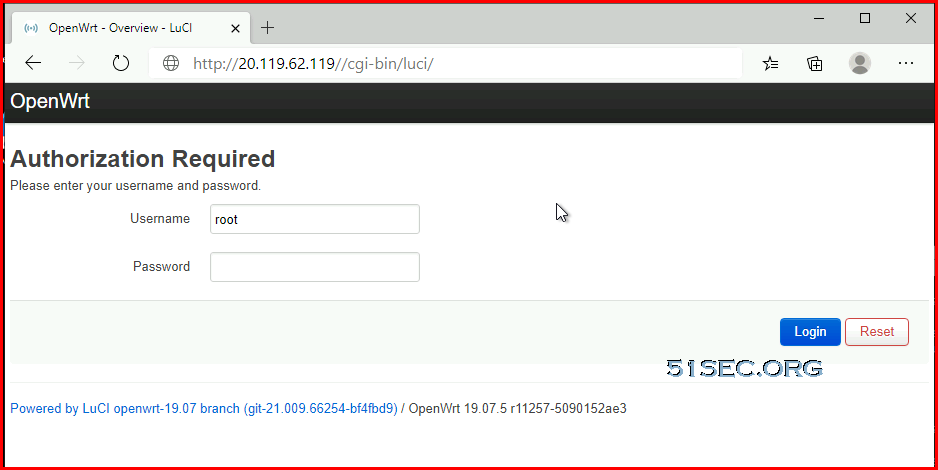
Stop VM to Add a new interface
Stop-AzVM -ResourceGroupName "RG-OpenWRT" -Name "OpenWRT-1" -Force
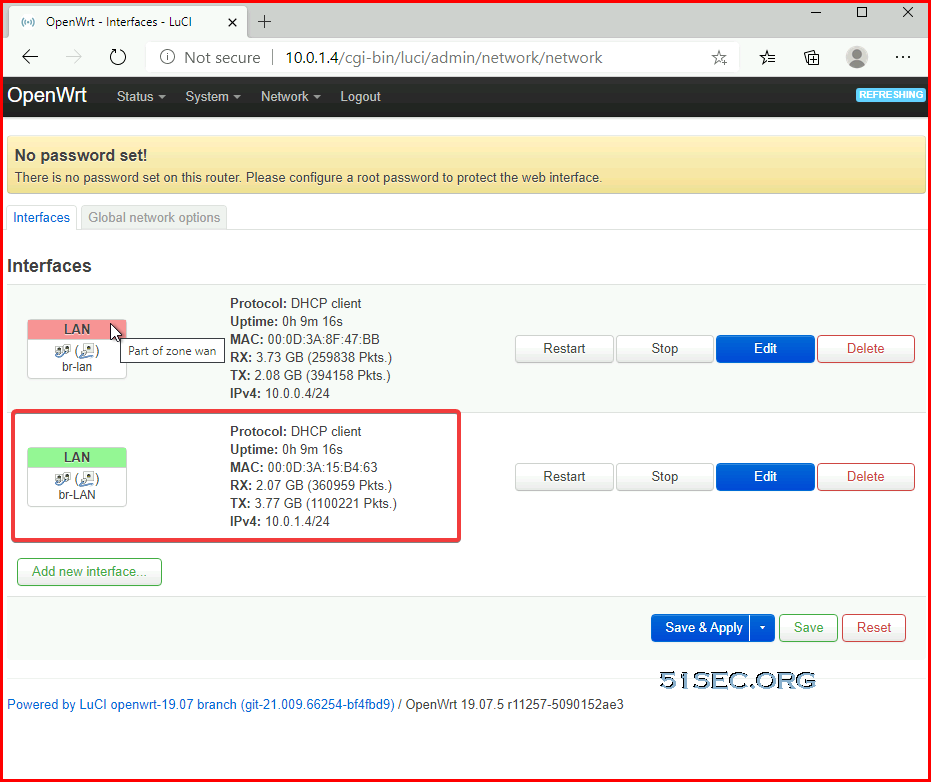
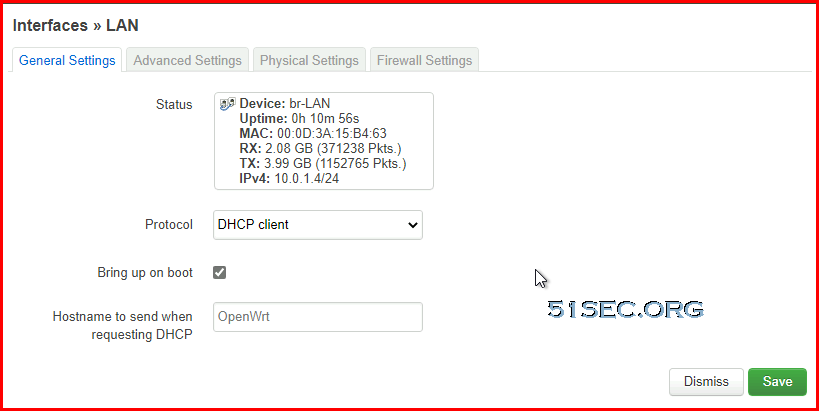
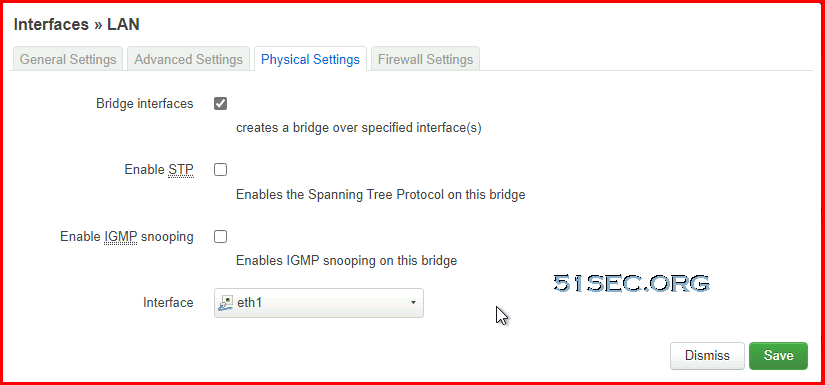
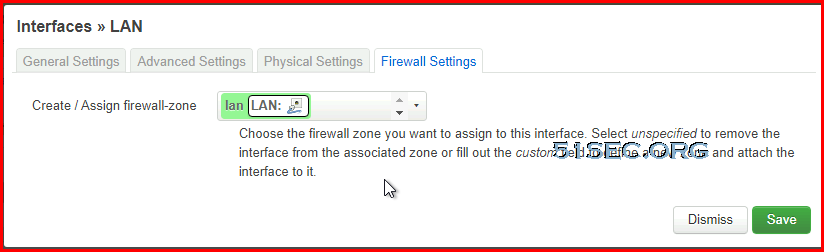
Log in to OpenWRT to Modify Interfaces
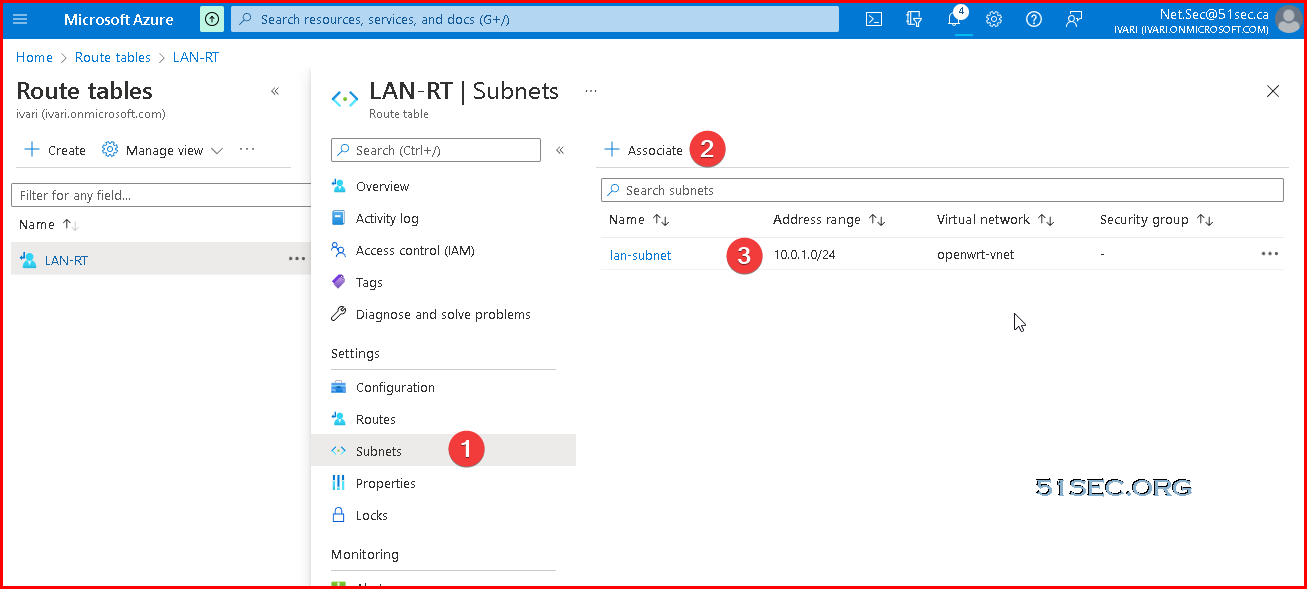
Add New Route Table and Route
A subnet is a range of IP addresses in the virtual network. You can divide a virtual network into multiple subnets for organization and security. Each NIC in a VM is connected to one subnet in one virtual network. NICs connected to subnets (same or different) within a virtual network can communicate with each other without any extra configuration. By default all Azure subnet traffic will go to Azure default gateway for that subnet, which is .1 ip address.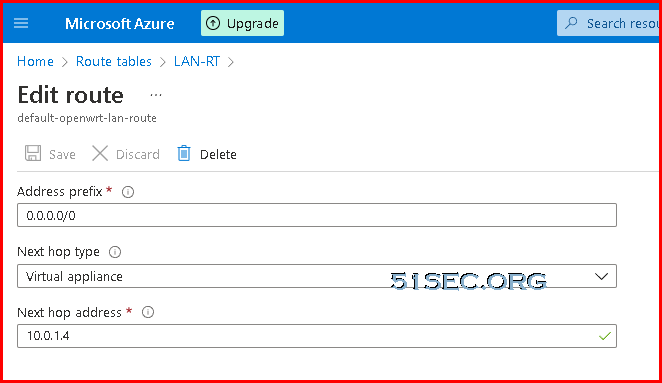
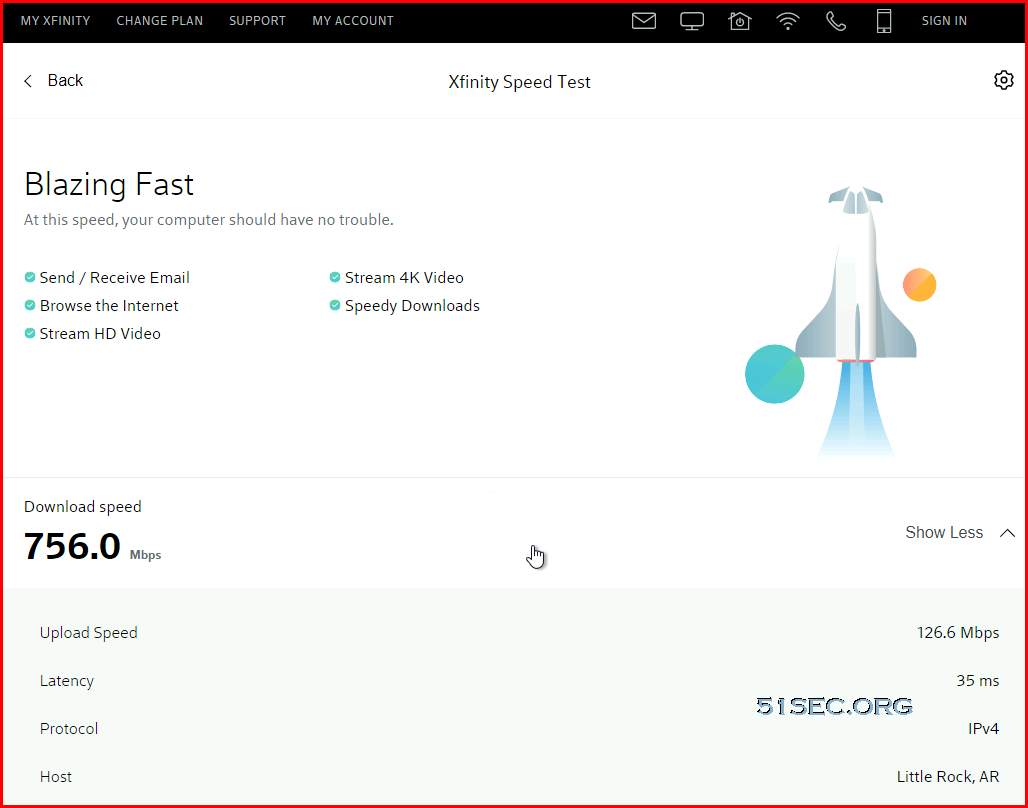
Spin Up Win10 Machine to Test Speed
C:\Users\netsec>tracert 8.8.8.8

Tracing route to dns.google [8.8.8.8]
over a maximum of 30 hops:

  1     1 ms    <1 ms    <1 ms  10.0.1.4
  2     *        *        *     Request timed out.
  3     *        *        *     Request timed out.
  4     *        *        *     Request timed out.
  5     *        *        *     Request timed out.
  6     *        *        *     Request timed out.
  7     *        *        *     Request timed out.
  8     *        *        *     Request timed out.
  9     *        *        *     Request timed out.
 10     *        *        *     Request timed out.
 11     *        *        *     Request timed out.
 12     2 ms     2 ms     3 ms  dns.google [8.8.8.8]

Trace complete.


No comments:
Post a Comment