 Portainer is a lightweight management UI which allows you to easily manage your different Docker
 environments (Docker hosts or Swarm clusters). It is meant to be as simple to deploy as it is to use. It consists of a single container that can run on any Docker engine (can be deployed as Linux container or a Windows native container). Portainer allows you to manage your Docker containers, images, volumes, networks and more !
1. Installation in CentOS / Ubuntu
1.1 CentOS 7/Debian 9
Here is an easiest way to install docker into your CentOS / Debian system. It is just one command:
sudo -i
yum -y update
curl -sSL https://get.docker.com/ | sh
Start docker service and enable it when system started
systemctl start docker.service
systemctl enable docker.service
create a volume dedicated for Portainer's data storage:
docker volume create portainer_data
use docker command to run Portainer container:
docker run -d -p 9000:9000 --name portainer --restart always -v /var/run/docker.sock:/var/run/docker.sock -v portainer_data:/data portainer/portainer
1.2 Ubuntu
System update
sudo apt update
sudo apt upgrade
Install docker into Ubuntu:
sudo apt install docker.io -y
Start docker service and enable it when system started
sudo -i
systemctl start docker
systemctl enable docker
docker version
create a volume dedicated for Portainer's data storage:
docker volume create portainer_data
use docker command to run Portainer container:
docker run -d -p 9000:9000 --name portainer --restart always -v /var/run/docker.sock:/var/run/docker.sock -v portainer_data:/data portainer/portainer
docker ps

2. Log into Portainer Web Gui
Use your browser to access URL http://<public ip of your linuxserver>:9000
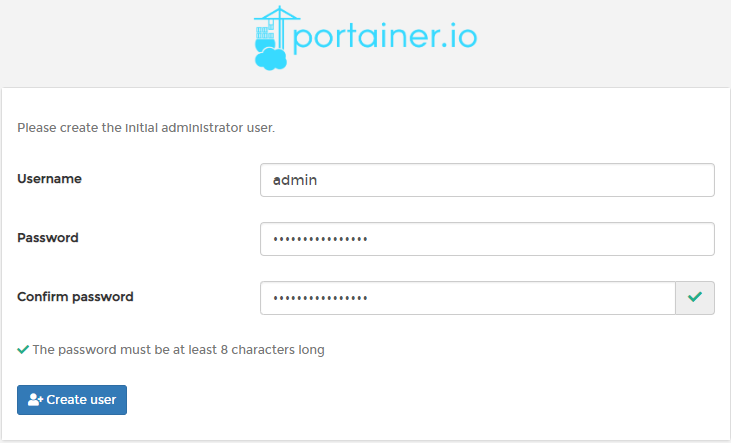
First time, it will ask you to set up admin user's password.
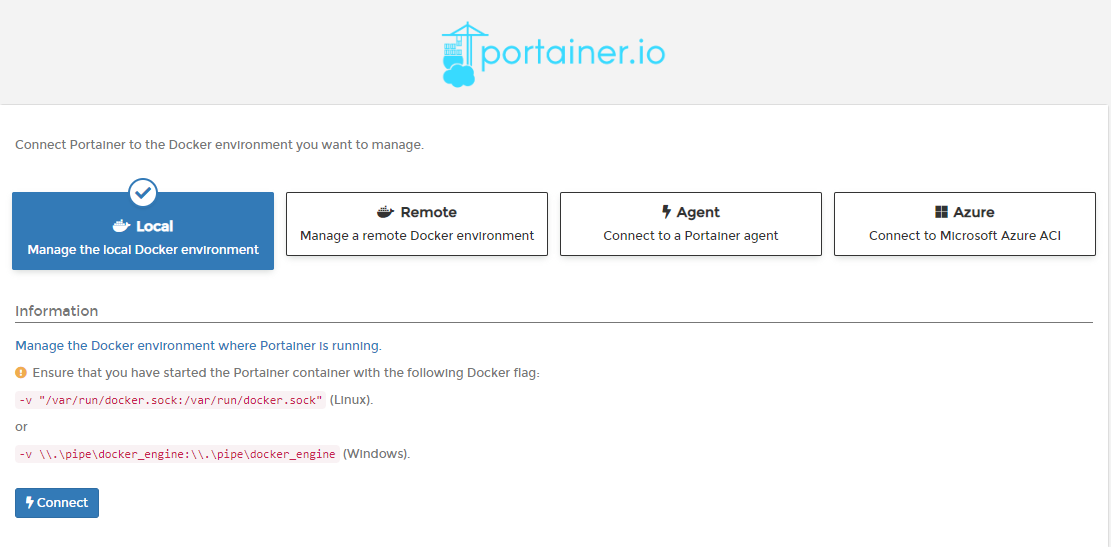
Since portainer is deployed on local machine and we are managing it from local, we will choose local to connect.
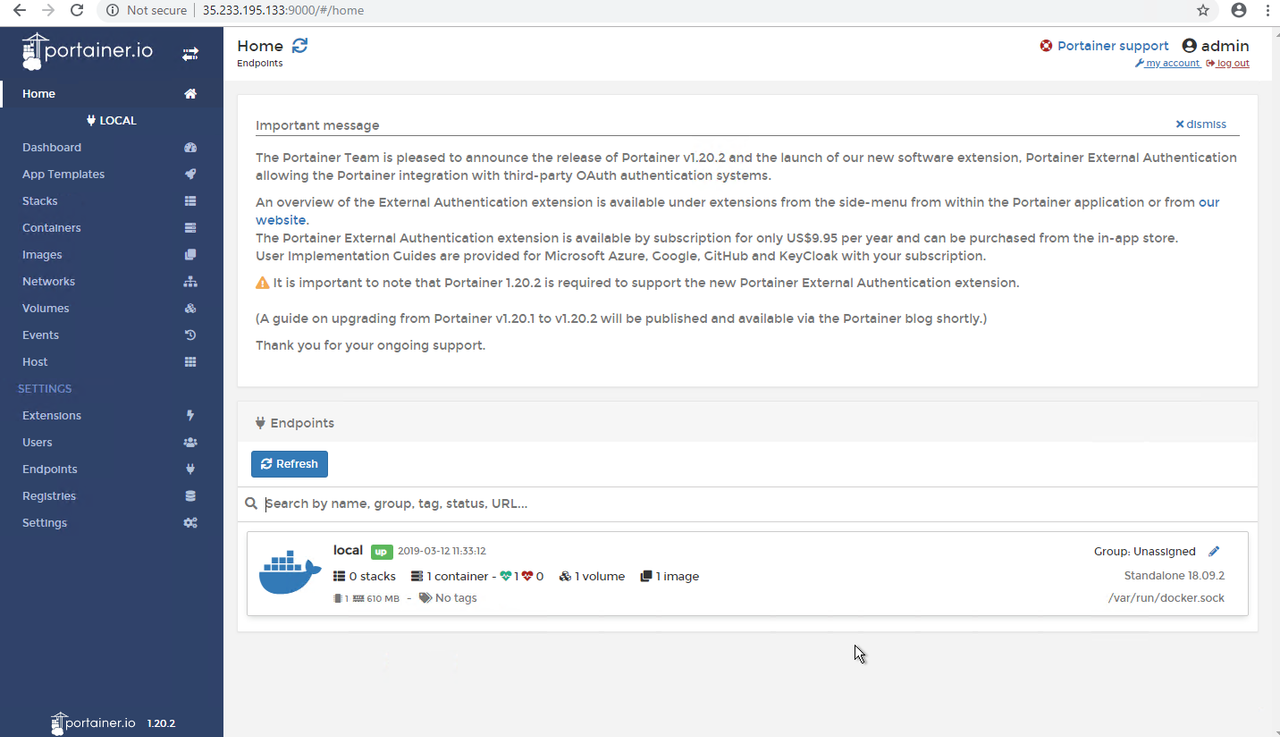
Now it is Portainer's home page.
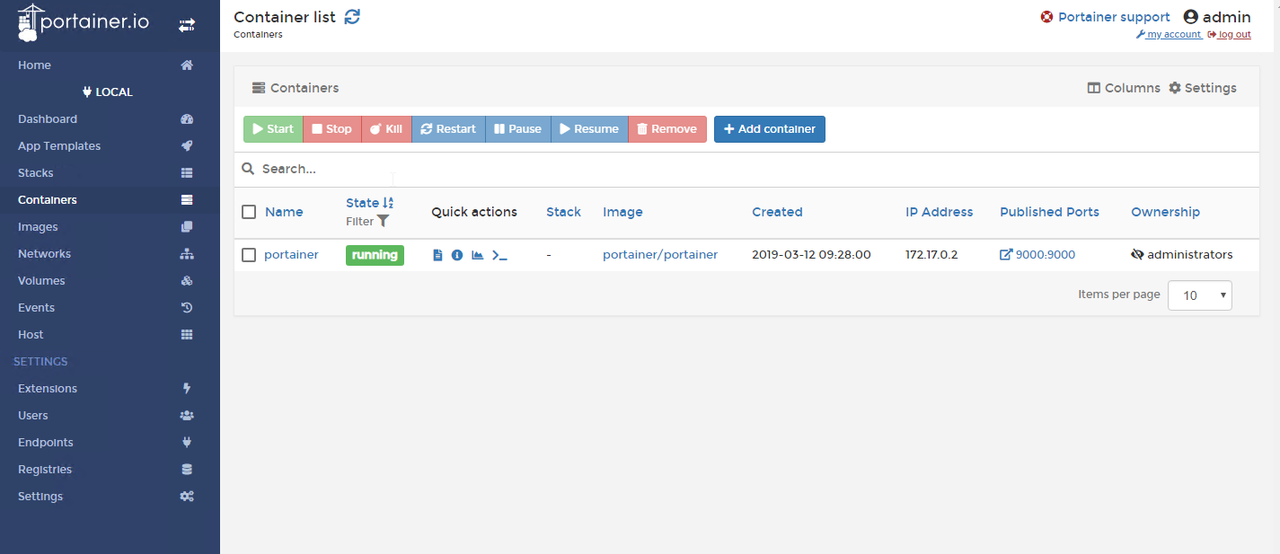
As you can see from the following screenshot, Portainer container has been deployed.
3. Deploy WordPress App Container
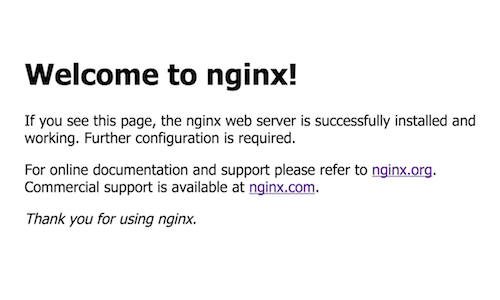
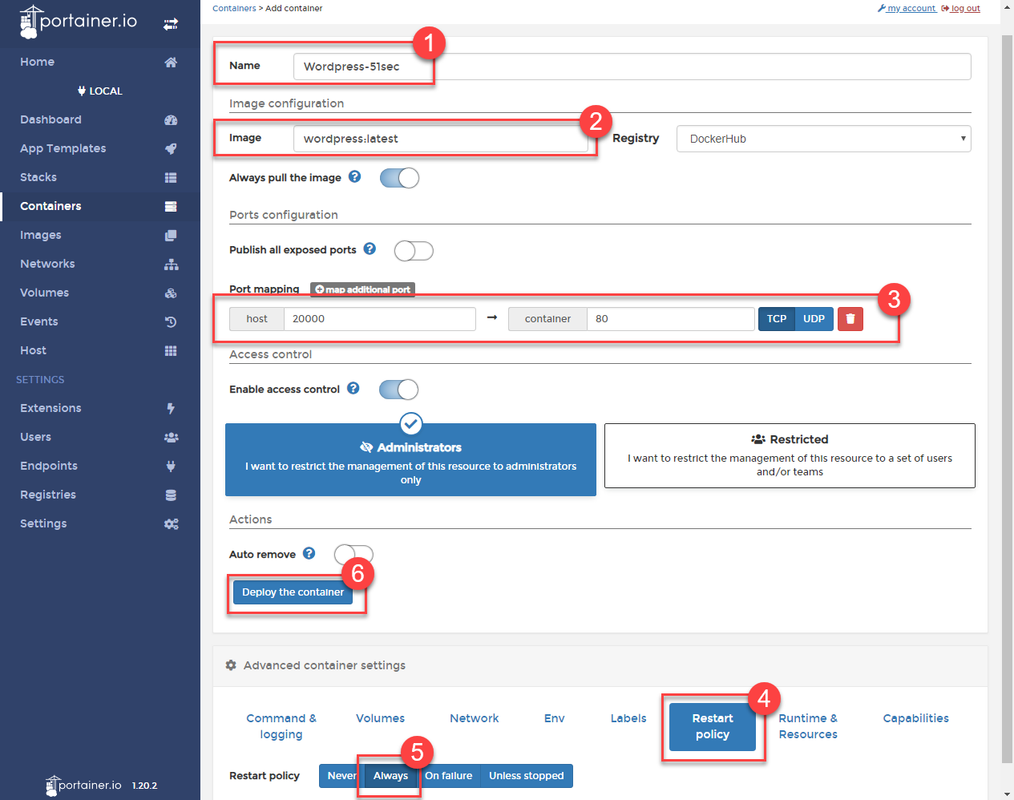
3.1 Deploy Nginx
Click button "+Add container" and enter following information for Nginx container.

You can use your browser to access your virtual machine's public ip to confirm nginx is runing.
3.2 Deploy MySQL DB - MariaDB

There are two environment variables need to be added in.
MYSQL_ROOT_PASSWORD
MYSQL_DATABASE
Also do not forget to change Restart policy to always to make sure your container survive system reboot.If you did not put MYSQL_DATABASE environment variable in, you can log in container then use following command to create it:
mysql -u root -p
create database wordpress;
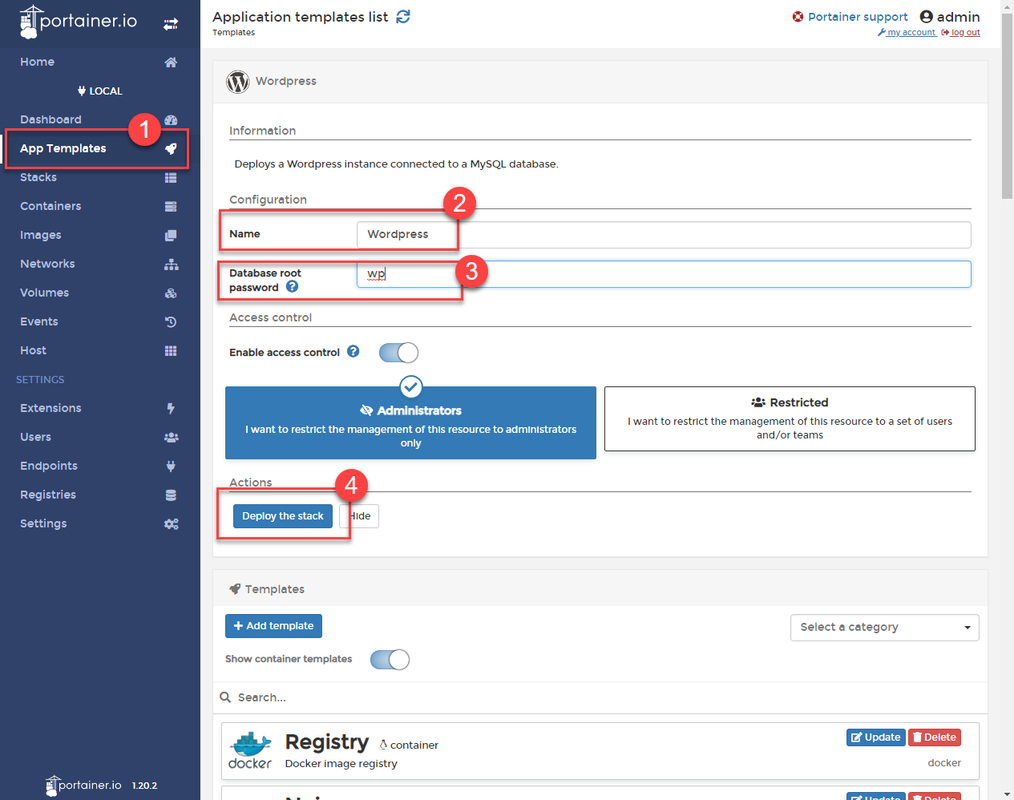
3.3 Deploy WordPress
Or You can deploy WordPress Stack to add WordPress and MySql at the same time, which is the way I prefer.
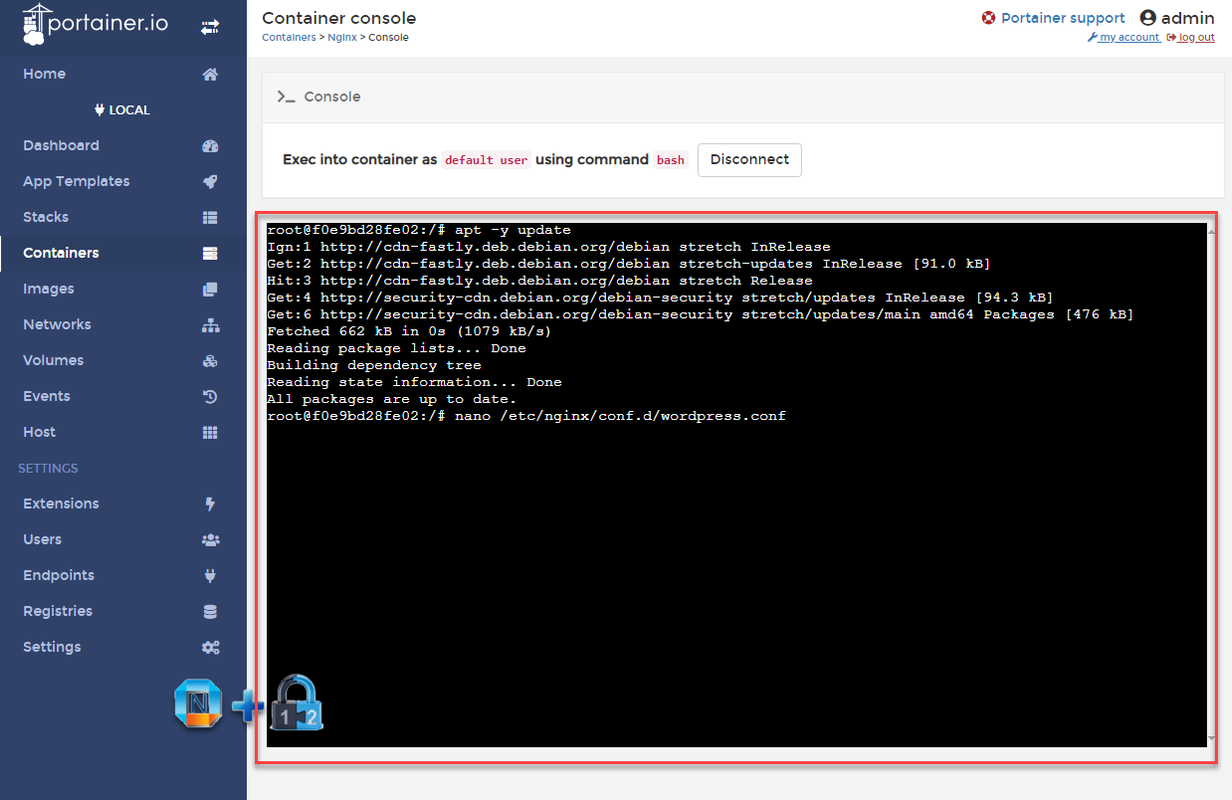
3.4 Configure Nginx Reverse Proxy
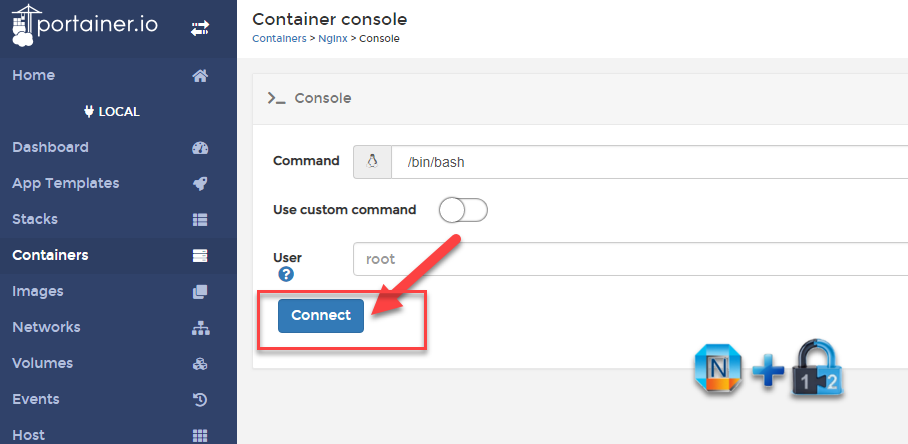
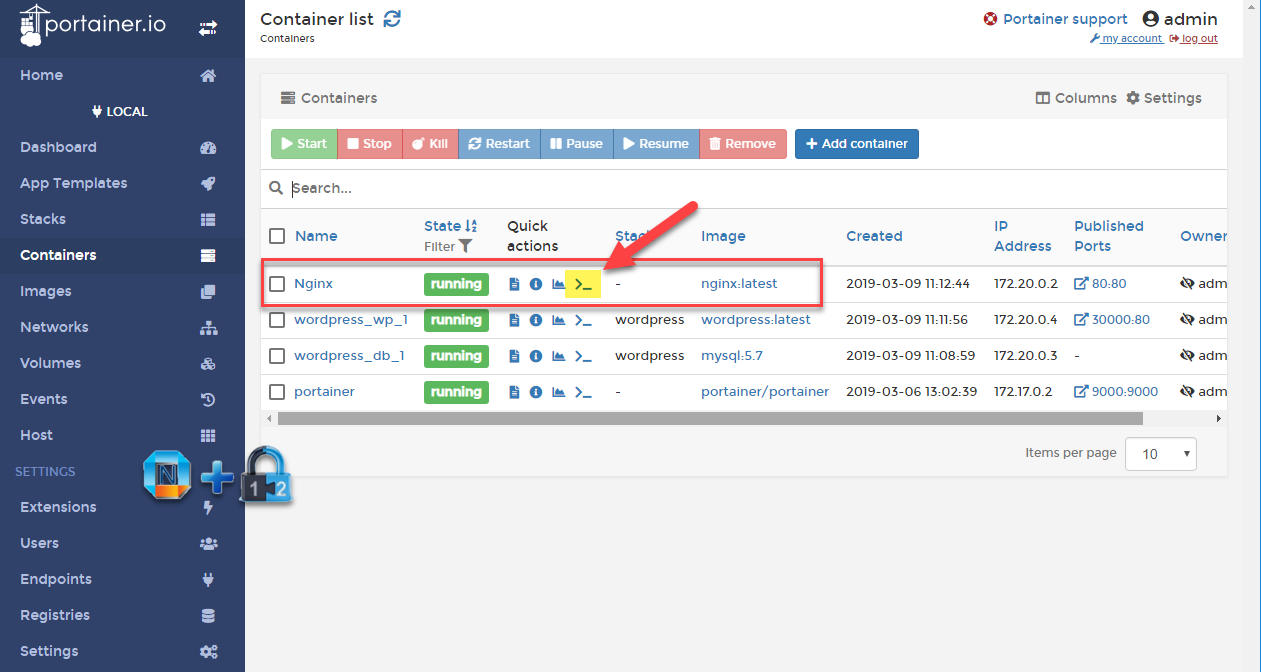
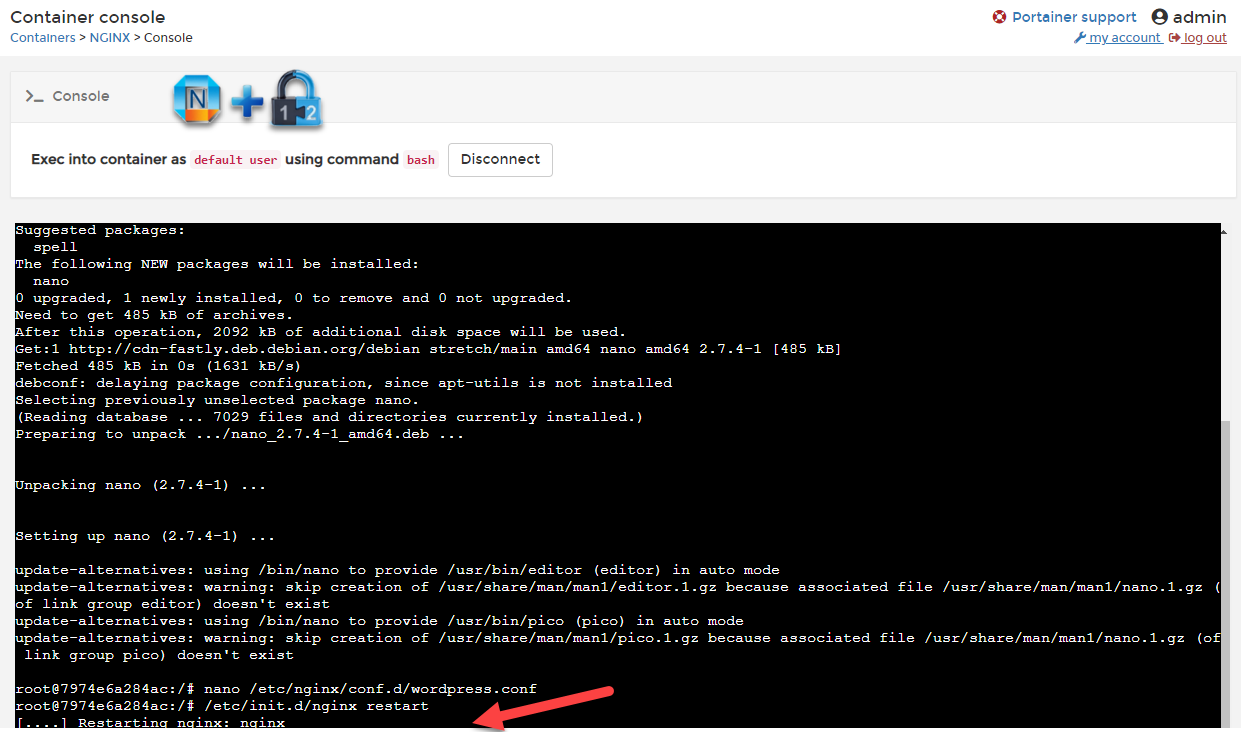
apt -y update
apt -y install nano
create a wordperss Nginx configuration file:
nano /etc/nginx/conf.d/wordpress.conf
copy following configuration into the file:(make sure to change port 80, server_name and proxy_pass to your own configuration)
server {
    listen       80;
    server_name  www.51sec.org 51sec.org;

location / {
    proxy_pass       http://3.45.23.194:20000;
    proxy_redirect             off;
    proxy_http_version         1.1;
    proxy_set_header Upgrade   $http_upgrade;
    proxy_set_header Connection "upgrade";
    proxy_set_header Host      $host;
    proxy_set_header X-Real-IP $remote_addr;
    proxy_set_header X-Forwarded-For $proxy_add_x_forwarded_for;
    }
}
Once saved the conf file, restart nginx service to apply the new configuration.
/etc/init.d/nginx restart
3.5 Configure Nginx to act as a load balancer
If you have multiple sites, you can configure Nginx to load balance between multiple servers.
There are two files you will need to change:
root@f0e9bd28fe02:/# cat /etc/nginx/nginx.conf
user  nginx;
worker_processes  1;

error_log  /var/log/nginx/error.log warn;
pid        /var/run/nginx.pid;


events {
    worker_connections  1024;
}


http {  upstream mysec {
ip_hash;
    server 3.81.70.239:30000 weight=3;
    server 34.73.78.142:80 weight=2;
  }

    include       /etc/nginx/mime.types;
    default_type  application/octet-stream;

    log_format  main  '$remote_addr - $remote_user [$time_local] "$request" '
                      '$status $body_bytes_sent "$http_referer" '
                      '"$http_user_agent" "$http_x_forwarded_for"';

    access_log  /var/log/nginx/access.log  main;

    sendfile        on;
    #tcp_nopush     on;

    keepalive_timeout  65;

    #gzip  on;

    include /etc/nginx/conf.d/*.conf;
}
root@f0e9bd28fe02:/#
root@f0e9bd28fe02:/# cat /etc/nginx/conf.d/wordpress.conf
server {
    listen       80;
    server_name  www.51sec.org;

location / {
    proxy_pass       http://mysec;
    proxy_redirect             off;
    proxy_http_version         1.1;
    proxy_set_header Upgrade   $http_upgrade;
    proxy_set_header Connection "upgrade";
    proxy_set_header Host      $host;
    proxy_set_header X-Real-IP $remote_addr;
}
}
root@f0e9bd28fe02:/#
Another simple Nginx Load Balance Configuration
http {
  upstream project1 {
    server 127.0.0.1:8000 weight=3;
    server 127.0.0.1:8001 weitht=2;
    server 127.0.0.1:8002;
  }

  server {
    listen 80;
    server_name www.51sec.org;
    location / {
      proxy_pass http://project1;
    }
  }
}
Notes:
Nginx Load Balancer Configuration for a backup server
ip_hash parameter is not working with backup command. In following configuration, server 3.81.70.239 will not be hit until server 34.73.78.142 is unavailable.
Ip_hash balancer does not support backup servers and weight.
root@f0e9bd28fe02:/# cat /etc/nginx/nginx.conf
.....

http {  upstream mysec {
##ip_hash;
##  server 3.81.70.239:30000 weight=3;
    server 34.73.78.142:80 weight=2;
    server 3.81.70.239:30000 backup  }

.....
3.6 Configure Nginx for Portainer.51sec.org
keep default.conf as same and create a new one, portainer.conf
root@f0e9bd28fe02:/# cat /etc/nginx/conf.d/portainer.conf
server {
    listen       80;
    server_name  portainer.51sec.org;

location / {
    proxy_pass       http://13.45.23.194:9000;
    proxy_redirect             off;
    proxy_http_version         1.1;
    proxy_set_header Upgrade   $http_upgrade;
    proxy_set_header Connection "upgrade";
    proxy_set_header Host      $host;
    proxy_set_header X-Real-IP $remote_addr;
    proxy_set_header X-Forwarded-For $proxy_add_x_forwarded_for;
    }
}
You will have to restart nginx service to take this change into effect:
service nginx restart
or
/etc/init.d/nginx restart
Docker: Failed to get D-Bus connection: Operation not permitted
原因
这个的原因是因为dbus-daemon没能启动。启动容器时,带上参数--privileged=true、将你的CMD或者entrypoint设置为/usr/sbin/init即可(两者缺一不可)。会自动将dbus等服务启动起来。
解决办法:
在启动容器时添加参数
docker run -d --name centos7 --privileged=true centos:7 /usr/sbin/init
docker exec -it centos7 /bin/bash
http://play-with-docker.com
Configure Portainer at website http://play-with-docker.com to play:
References:
- 使用Portainer轻松将Docker用在生产环境
- How to Manage Docker Containers using Portainer on Ubuntu
- http://play-with-docker.com


Hi,
ReplyDeletevery nice set of articles!
This saved my day. I successfully installed Nginx and managed to set it up as I wanted.
Thanks !
Thanks for visiting and left comment. Glad it helps.
Delete