Here is the definition of a database according to the dictionary:
Structured set of files regrouping information having certain characters in common; software allowing to constitute and manage these files.
The data contained in most common databases is usually modeled in rows and columns in a series of tables to make data processing efficient.
Thus, the data can be easily accessed, managed, modified, updated, monitored and organized. Most databases use a structured query language (SQL) to write and query data.There are some free database hosting services provided by some online company or organizations. This post collects some popular ones and compares them quickly with some personal notes.
Related Posts:

Free MySQL Database Hosting Online
- https://aiven.io/
- Free-1-5gb : 2 CPU / 1 GB RAM / 5 GB storage
- A single node
- 1 CPU per virtual machine
- 1 GB RAM
- For PostgreSQL and MySQL: 5 GB disk storage
- For Redis:
maxmemoryset to 50% - Management via our web console, CLI, API, Terraform provider, or Kubernetes® operator
- Monitoring for metrics and logs
- Backups
- Only one service per service type per user and organization
- PingCAP - tidb
- TiDB Serverless
- Fully-managed cloud DBaaS for applications with variable workloads, available on AWS
- 25 GB of row storage, 25 GB of column storage, and 250M Request Units (RUs) for free per month for each organization
- a free quota up to the first 5 clusters created in each Organization.
- Free Quota will be issued monthly to serverless clusters that meet these qualifications. With the free quota, customers can store 5 GiB of row-based data, 5 GiB of columnar data, and consume 50 million RUs for one month.
- In total, each Organization can get 25 GiB of row storage, 25 GiB of column storage, and 250M Request Units (RUs) for free per month. Customers can take advantage of this offer and optimize your operations without worrying about initial costs.
- Require ssl connection
- mysql --comments --connect-timeout 15 -u '3FRhadtTgheCs3p.root' -h gateway01.us-east-1.prod.aws.tidbcloud.com -P 4000 -D test --ssl-mode=VERIFY_IDENTITY --ssl-ca=<path_to_ca_cert> -p<your_password>
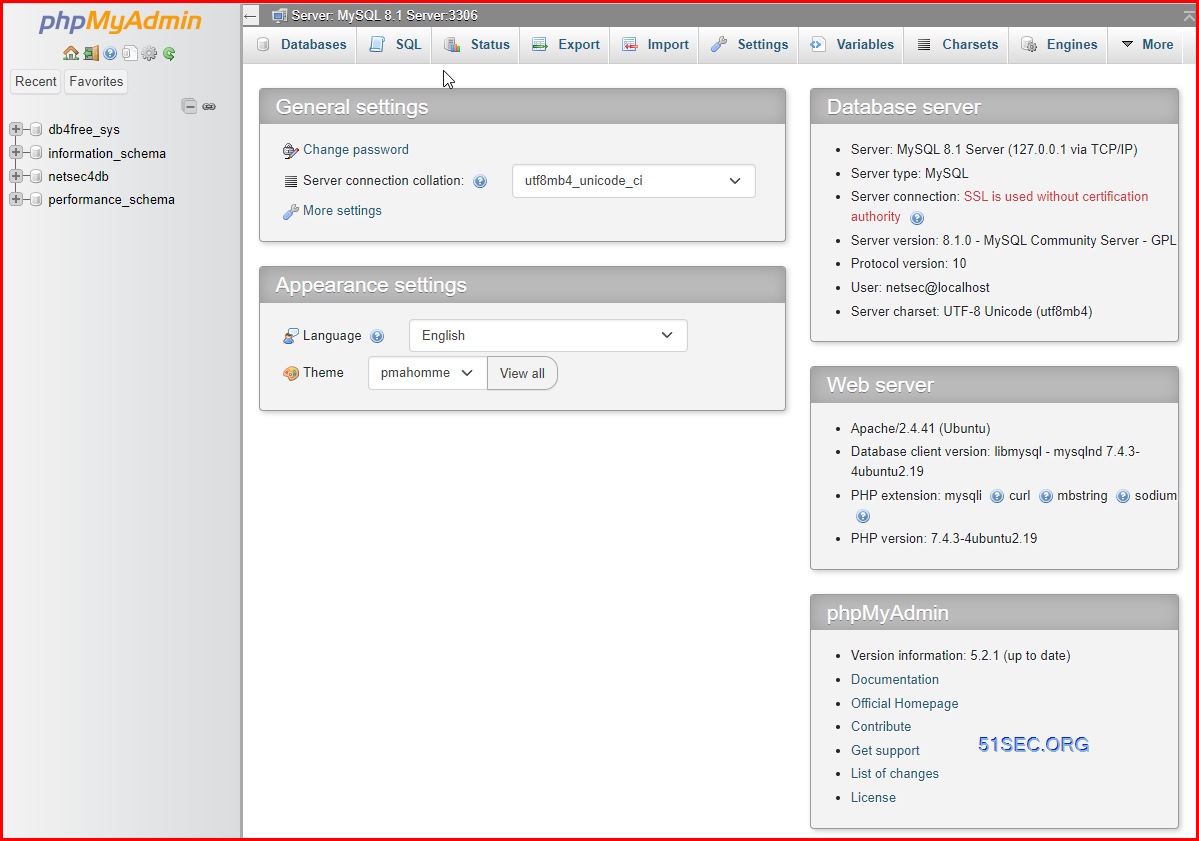
- https://db4free.net/ - 4 Stars
- a testing environment
- no more than 200MB data
- one MySQL DB
- phpMyAdmin - https://www.db4free.net/phpMyAdmin
- Commands to connect using mysql client
- apt install mysql-client
- mysql -u netsec -p'Ynnnnnnn!Cnnnnnnn1' -h db4free.net -P 3306 -D netsec4db
- https://remotemysql.com/ - connection failed, no space (March 17 2023)
- Instant activation.
- Free 100MB database size.
- phpMyAdmin
- No query limits.
- Unlimited bandwidth.
- Suitable for testing/develoment use only.
- https://www.freesqldatabase.com/
- 1 DB
- DB space starting from 5MB
- phpMyAdmin
- Multiple server locations
- Instant account activation
- Remote connections allowed
- https://freedb.tech/
- MySQL 8 DB
- PhpMyAdmin
- One DB, 50MB storage
- Only for testing
- No root access
Free Online Postgres DB
- https://supabase.com/ - Supabase is an open source Firebase alternative. Start your project with a Postgres database, Authentication, instant APIs, Edge Functions, Realtime subscriptions, and Storage.
- Up to 500MB database & 1GB file storage
- Up to 2GB bandwidth
- Up to 50MB file uploads
- Social OAuth providers
- 50,000 monthly active users
- Up to 500K Edge Function invocations
- 1-day log retention
- Community support
- Firebase: https://firebase.google.com/ - The Firebase Realtime Database is a cloud-hosted NoSQL database that lets you store and sync data between your users in realtime. NEW: Cloud Firestore enables you to store, sync and query app data at global scale. Further limitation for free Spark Plan can be found from pricing page:
- Cloud Firestore
- 1GB total stored data
- 10GB/month Network egress
- 20K writes/day : Document writes
- 50K reads/day : Document writes
- 20K delete/day : Document delets
- Realtime DB
- 100 simultaneous connections
- 1GB stored
- 10GB/month downloded
- no multiple db per project
- Hosting
- 10GB storage
- 360MB/day data transfer
- Custom domain/ssl
- multiple sites per project
Free SQLite Online
https://turso.tech/
Features
- 500 Databases
- 9GB of total storage
- 1 billion row reads
- Unlimited Embedded Replicas
Allow Remote Connections to MySQL
- Edit MySQL config file
- Configure firewall
- Connect to remote MySQL server
Step 1: Edit MySQL Config File
1.1 Access mysqld.cnf File
Use your preferred text editor to open the mysqld.cnf file. This example uses the nano text editor in Ubuntu 18.04. Enter the following command in your command-line interface to access the MySQL server configuration file:1.2 Change Bind-Address IP
You now have access to the MySQL server configuration file. Scroll down to the bind-address line and change the IP address. The current default IP is set to 127.0.0.1. This IP limits MySQL connections to the local machine.The new IP should match the address of the machine that needs to access the MySQL server remotely. For example, if you bind MySQL to 0.0.0.0, then any machine that reaches the MySQL server can also connect with it. For this website to access it you need to use IP address 212.47.237.65
Once you make the necessary changes, save and exit the configuration file.
Note: Remote access is additionally verified by using the correct credentials and user parameters you have defined for your MySQL users.
1.3 Restart MySQL Service
Apply the changes made to the MySQL config file by restarting the MySQL service:Step 2: Set up Firewall to Allow Remote MySQL Connection
While editing the configuration file, you probably observed that the default MySQL port is 3306. This is default MySQL port number but can be changed in the config file.If you have already configured a firewall on your MySQL server, you need to open traffic for this specific port. Follow the instructions below that correspond to your firewall service in use.
Option 1: UFW (Uncomplicated Firewall)
UFW is the default firewall tool in Ubuntu. In a terminal window, type the following command, changing remote_ip_address to the required IP address, to allow traffic top the IP and port:Option 2: FirewallD
The firewalld management tool in CentOS uses zones to dictate what traffic is to be allowed.Create a new zone to set the rules for the MySQL server traffic. The name of the zone in our example is mysqlrule, and we used the IP address from our previous example 212.47.237.65:
sudo firewall-cmd --new-zone=mysqlrule --permanent
sudo firewall-cmd --reload
sudo firewall-cmd --permanent --zone=mysqlrule --add-source=212.47.237.65
sudo firewall-cmd --permanent --zone=mysqlrule --add-port=3306/tcp
sudo firewall-cmd --reload
Option 3: Open Port 3306 with iptables
The iptables utility is available on most Linux distributions by default. Type the following command to open MySQL port 3306 to unrestricted traffic:It is necessary to save the changes made to the iptables rules. In an Ubuntu-based distribution type the following commands:
sudo netfilter-persistent save
sudo netfilter-persistent reload
Step 3: Connect to Remote MySQL Server
Your remote server is now ready to accept connections. You can now use this site to connect to your MySQL databases, using your server IP, username and password.How to Grant Remote Access to New MySQL Database?
If you do not have any databases yet, you can easily create a database by typing the following command in your MySQL shell:How to Grant Remote Access to Existing MySQL Database
Granting remote access to a user for an existing database requires a set of two commands:update db set Host=’212.47.237.65' where Db='yourDB'; update user set Host=’212.47.237.65' where user='user1';
Connect to MySQL DB
Install MySQL Client in Linux server:
apt install mysql-client-core-8.0
From linux console, type following command to connect to your DB server and DB:
$ mysql -h {hostname/DB server address} -u username -p {databasename}
Password: {your password}
Example:
$ mysql -u epiz_3333 -ptdTU8Ht64y7uih5rttr -h sql.infinityfree.com -P 3306 -D epiz_3333_45
Troubleshooting
1. ERROR 1045 (28000): Plugin caching_sha2_password could not be loaded
- apt install mariadb-client-core-10.3
- sudo apt-get install mysql-client -y
root@linux-nc1:~# mysql -u avnadmin -pAVNS_KwUDu33 -h mysql-test-a308.a.aivencloud.com -P 19052 -D defaultdb
ERROR 1045 (28000): Plugin caching_sha2_password could not be loaded: /usr/lib/x86_64-linux-gnu/mariadb19/plugin/caching_sha2_password.so: cannot open shared object file: No such file or directory
Install Phpmyadmin Docker
That is for AMD64 architect
# Create phpMyAdmin container
#
# PMA_HOST is the IP or domain of the MySQL server,
# so we can use the MySQL container name as the domain
# cause the Docker network create the route as a DNS server.
docker run -d \
    --name my-phpmyadmin \
    --network website_network \
    -e PMA_HOST=my_wp_db_1 \
    -p 10080:80 \
    phpmyadmin/phpmyadmin:edge
For ARM
# Create phpMyAdmin container
#
# PMA_HOST is the IP or domain of the MySQL server,
# so we can use the MySQL container name as the domain
# cause the Docker network create the route as a DNS server.
docker run -d \
    --name my-phpmyadmin \
    --network website_network \
    -e PMA_ARBITRARY=1 \
    -p 10080:80 \
    arm64v8/phpmyadmin
Usage with linked server
First you need to run a MySQL or MariaDB server in Docker, and the phpMyAdmin image needs to be linked to the running database container:
docker run --name phpmyadmin -d --network website_network --link my_wp_db_1 -p 10080:80 arm64v8/phpmyadminExample docker-compose.yml for phpmyadmin:
version: '3.1'

services:
  db:
    image: mariadb:10.6
    restart: always
    environment:
      MYSQL_ROOT_PASSWORD: notSecureChangeMe

  phpmyadmin:
    image: phpmyadmin
    restart: always
    ports:
      - 8080:80
    environment:
      - PMA_ARBITRARY=1
Ezoic MySQL DB Connection from phpmyadmin docker @play-with-docker.com
[node1] (local) [email protected] ~
docker run --name myadmin -d -e PMA_HOST=wordpress.db.ezoic.com -p 80:80 phpmyadmin/phpmyadmin
Unable to find image 'phpmyadmin/phpmyadmin:latest' locally
latest: Pulling from phpmyadmin/phpmyadmin
6ec8c9369e08: Pull complete
081a822af595: Pull complete
bb5bea655fca: Pull complete
1e5d9e6a44c7: Pull complete
51c80d726a75: Pull complete
41f3ef5189e5: Pull complete
c1a9c1efdc83: Pull complete
348c6ac67813: Pull complete
d16c4c4b2a5f: Pull complete
035ee560bfbc: Pull complete
4c16f7d16e86: Pull complete
560feb679e04: Pull complete
0bc8defe61af: Pull complete
b80e31e8a7c4: Pull complete
f94927b2554c: Pull complete
416dcf230b63: Pull complete
a9d24c9f2a61: Pull complete
4cae08d2f851: Pull complete
Digest: sha256:69eaf4a23598e9986b62bbfde9e8e3ae773f0da53406723e6f027582e0310274
Status: Downloaded newer image for phpmyadmin/phpmyadmin:latest
67c458459487a00b7154e2ba97a24710be6c40879d7150ab5ba0402cc472de92
[node1] (local) [email protected] ~
$


No comments:
Post a Comment