The key capabilities of Nessus Expert are external attack surface discovery that allows IT and security professionals to discover internet-facing assets in domains and subdomains associated with an organization, the company says. In addition, Nessus Expert features IaC scanning that establishes guardrails in automated GitOps and CI/CD processes to ensure secure deployments with minimal effort with up to 500 pre-built policies.
Nessus Expert is essentially a more advanced version of Nessus Professional, offering external attack surface scanning, the ability to add domains and scan cloud infrastructure, all of which are not available with Nessus Professional.
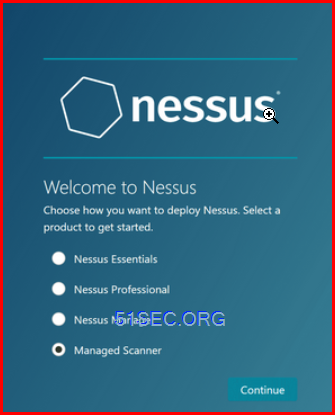
Products and Introduction
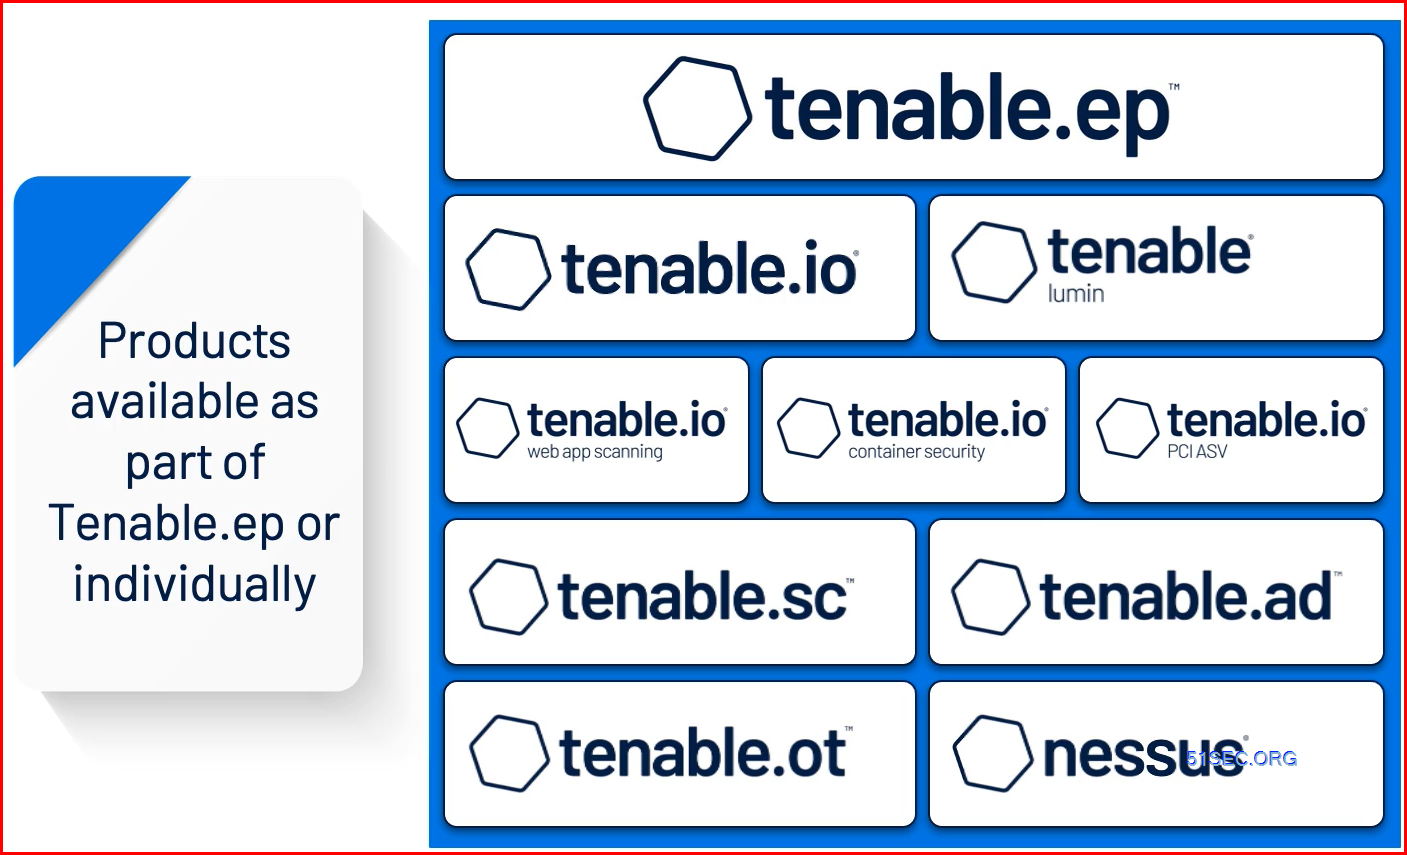
- Nessus Essentials
- Nessus Professional — The de-facto industry standard vulnerability assessment solution for security practitioners.
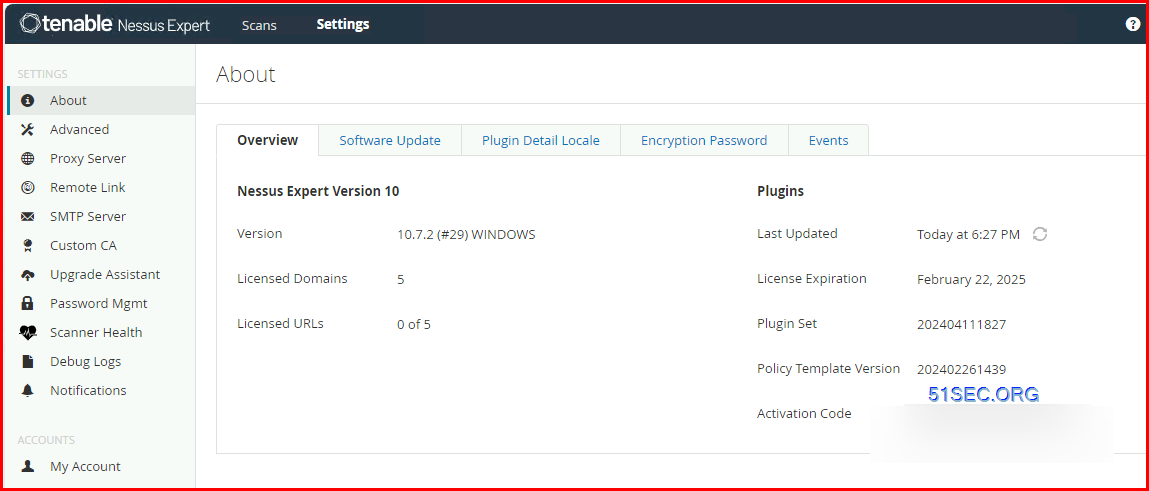
- Nessus Expert — The industry-leading vulnerability assessment solution for the modern attack surface. (No agent)
- Nessus Manager — The enterprise solution for managing Nessus Agents at scale.
# 1 准确度
Nessus 达到了 6 西格玛准确度,实现了业内最低的误报率: *每 100 万次扫描中仅有 0.32 次误报
- #1 CVEs coverage: Nessus has the deepest and broadest coverage with more than 62,000 CVE and over 100 new plugins released weekly within 24 hours of vulnerability disclosure.
- #1 in Adoption: Nessus is trusted by more than 30,000 organizations globally. 50% of the Fortune 500 and more than 30% of the Global 2000 rely on Nessus technology.
- #1 in Accuracy: Nessus has the industry’s lowest false positive rate with six- sigma accuracy (measured at .32 defects per 1 million scans).
- Top Leader in all Industry Research Reports such as IDC, Forrester Wave, etc.
- Rapid 7 - Nexpose
- Greenbone OpenVAS
Requirements
Hardware requirements
| Hardware | Minimum Requirement |
|---|---|
| Processor | > 8 2GHz cores |
| RAM | > 8 GB Tenable recommends using 16 GB RAM for the best results. |
| Disk Space | > 40 GB, not including space used by the host operating system Your overall usage (scan results, plugin updates, logging) increase the amount of disk space needed over time. |
System requirements:
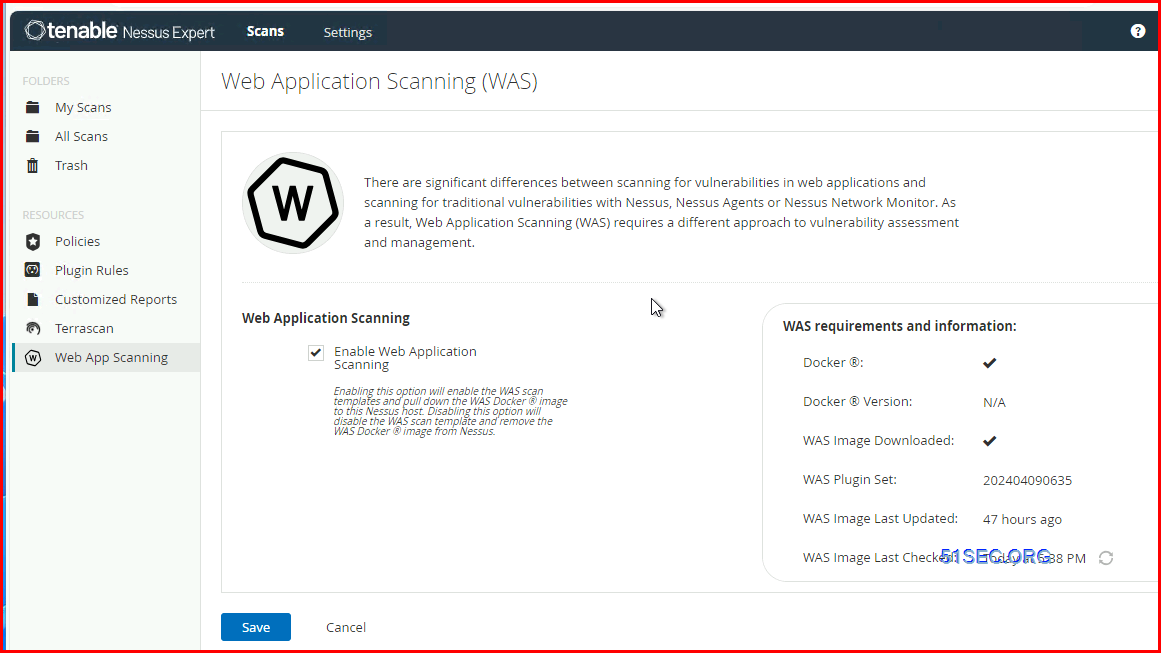
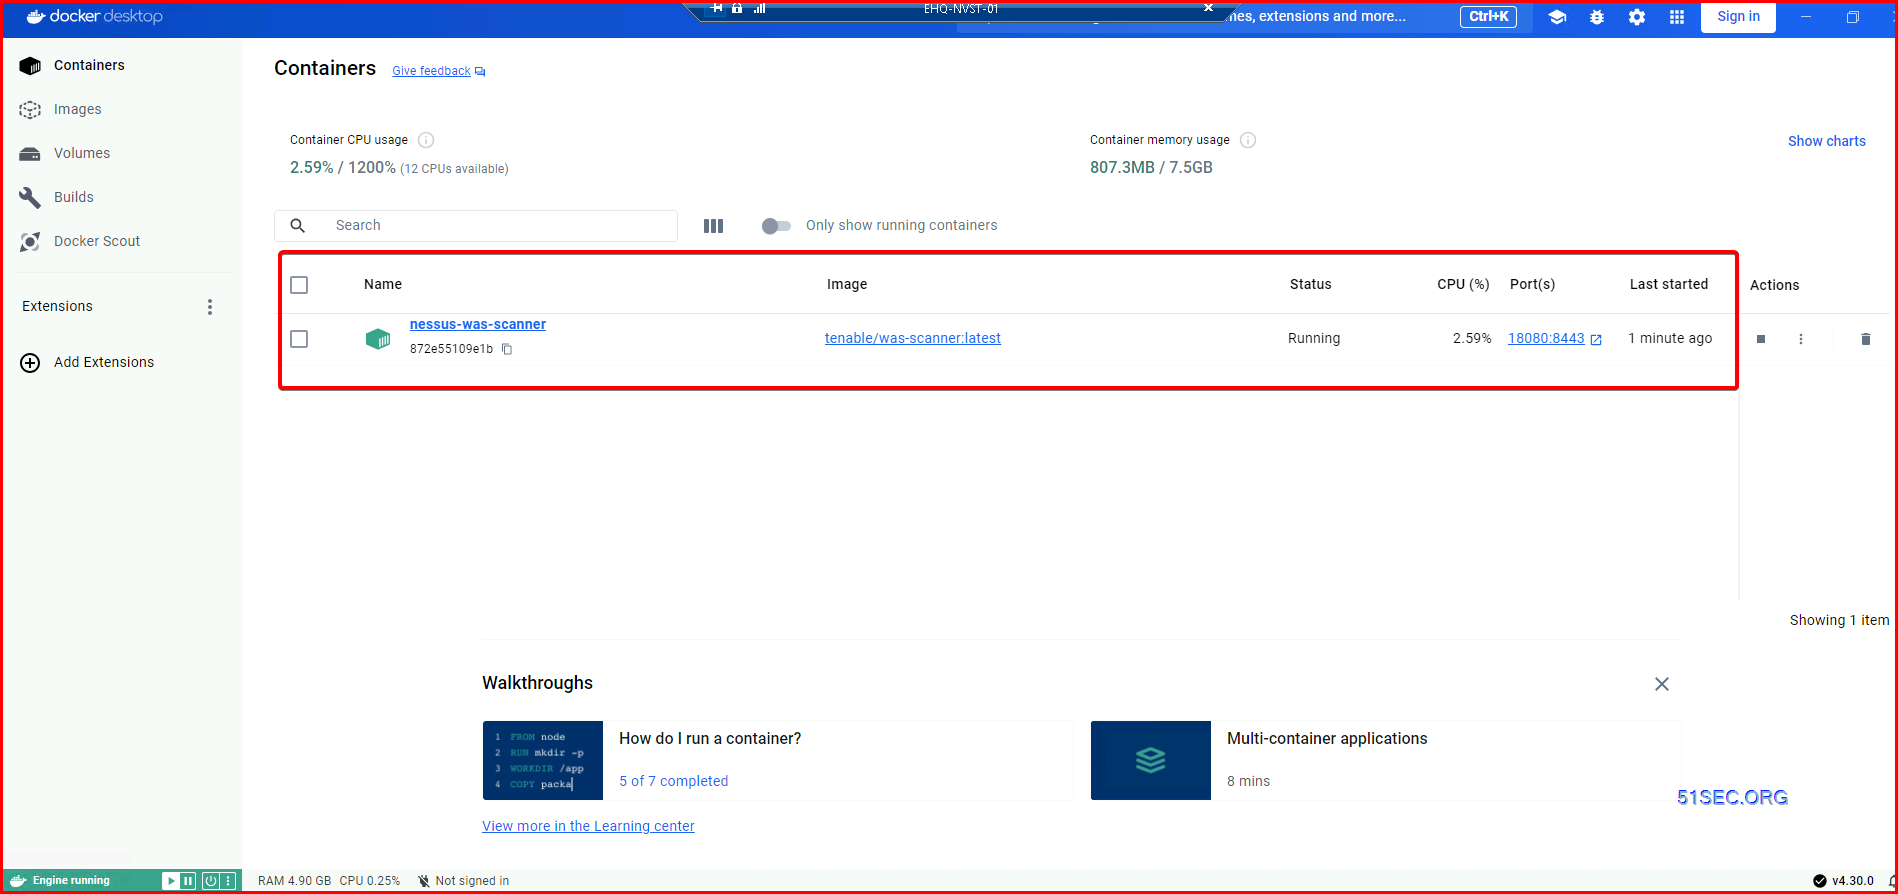
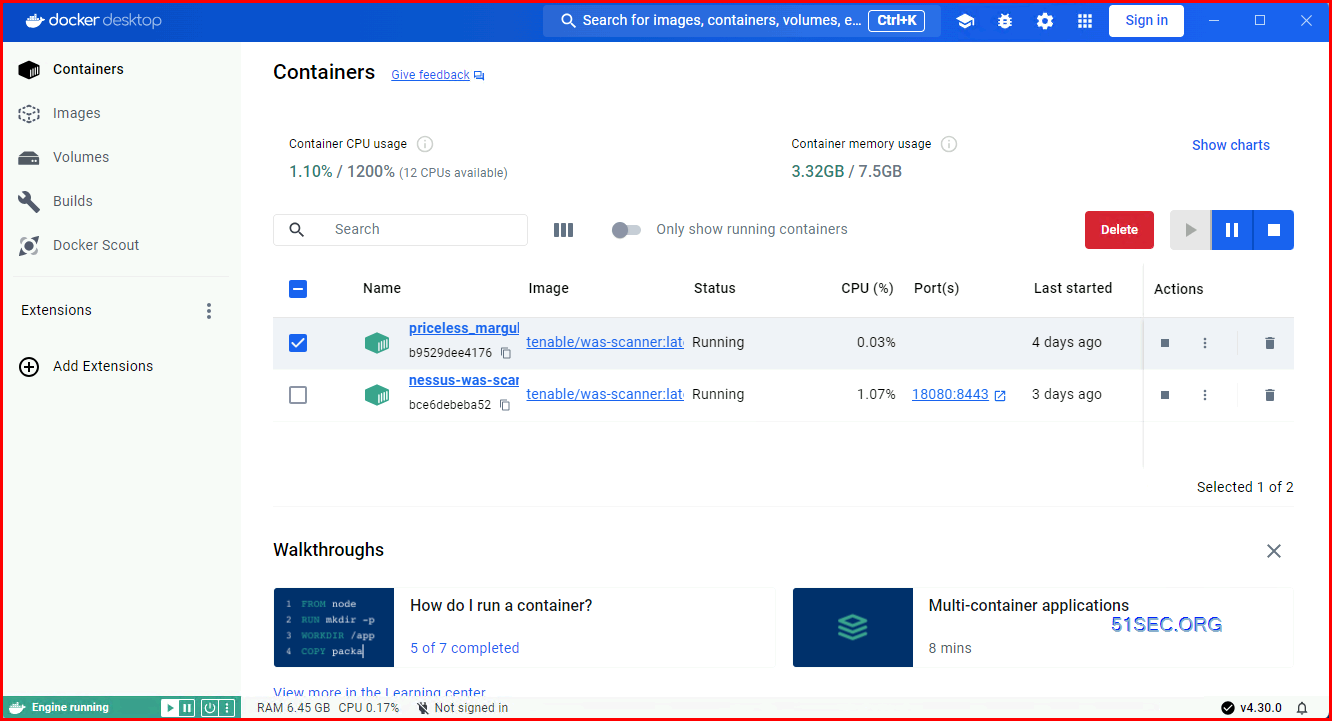
While Tenable Nessus itself is installed directly on the host operating system, the web scanner portion of Tenable Nessus Expert is installed as a Docker image on the same host. To do this, your host must have Docker version 20.0.0 or later installed. The web application scanner cannot run if the host does not have Docker installed (all other Tenable Nessus functionality works as expected without Docker being installed).Install Docker Desktop on Windows
WSL 2 Backend
Download the installer using the download button at the top of the page, or from the release notes.
Double-click
Docker Desktop Installer.exeto run the installer. By default, Docker Desktop is installed atC:\Program Files\Docker\Docker.When prompted, ensure the Use WSL 2 instead of Hyper-V option on the Configuration page is selected or not depending on your choice of backend.
If your system only supports one of the two options, you will not be able to select which backend to use.
Follow the instructions on the installation wizard to authorize the installer and proceed with the install.
When the installation is successful, select Close to complete the installation process.
Use the WSL 2 based engine. WSL 2 provides better performance than the Hyper-V backend. For more information, see Docker Desktop WSL 2 backend.
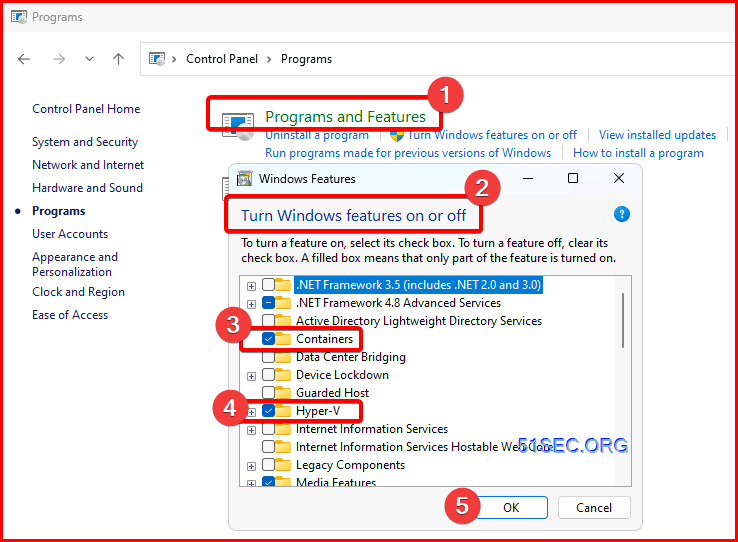
Hyper-V backend and Windows containers
1 Install Hyper-V role and Container feature
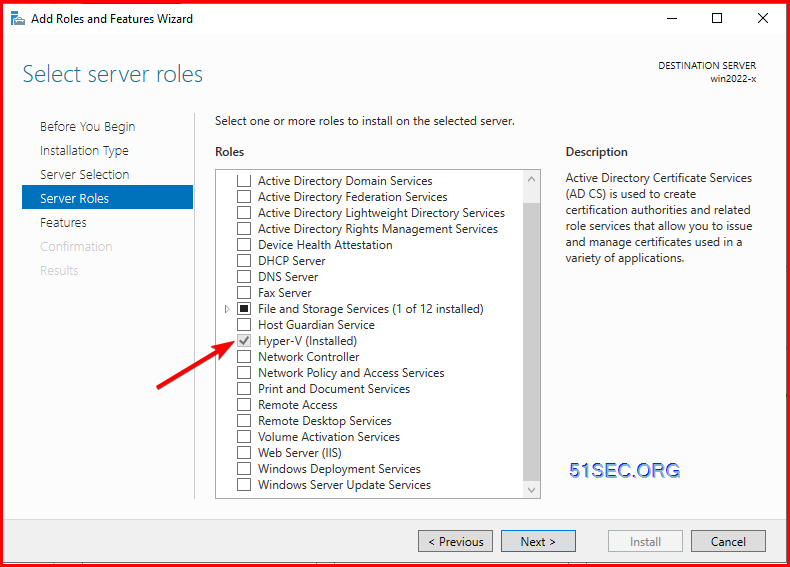
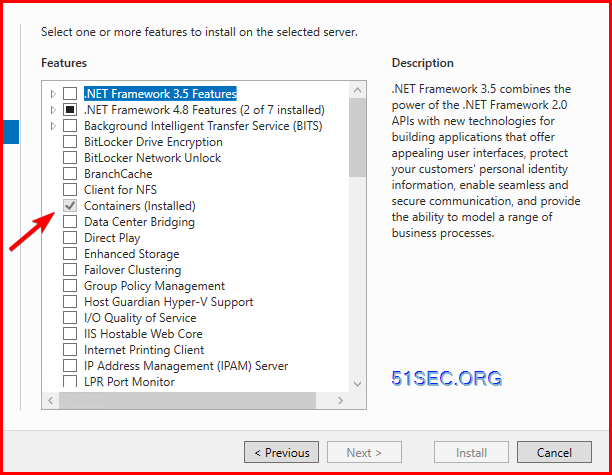
2 Install Docker Desktop
Same steps as using WSL2 backend but no need to use WSL2 as backend.
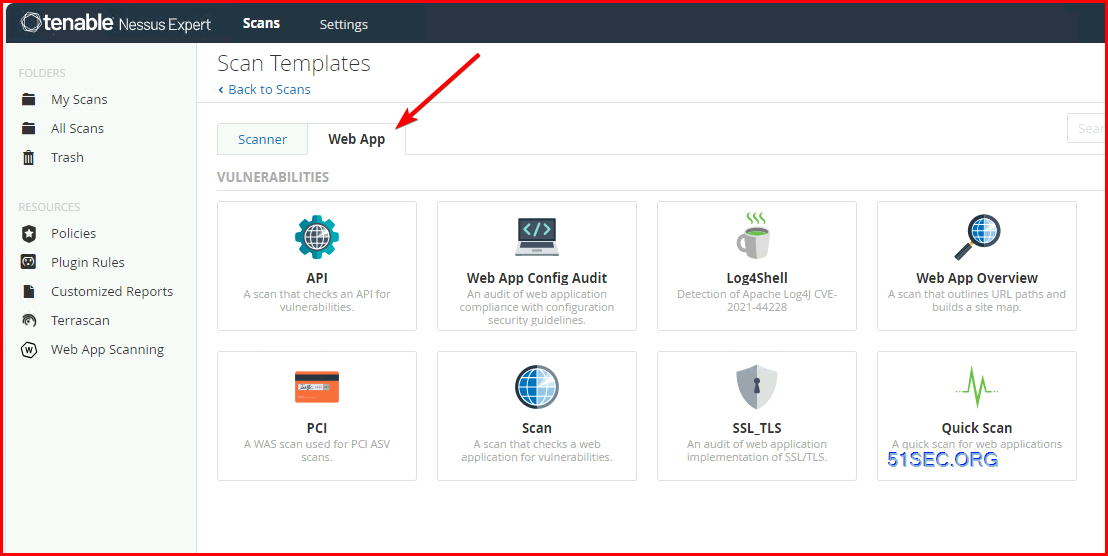
Tenable Nessus Expert Instalaltion with Web Application Scanner

Nessus Linux Installation Code
For Debian:
【1】Download nessus.sh script。
【2】Grant execute permission for this script

【3】using root account to run nessus.sh.(Wait about 10-15 Mins)
【4】Complete the installation.

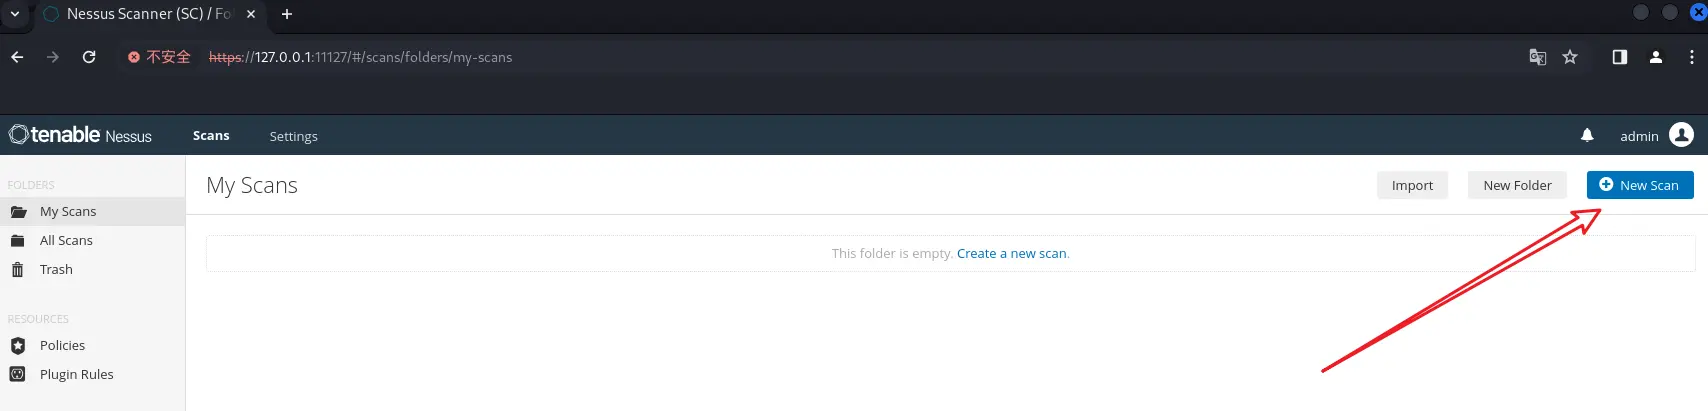
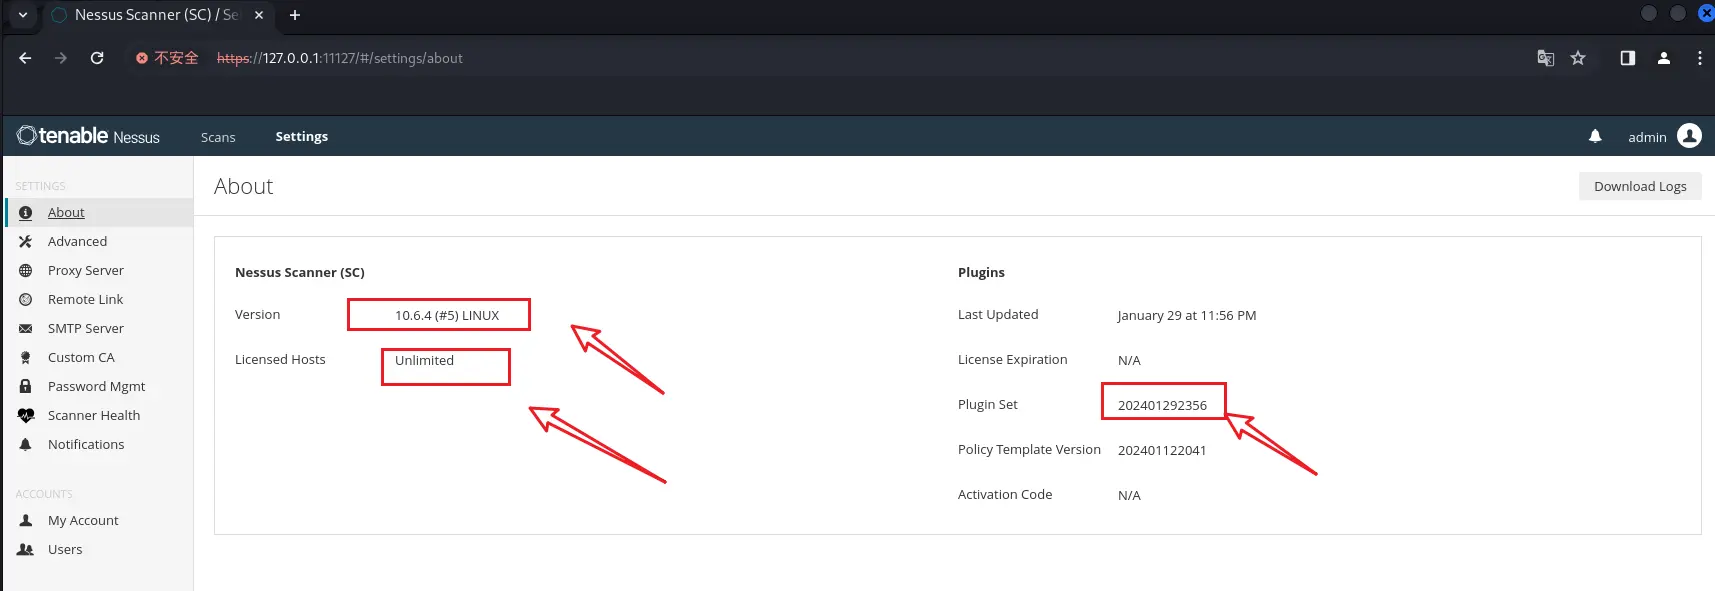
【5】Open following URL to log into Nessus。
【6】Log in with default username and password
账号 | 密码 |
admin | ddosi |

Nessus stop and start commands
Start
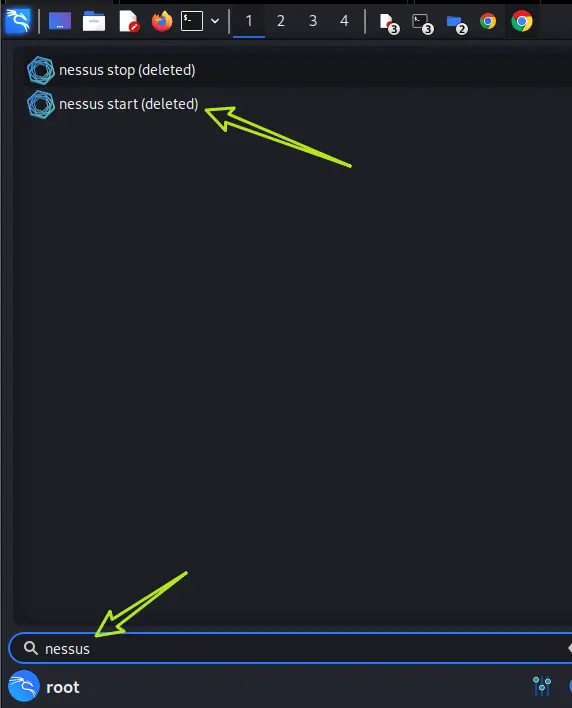
Stop
For Ubuntu:
Uninstall:
Notes:
Issue :After system or Nessus restarted,scan button might not enable yet to use。Cause:Nessus is updating / re-compileing the plug-ins.
Solution:Wait for 3~5 minutes.
Nessus Windows Installation Method
For Windows:
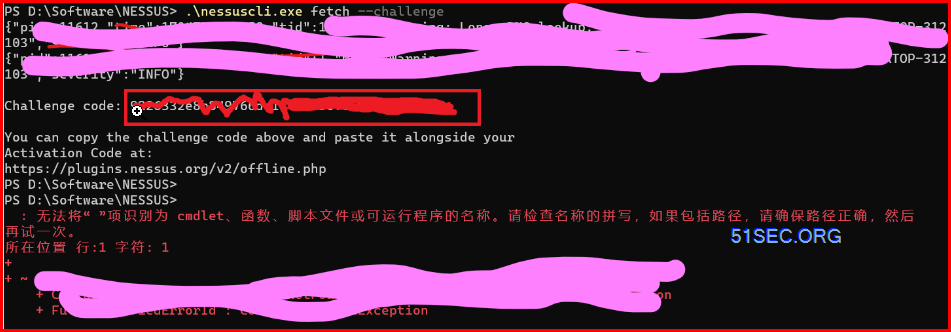
第2步:获取插件包
第5步:避坑指南
License
- While for WAS you have to add 90 days to the last scanned time.
- In Tenable one, Licenses from deleted assets are reclaimed within 24 hours. Licenses for assets that age out are reclaimed after a length of time you specify, or after 90 days.
Videos
References
- Get Started with Web Application Scanning in Tenable Nessus Expert
- Install Docker Desktop on Windows : https://docs.docker.com/desktop/install/windows-install/
- https://notes.51sec.org/article/7b572b9c-51d1-4c5b-a13c-eb74ab8a0697
- Tenable.IO Vulnerability Management - Basic Usage with Sensor and Agent Installation
- Tenable Vulnerability Management - Tenable.IO Tips and Tricks with Best Practices
- Install/Register Free Nessus Scanner Essentials and Execute a Vulnerability Scan
- Phases of a vulnerability scan
- Troubleshooting credentialed scanning on Windows
- America's Cyber Defense Agency - CISA Known Exploited Vulnerabilities Catalog
- Tenable COMPARE TENABLE WITH INDUSTRY VULNERABILITY MANAGEMENT SOLUTIONS
- https://static.tenable.com/marketing/whitepapers/Whitepaper-Miercom_Comparing_the_coverage_of_CISA_KEV_vulnerabilities_across_top_vulnerability_management_providers.pdf - Tenable coverage details comparing with others


No comments:
Post a Comment