Other related posts:
- Using Portainer to Deploy Guacamole As Web Based Remote Access Gateway (Updated) & KASM Installation
- Using Portainer and Docker to Deploy Guacamole Clientless Remote Desktop Gateway
- Deployment of KASM with Four Commands or Using Docker to Deploy
- Next Terminal - Another Interactive Auditing Bastion System (Simple to Install and Easy to Use)
- Fast Deploy Two Open Source Bastion Server Projects - Webterminal and Jumpserver
- [5 Min Docker] Free Sshwifty Web SSH & Telnet Client Deploy to Cloud Platforms (Koyeb, Render)
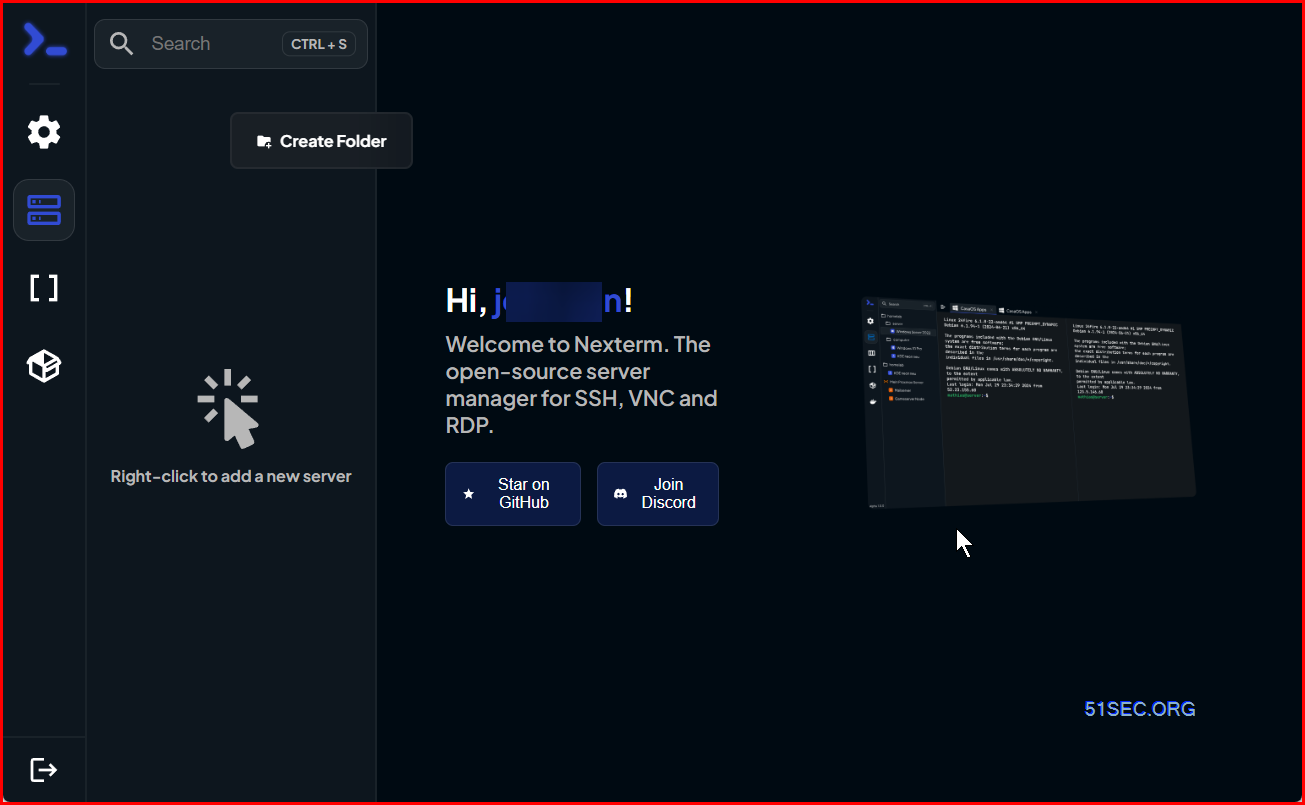
Nexterm Project Highlights
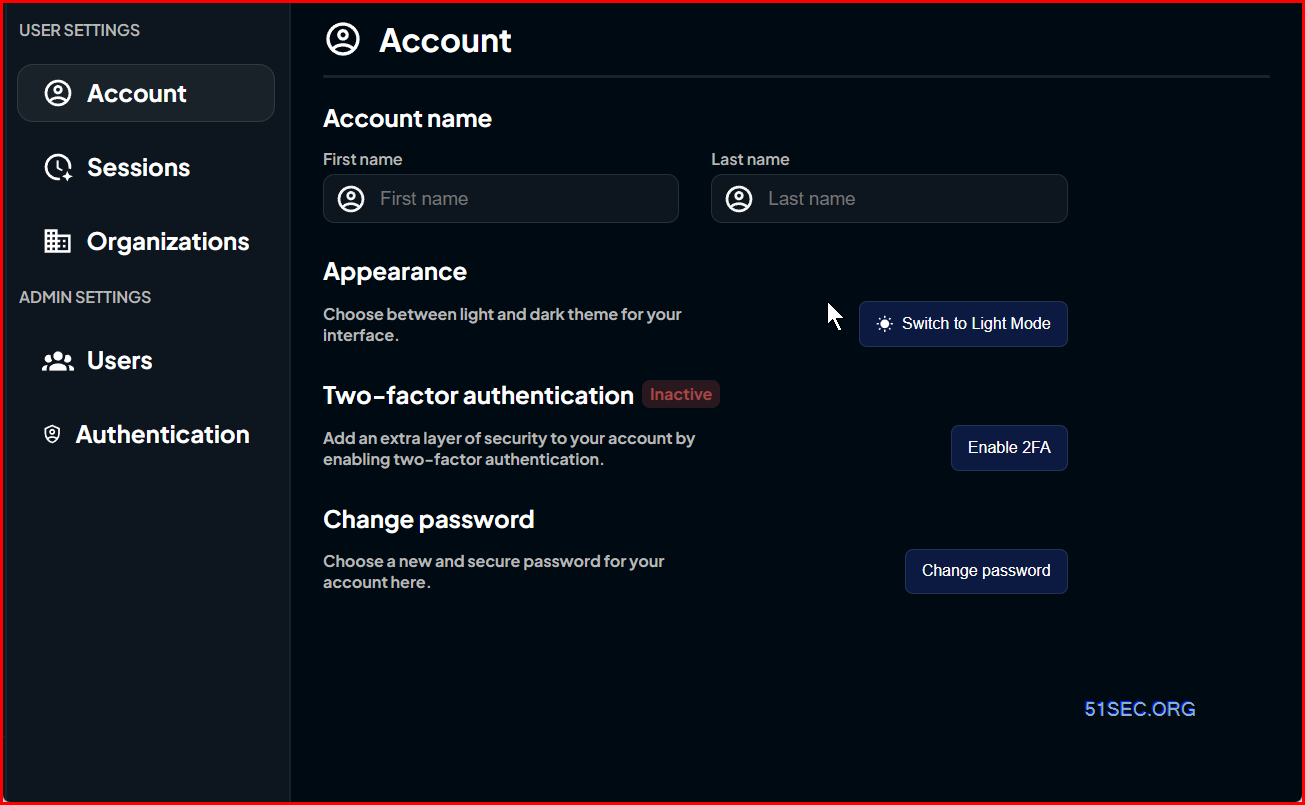
Nexterm is an open-source server management software that allows you to:
- Connect remotely via SSH, VNC and RDP
- Manage files through SFTP
- Deploy applications via Docker
- Manage Proxmox LXC and QEMU containers
- Secure access with two-factor authentication
Screenshot:
Docker Deployment Steps
1 log into linux vps
- sudo -i
- apt update
2 (optional) increase swap size if needed
- SWAP size increase: wget https://raw.githubusercontent.com/51sec/swap/main/swap.sh && bash swap.sh
3 install docker & docker compose
- apt install docker.io
- apt install docker-compose
- (optional) apt upgrade docker.io
4 Create docker data structure
- mkdir /root/data/docker_data/nexterm
- cd /root/data/docker_data/nexterm
Root User to Run Docker
- vi docker-compose.yml
services:
nexterm:
environment:
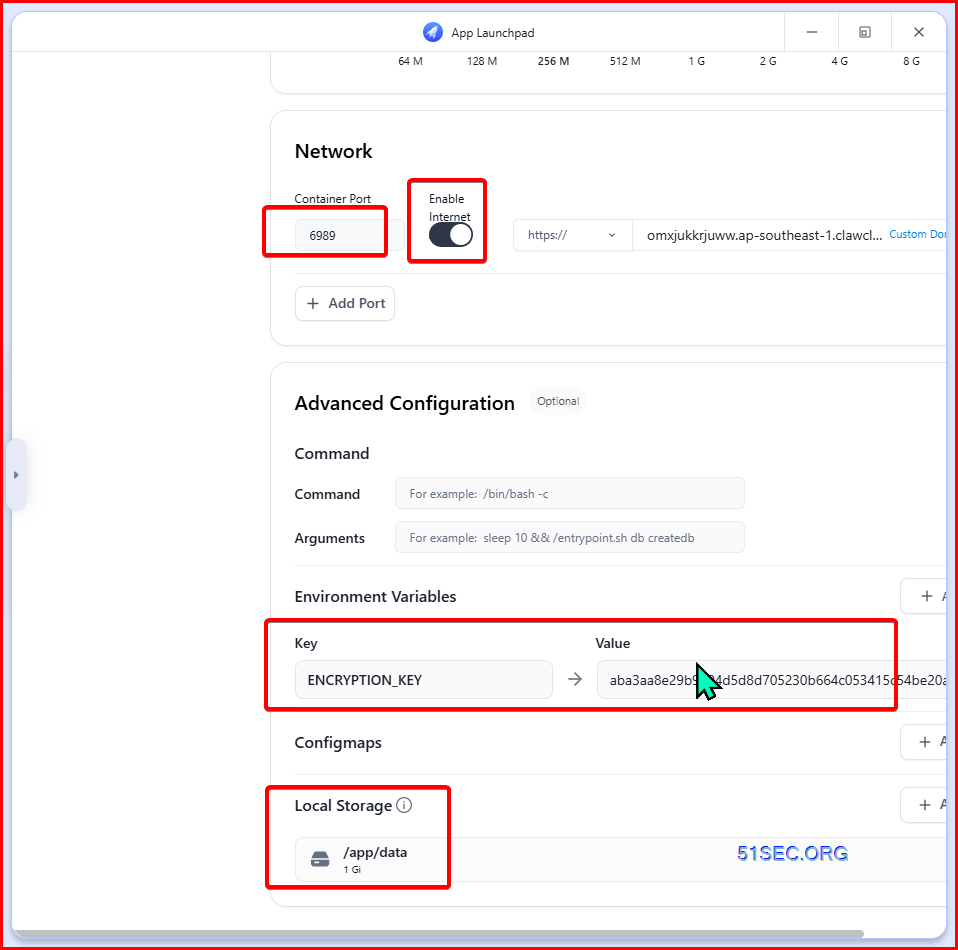
ENCRYPTION_KEY: "aba3aa8e29b9904d5d8d705230b664c053415c54be20ad13be99af0057dfa23a" # Replace with your generated key
ports:
- "6989:6989"
restart: always
volumes:
- nexterm:/app/data
image: germannewsmaker/nexterm:1.0.3-OPEN-PREVIEW
volumes:
nexterm:
- Image: Specifies the Docker image
germannewsmaker/nexterm:1.0.1-OPEN-PREVIEW, which is the preview version of Nexterm. - Ports: Maps port
6989on the host to port6989inside the container, allowing access to Nexterm viahttp://<your-server-ip>:6989. - Volumes: A named volume
nexterm:/app/datais used to persist data. This volume ensures that configuration and data are retained across container restarts. Data in Docker containers is lost when the container is removed unless it's saved in a volume. This setup keeps your data safe. nexterm— This is the name of the Docker volume on the host machine. If we are using /nexterm in -v parameter, such as -v /nexterm:/app/data, that will mean nexterm is a folder on the host.-
/app/data— This is the path inside the container where the volume will be mounted. - Restart: Configured to
alwaysso the container will automatically restart in case of failures.
docker-compose up -dDocker run command:
docker run -d \
  -e ENCRYPTION_KEY="aba3aa8e29b9904d5d8d705230b664c053415c54be20ad13be99af0057dfa23a" \
  -p 6989:6989 \
  --name nexterm \
  --restart always \
  -v nexterm:/app/data \
  germannewsmaker/nexterm:1.0.3-OPEN-PREVIEW
Update
Uninstall
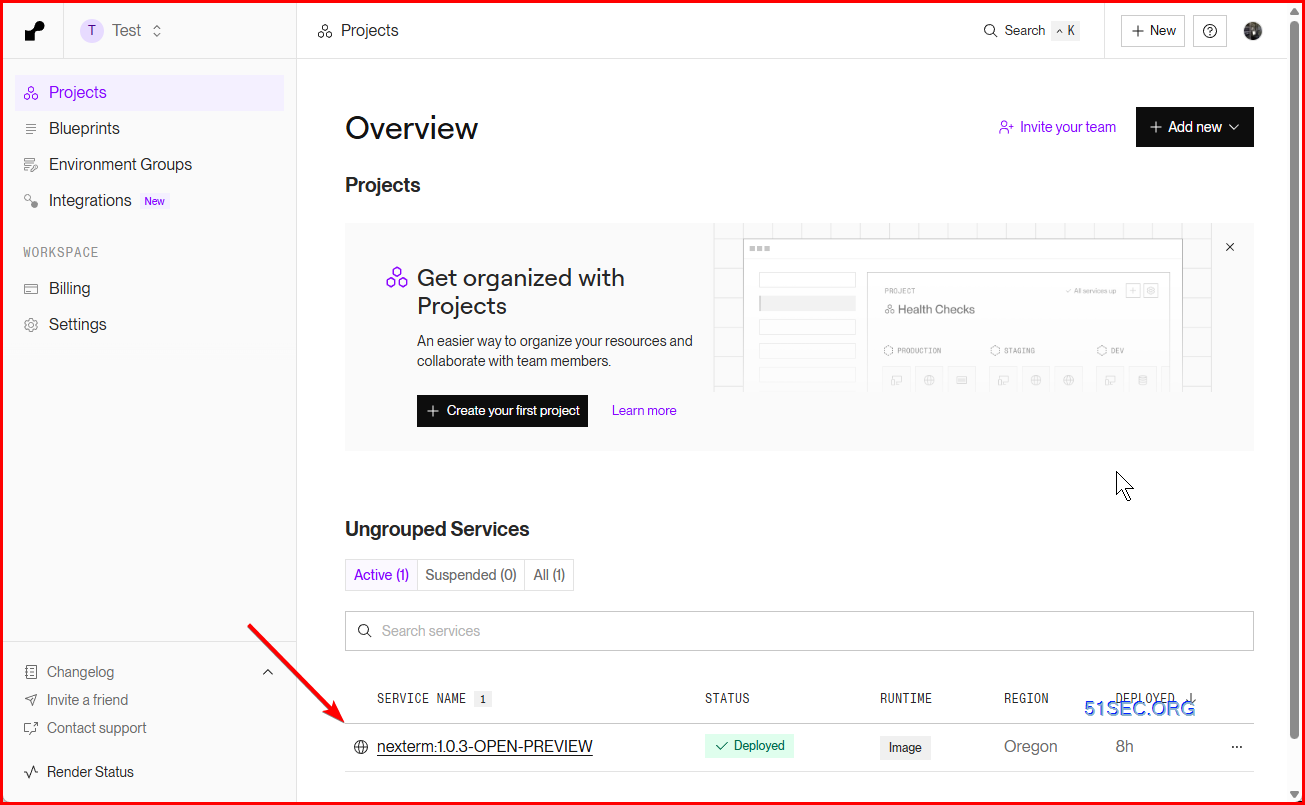
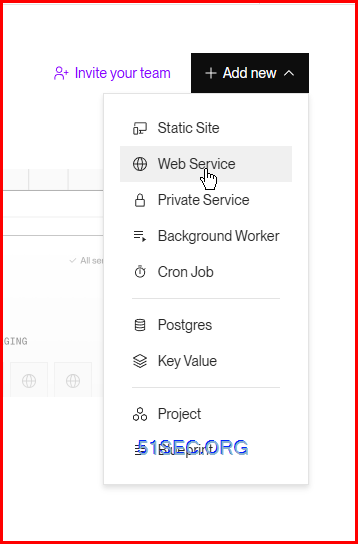
Deployment at Render

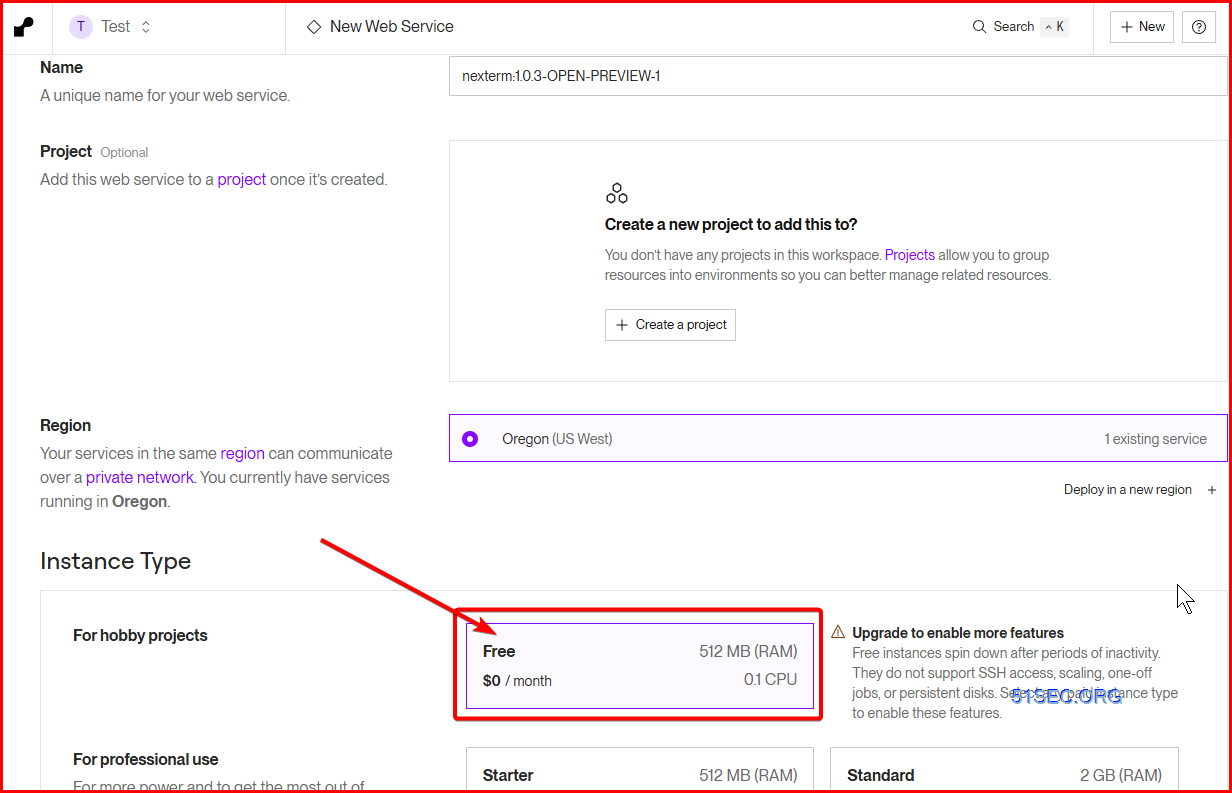
openssl rand -hex 32 to generate your own key to add in. 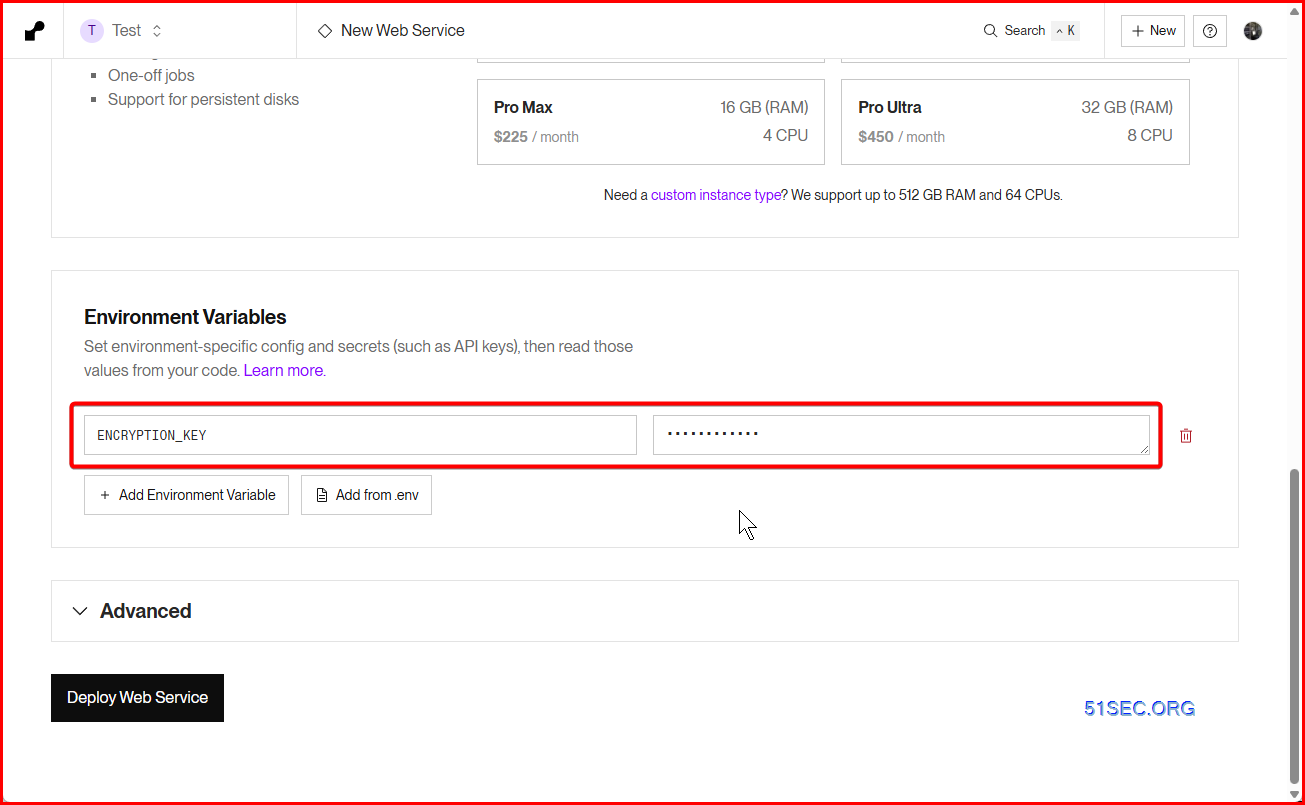
Click Deploy
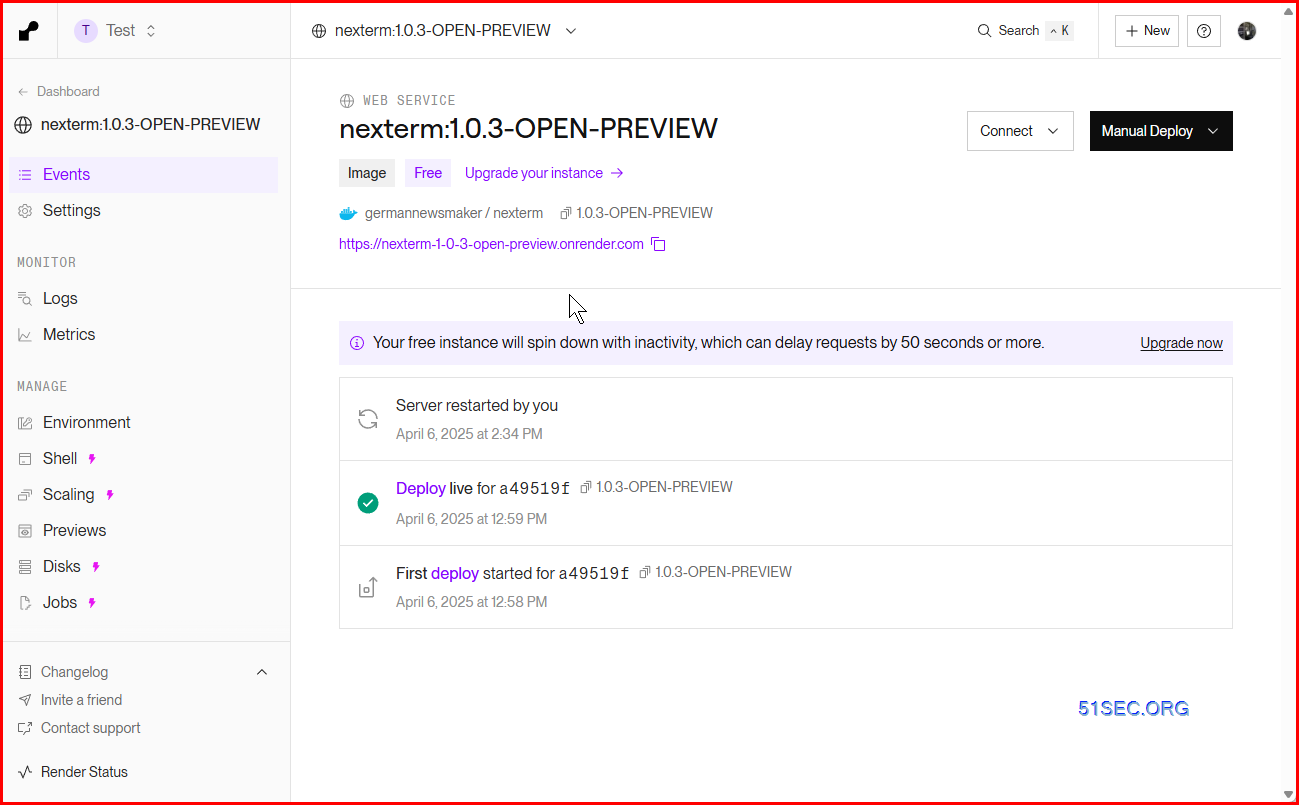
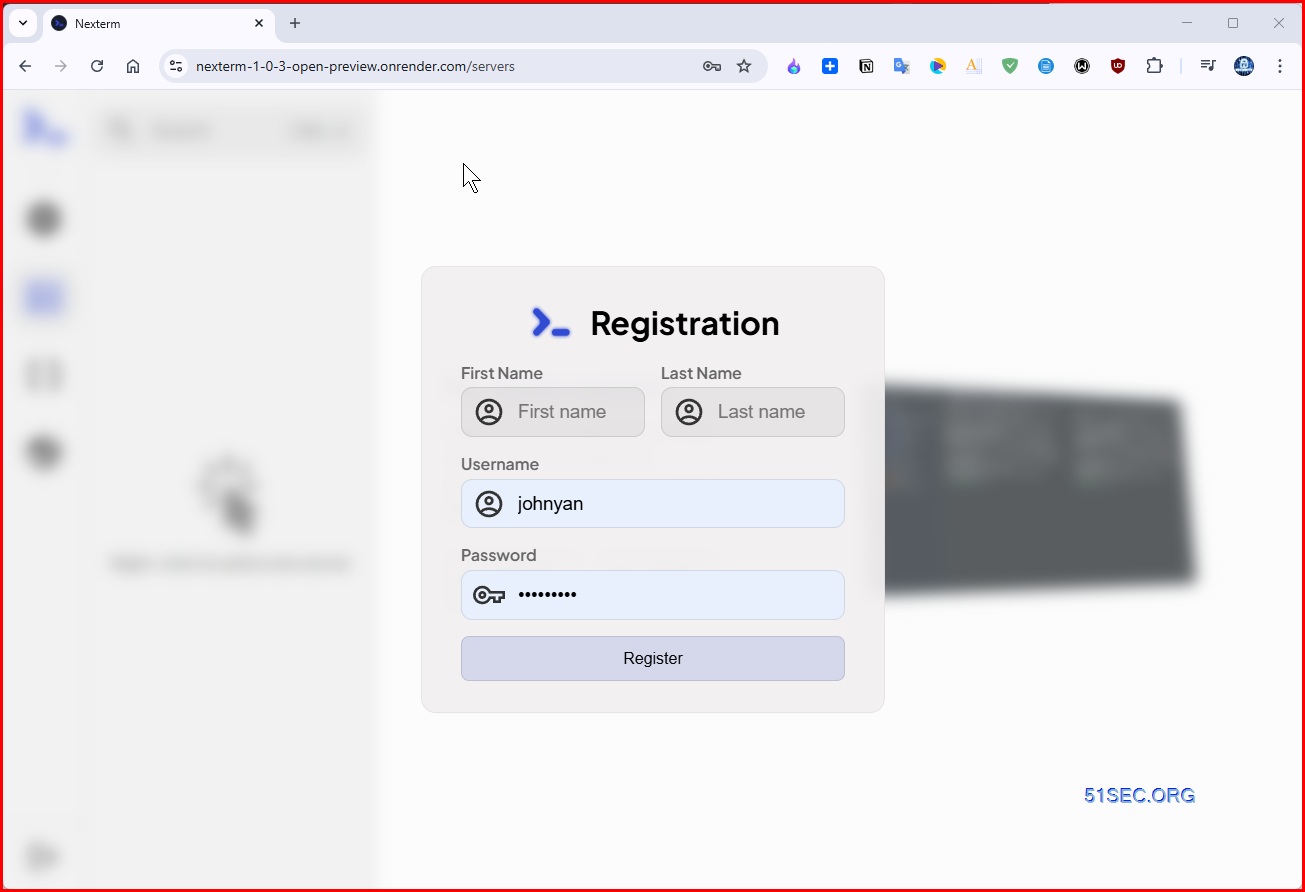
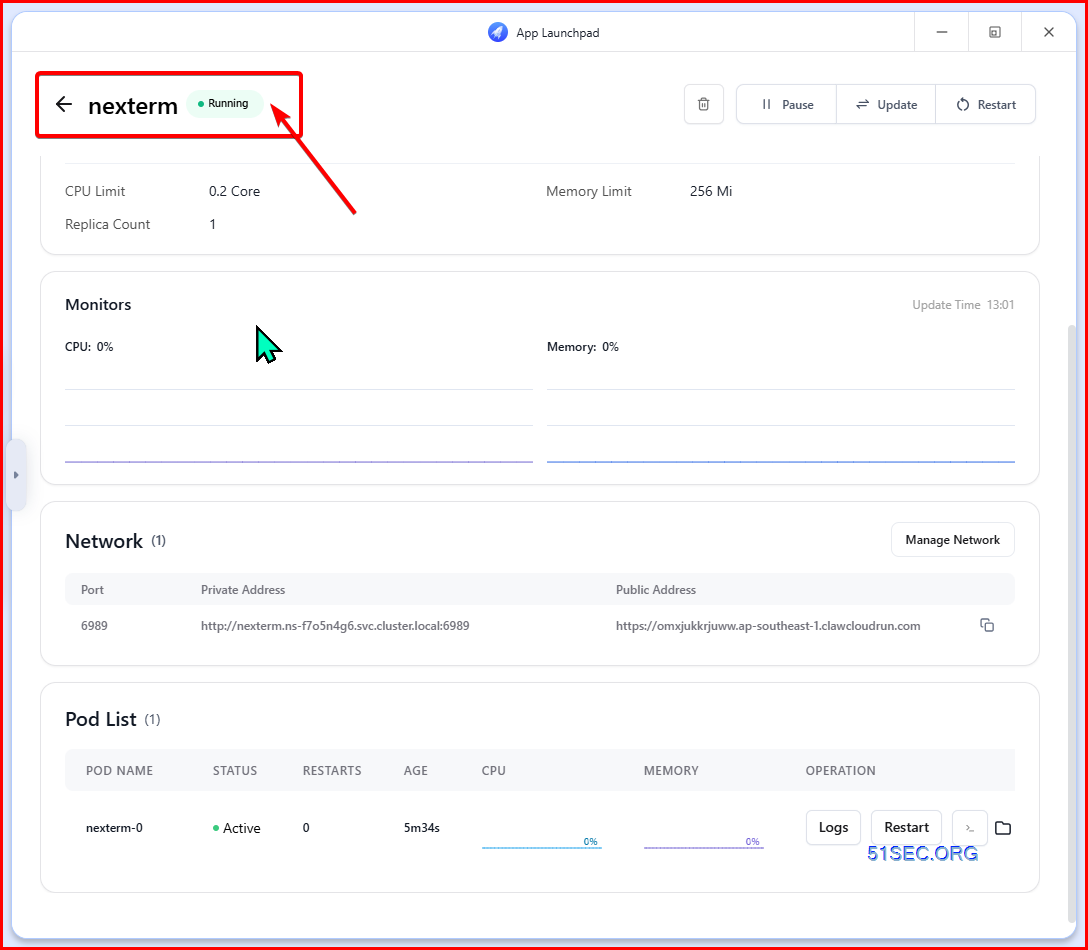
After log in, you can create session folders, then add your servers in.
Fly.io
https://fly.io/docs/about/pricing/#legacy-free-allowances
Legacy Free allowances
The following resources were included for free on the Hobby (deprecated), Launch, and Scale plans, and are still honored for any organizations that were on these plans before we sunset them:
- Up to 3 shared-cpu-1x 256mb VMsY
- 3GB persistent volume storage (total)
Outbound data transfer:
- 100 GB North America & Europe
- 30 GB Asia Pacific, Oceania & South America
- 30 GB Africa & India
- Follow the instructions to install fly's command-line interface
flyctl. - log into flyctl.
3 flyctl auth login
4 flyctl launch
This command creates a fly.toml file.
5 Edit your fly.toml (notepad fly.tomlfly.)
# fly.toml file generated for memos

app = "nexterm"                                               # change to whatever name you want if the name is not occupied
kill_signal = "SIGINT"
kill_timeout = 5
processes = []

[build]
  image = "germannewsmaker/nexterm:1.0.3-OPEN-PREVIEW"                                # Do not change unless you build your own image

[env]
  ENCRYPTION_KEY = "aba3aa8e29b9904d5d8d705230b664c053415c54be20ad13be99af0057dfa23a"

[mounts]
  source="nexterm_data"                                               # change to your fly.io volume name
  destination="/app/data"                                      # do not change

[[services]]
  http_checks = []
  internal_port = 6989                                             # change to port 6989
  processes = ["app"]
  protocol = "tcp"
  script_checks = []
  [services.concurrency]
    hard_limit = 25
    soft_limit = 20
    type = "connections"

  [[services.ports]]
    force_https = true
    handlers = ["http"]
    port = 80

  [[services.ports]]
    handlers = ["tls", "http"]
    port = 443

  [[services.tcp_checks]]
    grace_period = "1s"
    interval = "15s"
    restart_limit = 0
    timeout = "2s"
Create Volume:
flyctl volumes create nexterm_data --region <your_region> --size <size_in_gb>For example:
flyctl volumes create nexterm_data --region yyz --size 16 flyctl deploy
fly apps list
fly volumes list -a memos
run.claw.cloud
$5 / Month free credit.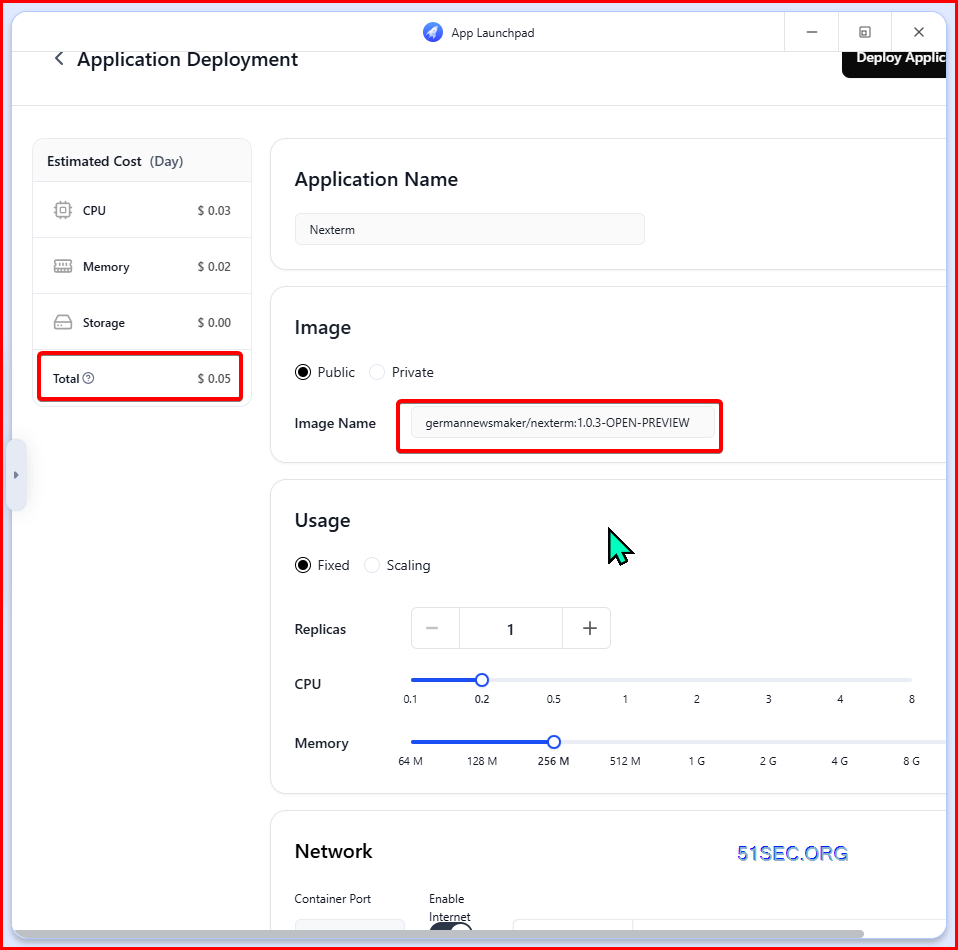
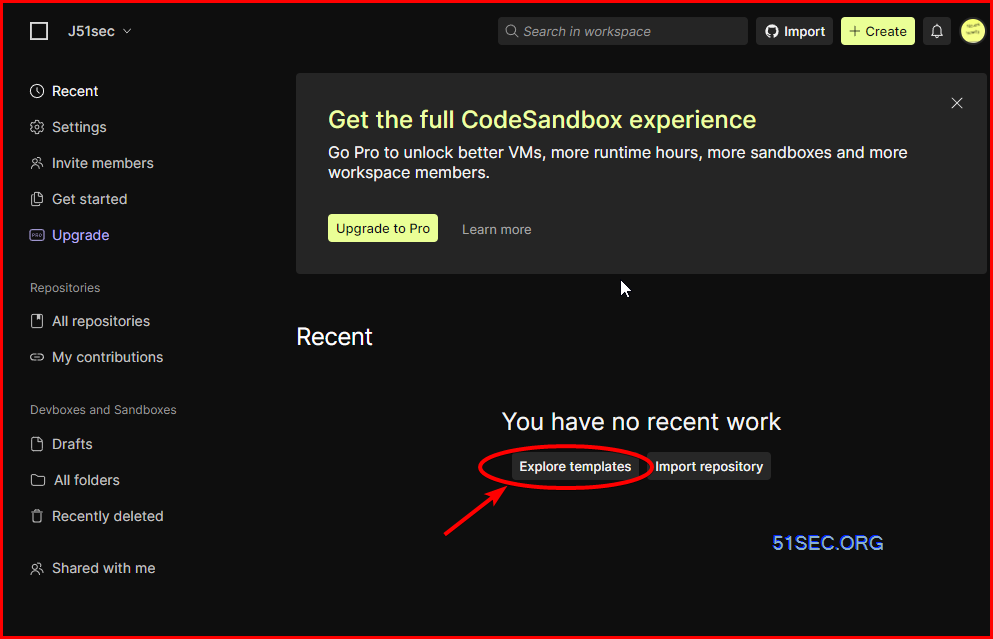
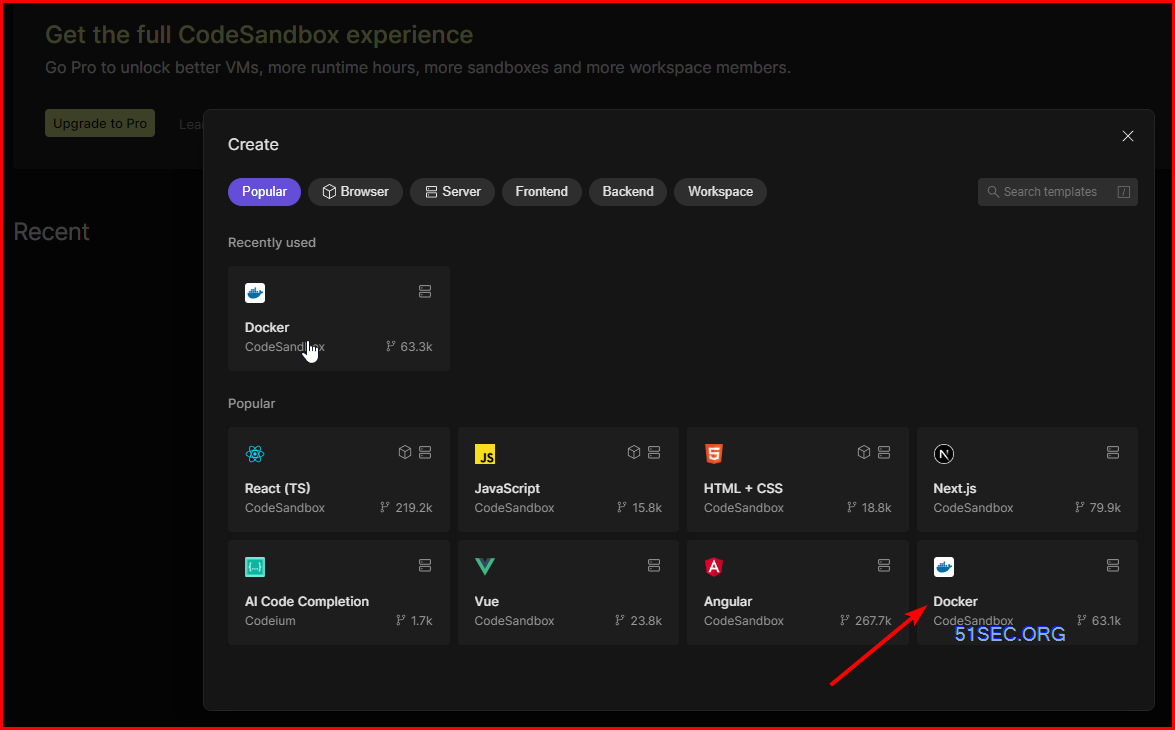
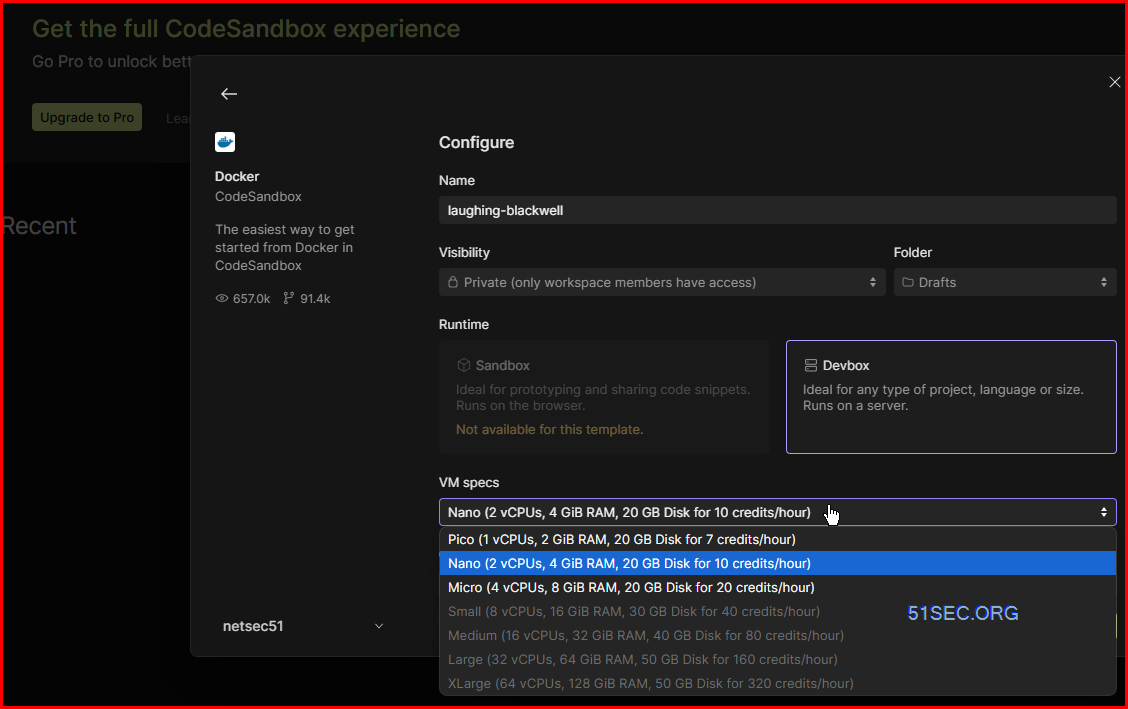
CodeSandbox - TBC
Still working on it. To be continued.- 400 VM credits started, Up to 57.1 hours worth of VM credits per month (minimum 7 credit / hour for 1vCPU, 2G RAM, 20GB Disk)
- 5 sandboxes
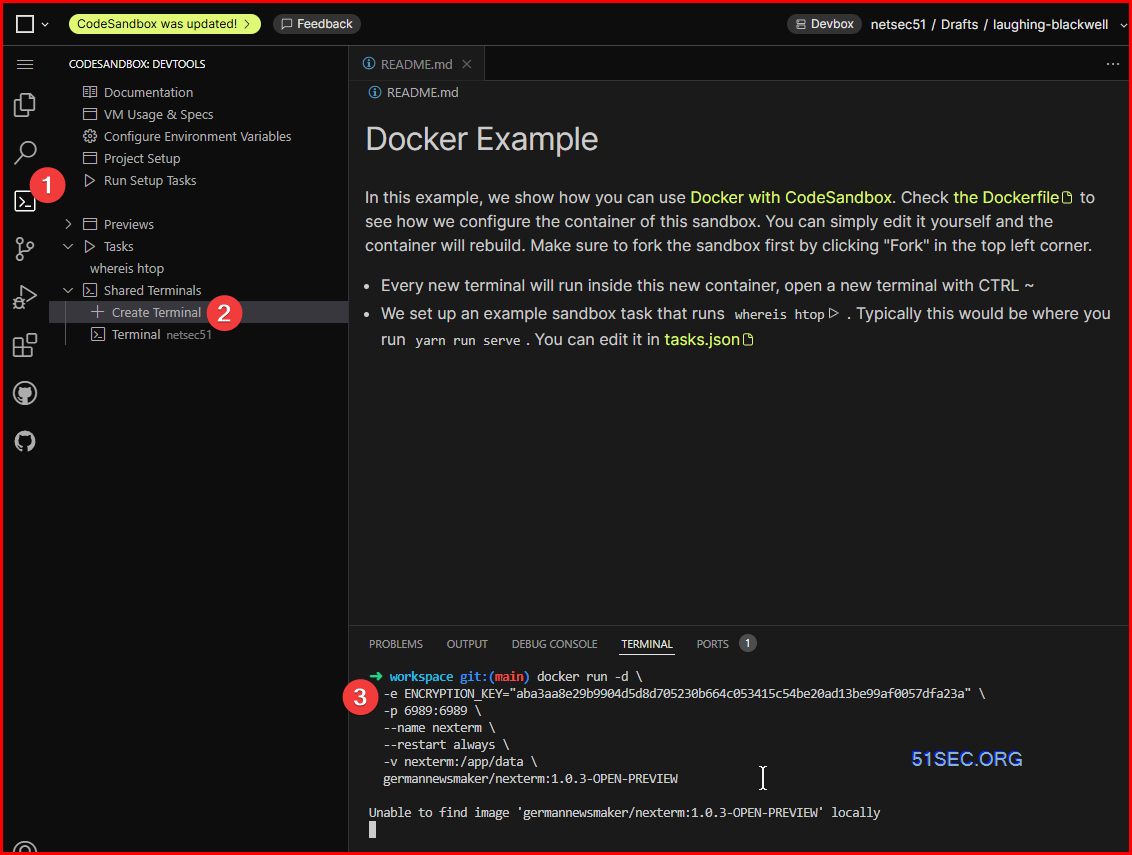
Outputs:
➜ workspace git:(main) docker run -d \
-e ENCRYPTION_KEY="aba3aa8e29b9904d5d8d705230b664c053415c54be20ad13be99af0057dfa23a" \
-p 6989:6989 \
--name nexterm \
--restart always \
-v nexterm:/app/data \
germannewsmaker/nexterm:1.0.3-OPEN-PREVIEW
Unable to find image 'germannewsmaker/nexterm:1.0.3-OPEN-PREVIEW' locally
1.0.3-OPEN-PREVIEW: Pulling from germannewsmaker/nexterm
f18232174bc9: Pull complete
cb2bde55f71f: Pull complete
9d0e0719fbe0: Pull complete
6f063dbd7a5d: Pull complete
cf1d045960c7: Pull complete
4e365c3723a1: Pull complete
206100c2fa94: Pull complete
cfbc3eac6fe8: Pull complete
5e25bbebb873: Pull complete
c0d150f0745c: Pull complete
ca63da039d11: Pull complete
a1d52f0b7c3e: Pull complete
96849131fbda: Pull complete
765f2a89adb7: Pull complete
Digest: sha256:1a8282db701a9babdb78794872b5cc06f117ff3e7f1704cdabf7ab89df2906c2
Status: Downloaded newer image for germannewsmaker/nexterm:1.0.3-OPEN-PREVIEW
aa6ae06ae80e76c9f5e71f545e53064d41fd59f97de594074eadbd46ed76b7bb
docker: Error response from daemon: failed to set up container networking: driver failed programming external connectivity on endpoint nexterm (7312389909dfab6e5d328235099590c9fb2c3b289205ee460462dc12cb92b264): Unable to enable LOOPBACK FILTERING - DROP rule: (iptables failed: iptables --wait -t raw -A PREROUTING -p tcp -d 127.0.0.1 --dport 6989 ! -i lo -j DROP: iptables v1.8.10 (legacy): can't initialize iptables table `raw': Table does not exist (do you need to insmod?)
Perhaps iptables or your kernel needs to be upgraded.
(exit status 3)).
➜ workspace git:(main)
https://blog.51sec.org/2024/11/use-cloudflared-docker-to-map-your-sub.html
3 Modify tasks.json file under workspace/.codesandbox
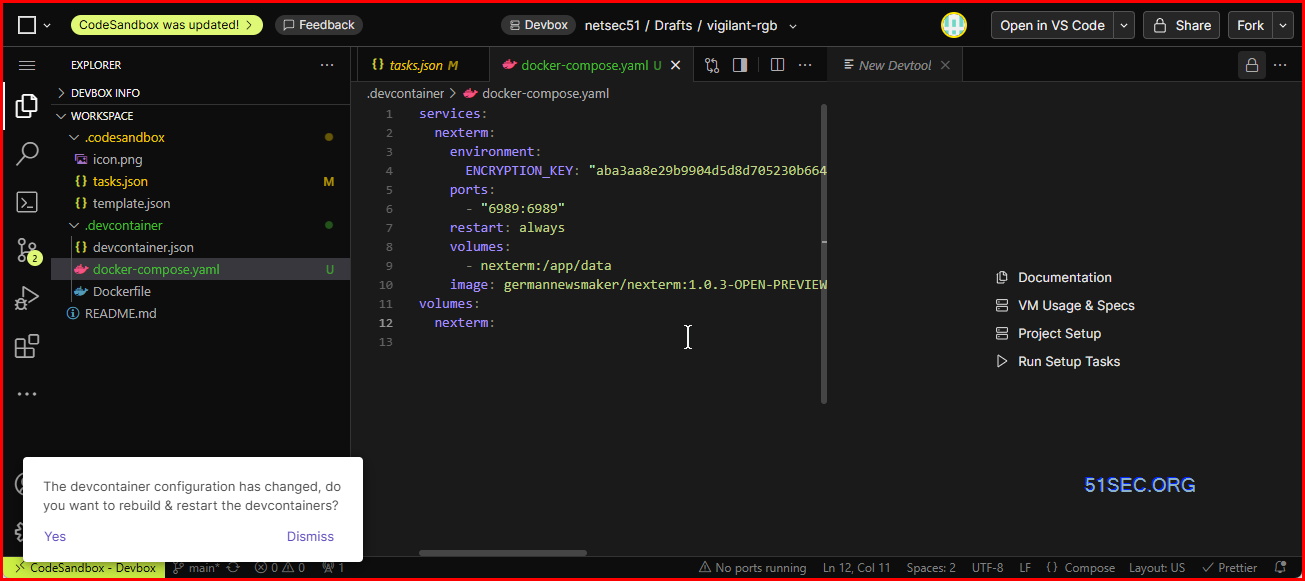
4 Create docker-compose.yaml file under workspace / .devcontainer
5 Once you pressed ctrl+s to save docker-compose.yaml file, it will ask you to rebuild & restart the deccontainers.
TBC.
Videos
References
- https://github.com/DmitryScaletta/free-heroku-alternatives
- https://blog.laoda.de/archives/docker-compose-install-nexterm
- https://github.com/gnmyt/Nexterm
- https://docs.nexterm.dev/preview
- How to Install Nexterm on Your Synology NAS


No comments:
Post a Comment