Sandbox is available on the Pro and Enterprise editions of Windows, and it uses Microsoft’s Hyper-V technology to create a disposable lightweight virtual machine on-demand to run a separate kernel that separates the Windows Sandbox session from the host.
Related Blog post:

Windows edition and licensing requirements
The following table lists the Windows editions that support Windows Sandbox:
| Windows Pro | Windows Enterprise | Windows Pro Education/SE | Windows Education |
|---|---|---|---|
| Yes | Yes | Yes | Yes |
Windows Sandbox license entitlements are granted by the following licenses:
| Windows Pro/Pro Education/SE | Windows Enterprise E3 | Windows Enterprise E5 | Windows Education A3 | Windows Education A5 |
|---|---|---|---|---|
| Yes | Yes | Yes | Yes | Yes |
Note: https://learn.microsoft.com/en-us/windows/security/application-security/application-isolation/windows-sandbox/
Background
How to activate Sandbox in Windows Home Edition?
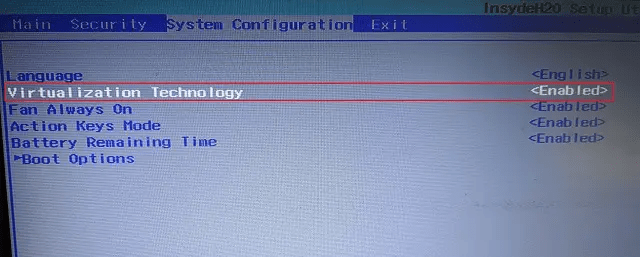
1. Before anything, you need to enable virtualization in the BIOS or UEFI menu. For that, you need to boot into the BIOS/ UEFI menu on your Windows 11 PC and look for “Virtualization“, or “SVM Mode”. Now, enable it and restart your PC.
2. After logging into your PC, open Notepad and paste the below content.
Code location: https://vitaminac.github.io/Install-Windows-Sandbox-Win10Home/
@echo off
echo Checking for permissions
>nul 2>&1 "%SYSTEMROOT%\system32\cacls.exe" "%SYSTEMROOT%\system32\config\system"
echo Permission check result: %errorlevel%
REM --> If error flag set, we do not have admin.
if '%errorlevel%' NEQ '0' (
echo Requesting administrative privileges...
goto UACPrompt
) else ( goto gotAdmin )
:UACPrompt
echo Set UAC = CreateObject^("Shell.Application"^) > "%temp%\getadmin.vbs"
echo UAC.ShellExecute "%~s0", "", "", "runas", 1 >> "%temp%\getadmin.vbs"
echo Running created temporary "%temp%\getadmin.vbs"
timeout /T 2
"%temp%\getadmin.vbs"
exit /B
:gotAdmin
if exist "%temp%\getadmin.vbs" ( del "%temp%\getadmin.vbs" )
pushd "%CD%"
CD /D "%~dp0"
echo Batch was successfully started with admin privileges
echo .
cls
Title Sandbox Installer
pushd "%~dp0"
dir /b %SystemRoot%\servicing\Packages\*Containers*.mum >sandbox.txt
for /f %%i in ('findstr /i . sandbox.txt 2^>nul') do dism /online /norestart /add-package:"%SystemRoot%\servicing\Packages\%%i"
del sandbox.txt
Dism /online /enable-feature /featurename:Containers-DisposableClientVM /LimitAccess /ALL
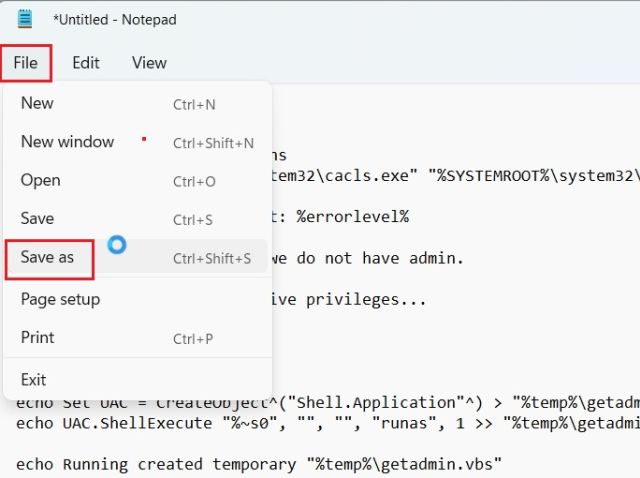
pause3. Now, click on “File” in the top menu and choose “Save as“.
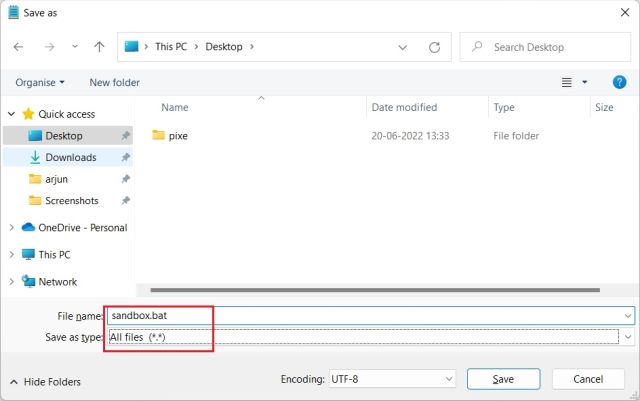
4. After that, select “All files(.)” from the “Save as type” drop-down menu and give a name to the file. Then, add the .bat extension at the end to save it as a batch file. Make sure there is no .txt or other file extension at the end. Finally, click on “Save”.
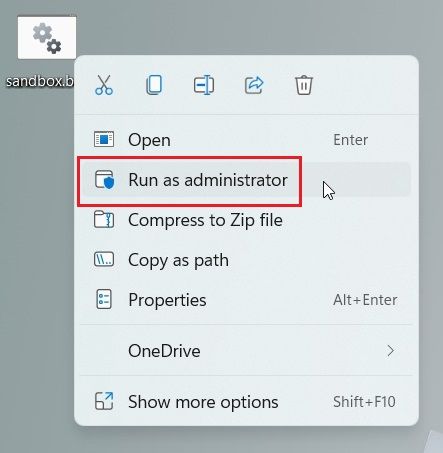
5. Now, right-click on the saved batch file and choose “Run as administrator“.
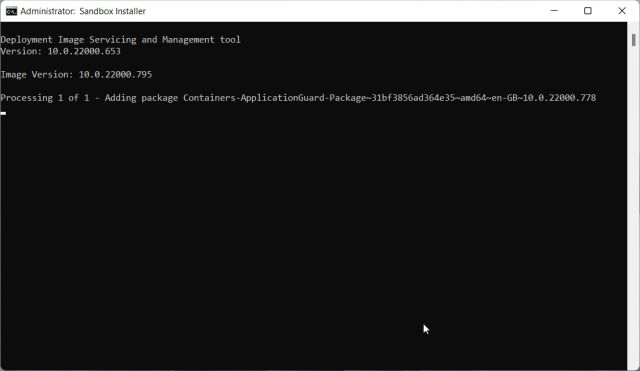
6. A Command Prompt window will open up, and Windows Sandbox will start getting installed on your Windows 11 Home PC. After the installation, press “y” and hit Enter. This will restart your Windows 11 computer.
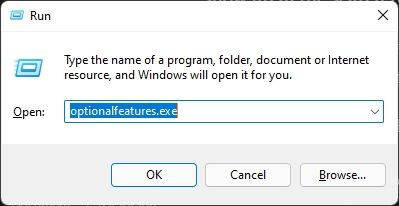
7. Once you have logged in, use the Windows 11 keyboard shortcut Windows + R keys to open the Run prompt. Here, you need to type optionalfeatures.exe and hit Enter.
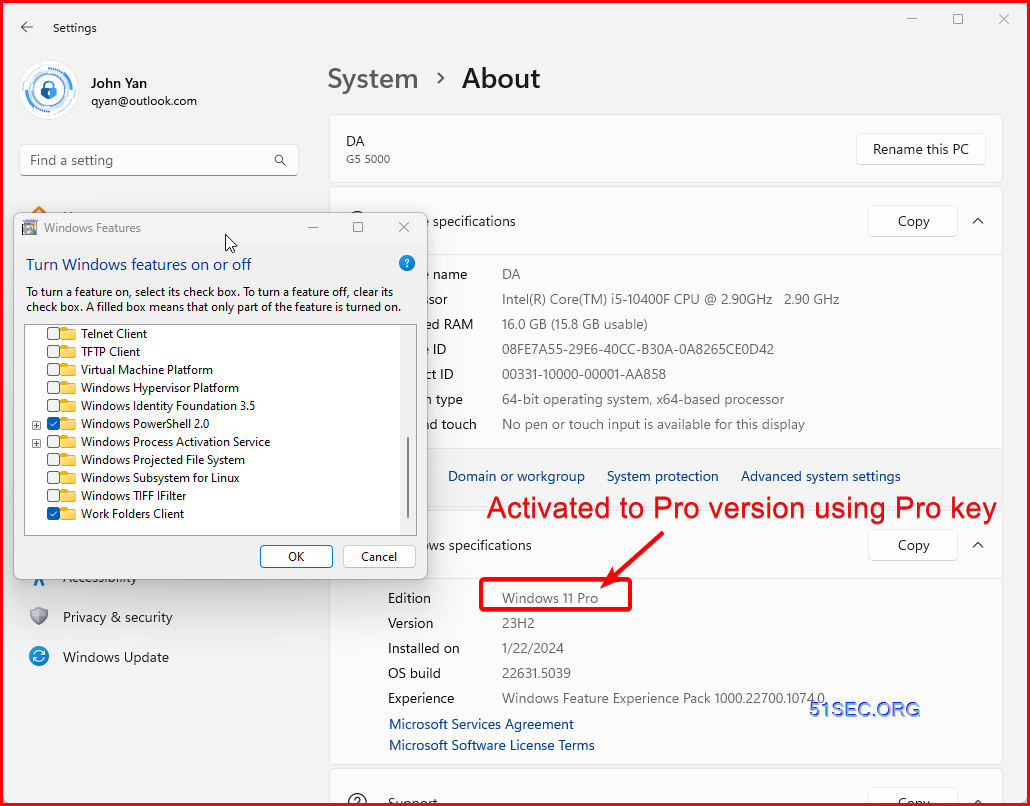
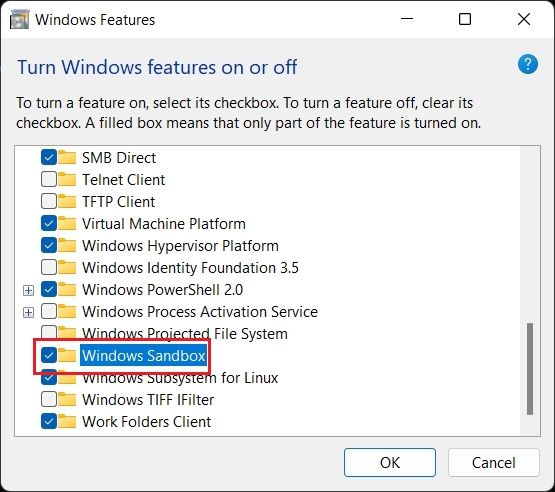
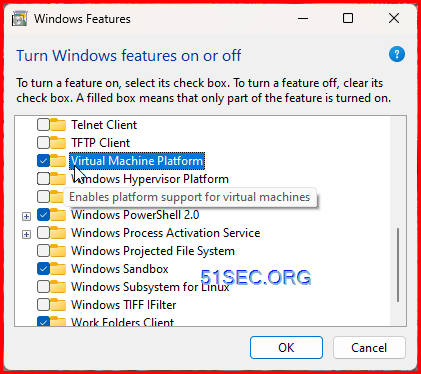
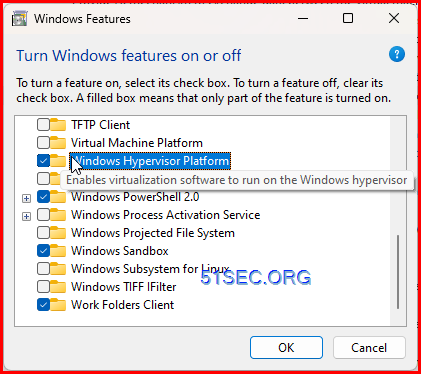
8. A “Windows Features” window will now open up. Here, scroll down and enable Windows Sandbox, Virtual Machine Platform, and Windows Hypervisor Platform. Finally, hit the OK button. It will start installing the necessary packages and after a while, will ask you to restart the computer.
Note: If you are running Windows 11 Pro Edition, you can directly skip to this step and enable the required features to start using the Windows Sandbox virtual environment on your PC.
9. Finally, open the Start menu and search for “windows sandbox“. It will appear on top, and you can click to open Windows Sandbox.
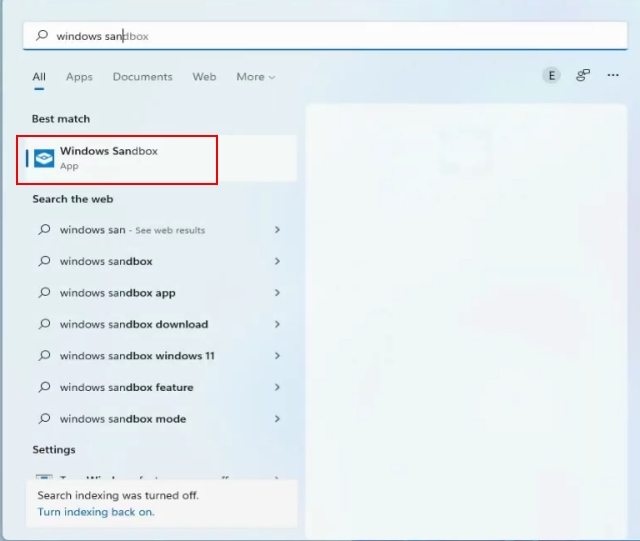
10. And there you have it! You have successfully enabled Windows Sandbox on Windows 11 Home edition.
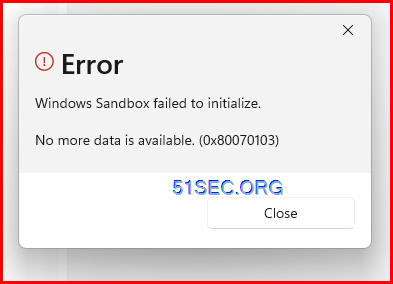
Unfortunately, those above steps will still have one probelm:
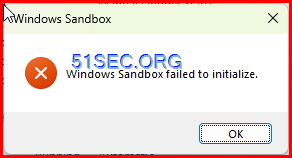
When you tried to launch your Sandbox from Windows Home Edition machine, you will get this error, "Winodws Sandbox failed to initialize."
Troubleshooting "Winodws Sandbox failed to initialize."
Windows Sandbox failed to initialize.
Even you have checked : Enable Virtual Machine platform
And Windows Hypervisor Platform
Fix: Convert Windows Version to Pro or others
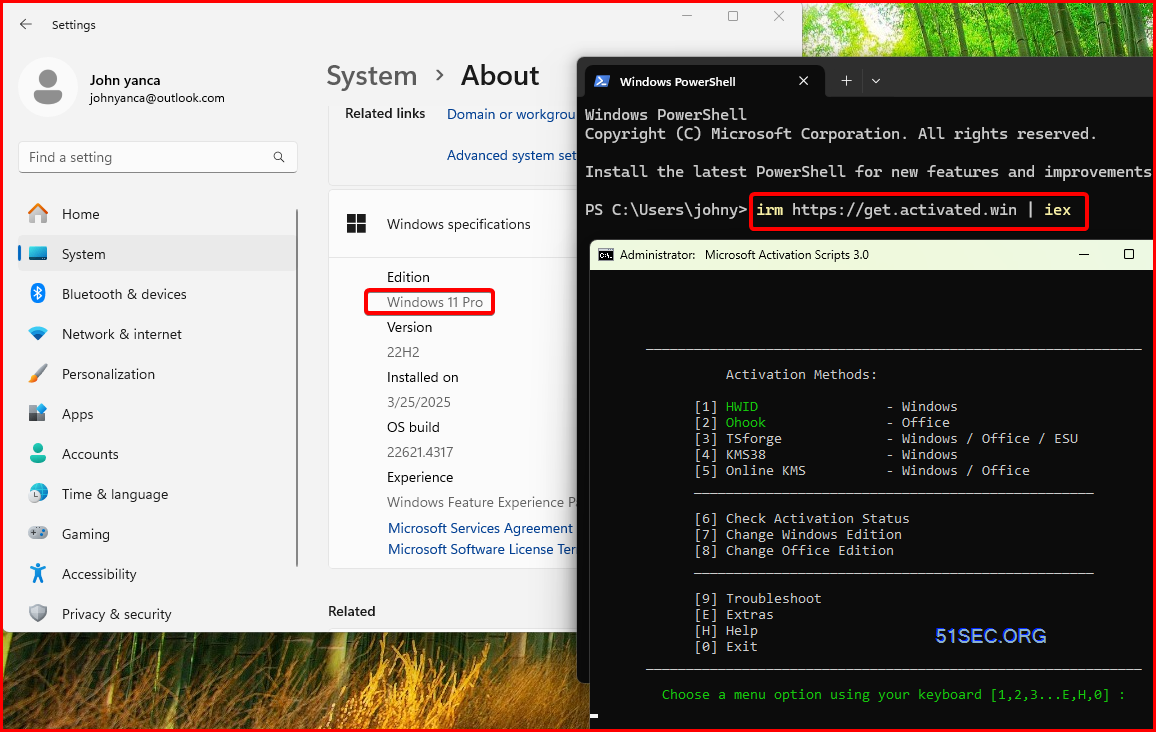
The only fix I found is to covert windows version from Home to Pro or other versions support Sandbox. You will not need to re-install Windows. It can be done easily by running just one command from this github project:
Open PowerShell
To do that, press the Windows key + X, then select PowerShell or Terminal.Copy and paste the code below, then press enter.
irm https://get.activated.win | iex
Alternatively, you can use the following (It will be deprecated in the future.)
irm https://massgrave.dev/get | iex- The IRM command in PowerShell downloads a script from a specified URL, and the IEX command executes it.
Get WSL2 Working
The following links will open the Microsoft store page for each distribution:
Troubleshooting VMWare Workstation issue
Enable Hyper-v features:
Enable-WindowsOptionalFeature -Online -FeatureName Microsoft-Hyper-V-Hypervisor
bcdedit /set hypervisorlaunchtype on
Enable-WindowsOptionalFeature -Online -FeatureName Microsoft-Hyper-V-All
The error will still be there.
Enable Hyper-V
pushd "%~dp0"
dir /b %SystemRoot%\servicing\Packages\*Hyper-V*.mum >hv.txt
for /f %%i in ('findstr /i . hyper-v.txt 2^>nul') do dism /online /norestart /add-package:"%SystemRoot%\servicing\Packages\%%i"
del hv.txt
Dism /online /enable-feature /featurename:Microsoft-Hyper-V -All /LimitAccess /ALL
pause
Now save that as hv.bat from your text editor. The desktop or download folder are good destinations for which to save and easily located for the next step.
After exiting the editor, open file manager and right mouse click the file and choose run as administrator.
Once complete it will reboot your machine and you can turn on Hyper-v from programs and features.
References
- https://pureinfotech.com/enable-windows-sandbox-windows-11-10/
- https://beebom.com/how-enable-windows-sandbox-windows-11/


No comments:
Post a Comment