There are many different ways to install NextCloud and I had quite a few posts to show the installation. Recently I found this Github AIO (All in One) project and it does give an easy way to install NextCloud with all other addon features. This blog post is to record all steps you will need to get NextCloud AIO up and running.
Related posts:
- Install NextCloud Docker and Integrate with Nginx and LetsEncrypt SSL Certificate
- Easiest and Quickest Way to Deploy Your Own NextCloud Using Portainer
- Integrate Scaleway FREE 75GB Storage with NextCloud and ShareX
- Mount Google Drive into NextCloud Using Rclone
Features
- Nextcloud
- Nextcloud Office
- High performance backend for Nextcloud Files
- High performance backend for Nextcloud Talk and TURN-server
- Nextcloud Talk Recording-server
- Backup solution (based on BorgBackup)
- Imaginary (for previews of heic, heif, illustrator, pdf, svg, tiff and webp)
- ClamAV (Antivirus backend for Nextcloud)
- Fulltextsearch
- More
Requirements
Self Hosted Docker Installation Pre-requirements
Free resources you might need to complete this docker project:
- Server: Oracle Free VPS, Azure Free VPS, Google Cloud Free VPS, and others
- Create a Free Tier Windows/Linux Azure VPS VM
- [Free VPS] GCP (Google Cloud Platform) Tips and Tricks (Free 16G RAM, 4 vCPU VPS)
- System: Cloud Vendor Ubuntu, Debian, or DD an original version
- SWAP size increase: wget https://raw.githubusercontent.com/51sec/swap/main/swap.sh && bash swap.sh
- Enable Password ssh login
- Enable BBR
- systemctl restart docker
- Domain: (Optional) EU.ORG to get a free one, free Cloudflare account to manage your domain
- Confirm port has not been used (you might need to install lsof using command : apt install lsof):
- lsof -i:8088
Pre-installed services:
- Docker,
- apt update
- apt install docker.io
- apt install docker-compose
- apt upgrade docker.io
- mkdir /root/data/docker_data/<docker_name>
- Docker-Compose (Using Ubuntu OS for the commands)
- Docker-compose down
- Optional command : use following command to backup your Docker data. You might need to change your folder name based on your docker configuraiton
- cp -r /root/data/docker_data/<docker_name> /root/data/docker_data_backup/<docker_name>
- docker-compose pull
- docker-compose up -d
- docker image prune
- Portainer (Optional)
- docker volume create portainer_data
- docker run -d -p 9000:9000 --name portainer --restart always -v /var/run/docker.sock:/var/run/docker.sock -v portainer_data:/data portainer/portainer-ce:latest
- Install some applications: apt install wget curl sudo vim git (Optional)
- aapanel with Nginx (Optional)
- Nginx Proxy Manager (Optional)
- Install screen (Optional)
- Install screen (Depends on the Linux Distribution if it came pre installed or not) : yum install screen
- Initiate a Screen : screen or screen -S <screen name> <command to execute>
- Detach from the screen : "CTRL+A,D" not "CTRL+A+D"
- List all the screen currently working : screen -ls
- Reattach to a screen : screen -r <session number> or screen -r <screen name>
- Kill specific screen: screen -X -S <screen name> quit
- Kill all screens : pkill screen
Steps
1 Log into Linux VPS:
- sudo -i
2 Get update list
- apt update
3 Install docker and add 1G swap size
- apt install docker.io -y
- SWAP size increase: wget https://raw.githubusercontent.com/51sec/swap/main/swap.sh && bash swap.sh
4 run docker all-in-one
docker run -d \
--init \
--sig-proxy=false \
--name nextcloud-aio-mastercontainer \
--restart always \
--publish 80:80 \
--publish 8080:8080 \
--publish 8443:8443 \
--volume nextcloud_aio_mastercontainer:/mnt/docker-aio-config \
--volume /var/run/docker.sock:/var/run/docker.sock:ro \
nextcloud/all-in-one:latestroot@nctest1:~# docker run \
> --init \
> --sig-proxy=false \
> --name nextcloud-aio-mastercontainer \
> --restart always \
> --publish 80:80 \
> --publish 8080:8080 \
> --publish 8443:8443 \
> --volume nextcloud_aio_mastercontainer:/mnt/docker-aio-config \
> --volume /var/run/docker.sock:/var/run/docker.sock:ro \
> nextcloud/all-in-one:latest
Unable to find image 'nextcloud/all-in-one:latest' locally
latest: Pulling from nextcloud/all-in-one
7264a8db6415: Pull complete
404102781aa3: Pull complete
7410f32c8672: Pull complete
956dc56ebfa1: Pull complete
3f95106f3bdd: Pull complete
9098802ffa48: Pull complete
06d0409205b9: Pull complete
7bb45fa2d48d: Pull complete
d67828a2556d: Pull complete
e5ede5962d91: Pull complete
d86ee673bb09: Pull complete
d640ee80c756: Pull complete
3e8298fe0584: Pull complete
88c10200accc: Pull complete
2c3093024cce: Pull complete
6f6e87149a47: Pull complete
68bcdf3f2a1b: Pull complete
a884c5fe8319: Pull complete
Digest: sha256:b65a2d2aeb7afd4ac5c06893fd6bda4cd06dd56502560a90ea3dacba10c9286e
Status: Downloaded newer image for nextcloud/all-in-one:latest
Trying to fix docker.sock permissions internally...
Creating docker group internally with id 122
....+....+......+.................+.............+.....+.+...+..+.+..+......+.+........+...+....+...+...+.....+....+.....+...............+..........+........+...+.......+...+..+.+............+........+.+.........+............+..+...+.........+.+........+....+...+..+.+++++++++++++++++++++++++++++++++++++++++++++*..+....+..+...+...+....+...+..+...+......+++++++++++++++++++++++++++++++++++++++++++++*.............+++++
...+....+..+.............+..+.+++++++++++++++++++++++++++++++++++++++++++++*..+........+++++++++++++++++++++++++++++++++++++++++++++*...............+..+......+.......+....................+....+...+......+..+...+.+.........+..+.........+...+.....................+......+......+....+......+.....+.......+...+..+...+.........+....+..+.......+.................................+............+........+...+......+.........+....+..+....+.........+......+....................+......+.+.........+.....+..........+...+..+.........+.+.........+.....+......+.+.....+....+...+.....+.+......+...........+...+.+...+............+.....+......+.......+..+++++
-----
Initial startup of Nextcloud All-in-One complete!
You should be able to open the Nextcloud AIO Interface now on port 8080 of this server!
E.g. https://internal.ip.of.this.server:8080
If your server has port 80 and 8443 open and you point a domain to your server, you can get a valid certificate automatically by opening the Nextcloud AIO Interface via:
https://your-domain-that-points-to-this-server.tld:8443
{"level":"info","ts":1695602198.0527787,"msg":"using provided configuration","config_file":"/Caddyfile","config_adapter":""}
[Mon Sep 25 00:36:38.113832 2023] [mpm_event:notice] [pid 103:tid 140428692880200] AH00489: Apache/2.4.57 (Unix) OpenSSL/3.1.2 configured -- resuming normal operations
[Mon Sep 25 00:36:38.114466 2023] [core:notice] [pid 103:tid 140428692880200] AH00094: Command line: 'httpd -D FOREGROUND'
[25-Sep-2023 00:36:38] NOTICE: fpm is running, pid 111
[25-Sep-2023 00:36:38] NOTICE: ready to handle connections
5 Open following firewall ports: 80, 443, 8080, 8443
- https://<linux public ip>:8080
- https://<subdomain url>:8443
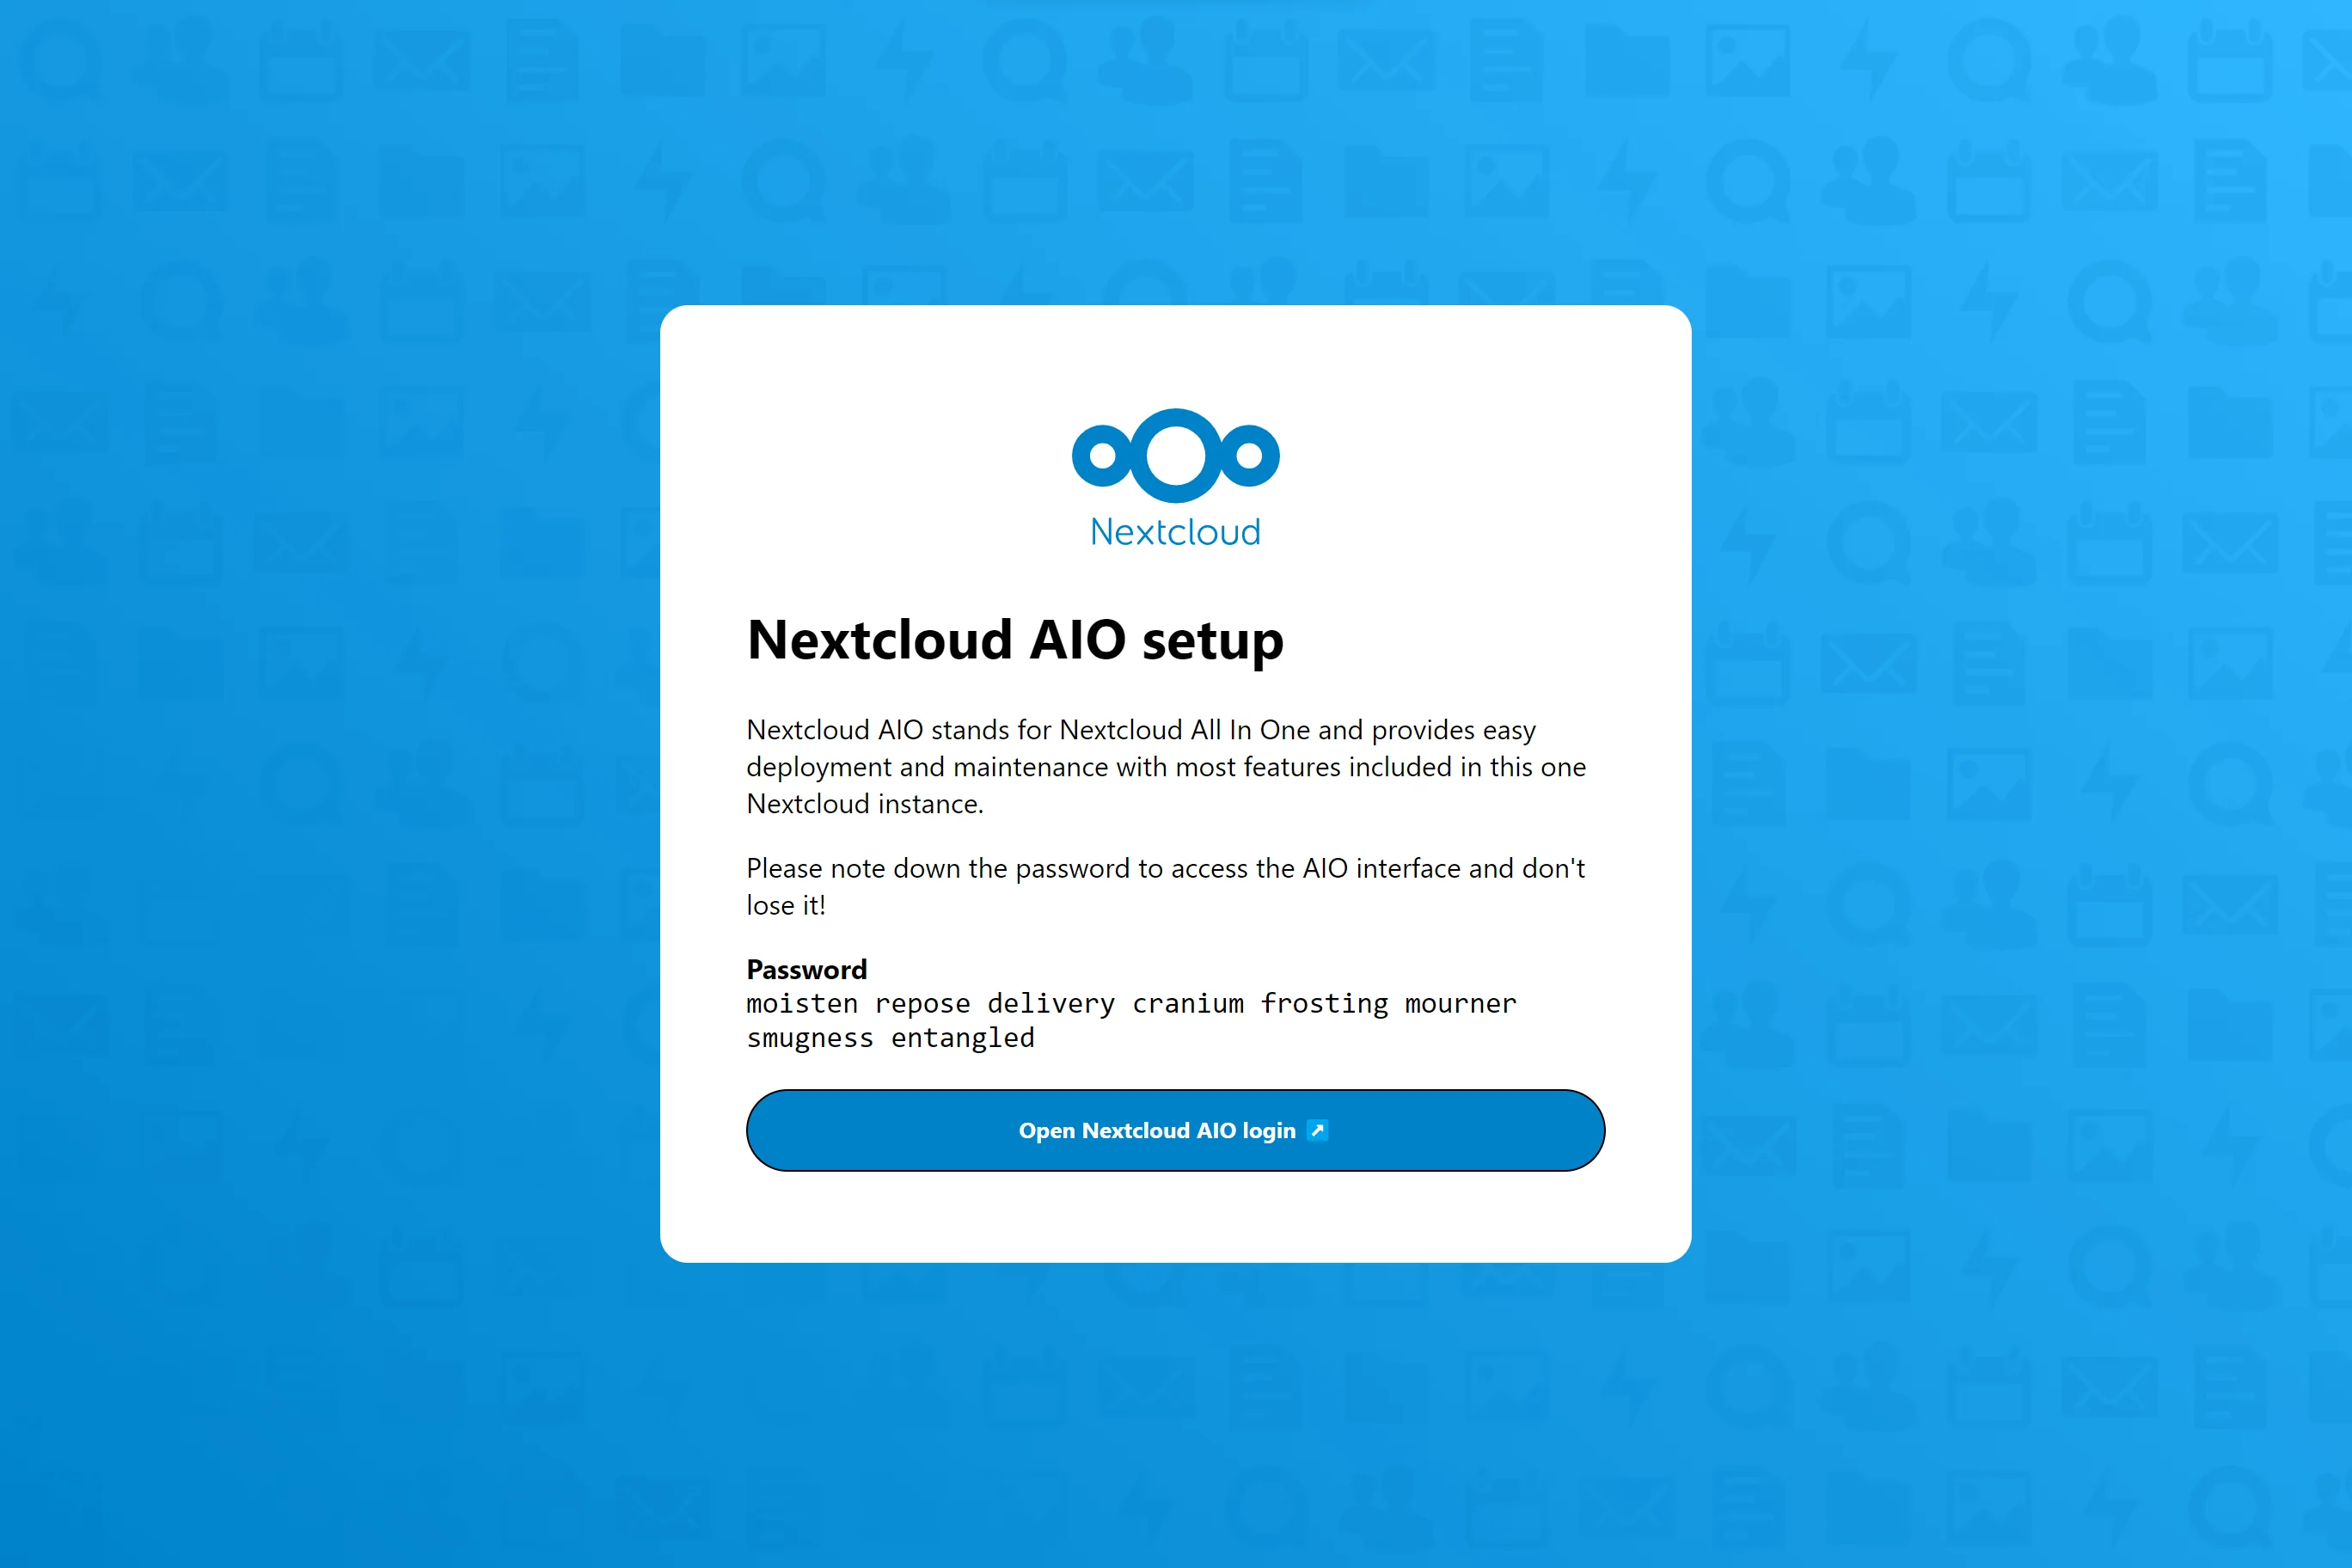
Nextcloud AIO setup
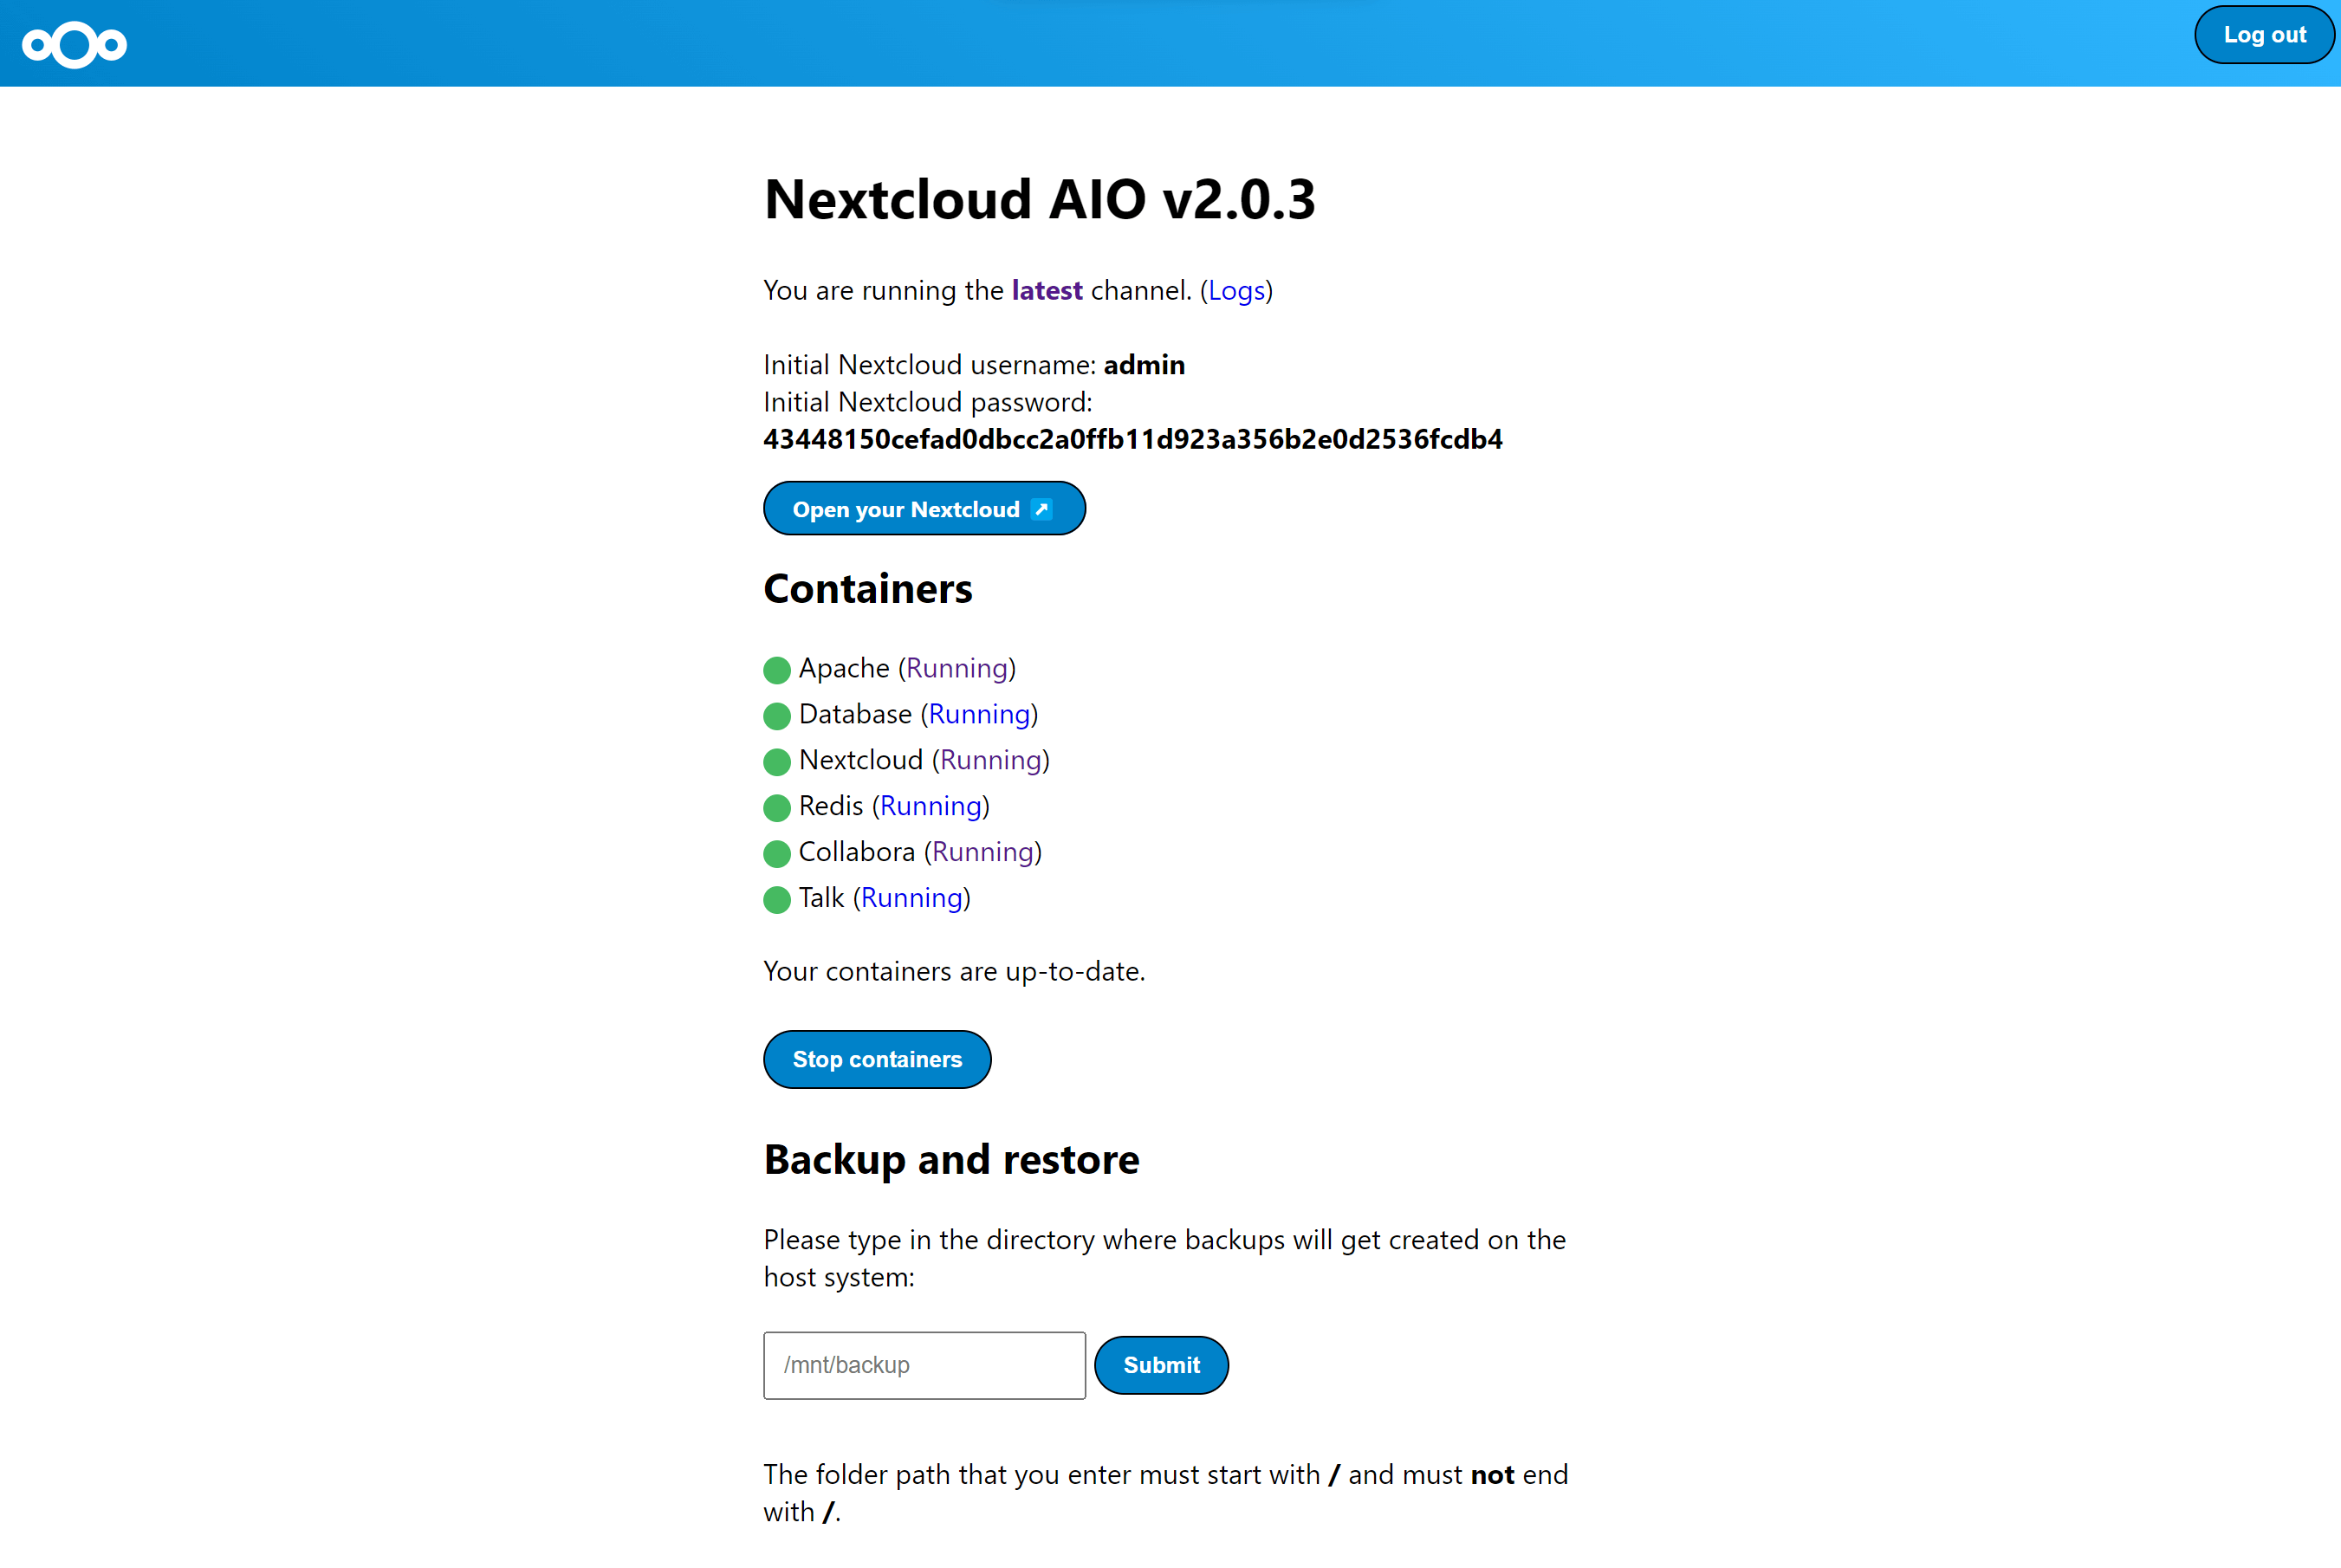
1 click Open Nextcloud AIO loginResults
Videos
1. Change Domaintoo many certificates already issued for yourdomain.com, you will need to wait until the limit is gone (around a week) or change your domain to e.g. a subdomain: https://github.com/nextcloud/all-in-one#how-to-change-the-domain- sudo docker run -it --rm --volume nextcloud_aio_mastercontainer:/mnt/docker-aio-config:rw alpine sh -c "apk add --no-cache nano && nano /mnt/docker-aio-config/data/configuration.json"
References
- https://github.com/nextcloud/all-in-one
- 【好玩儿的 Docker 项目】Nextcloud All-in-One 全新搭建分享,拒绝繁琐配置,开箱即用!维护简单!


No comments:
Post a Comment